Introdução
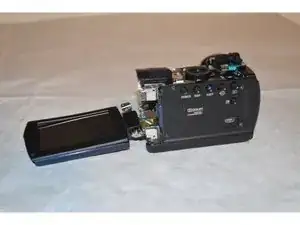
The flex cable can control every electronic feature of the Sony Handycam DCR-SR 47 camera, from the LCD screen to the picture settings. Replacing the flex cable can completely fix a camera that shows poor resolution or is not responding to LCD screen commands.
Ferramentas
-
-
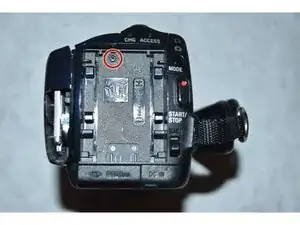
Remove the battery.
-
Use a Philips #000 screwdriver to remove the 3mm screw under the battery.
-
-
-
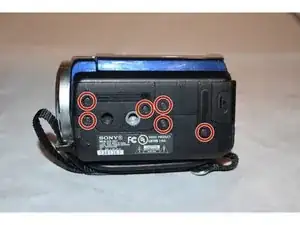
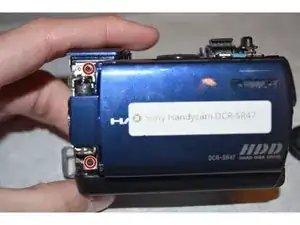
Using the Phillips #000 screwdriver, remove all six of the 3mm screws located on the side of the camera.
-
-
-
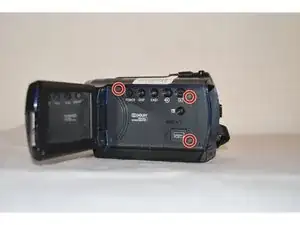
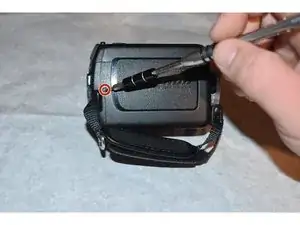
Using a Phillips #000 screwdriver remove the single 3mm screw on the back of the camera.
-
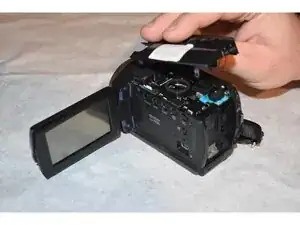
Pull away the back shell of the camera to expose the hard drive.
-
-
-
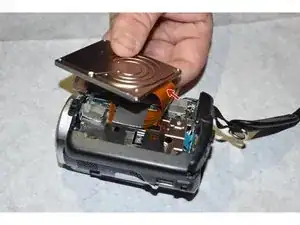
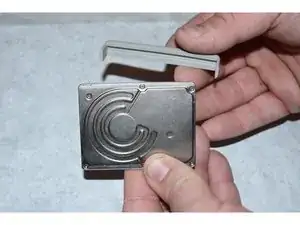
Gently pull the flex cable away from the hard drive. It should pop off with minimal effort.
-
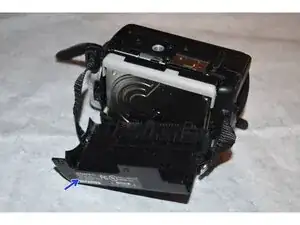
After removing the flex cable take off the plastic guard from the side of the hard drive.
-
-
-
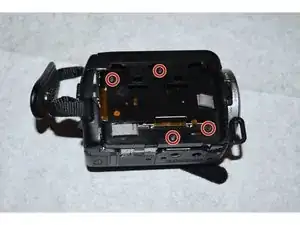
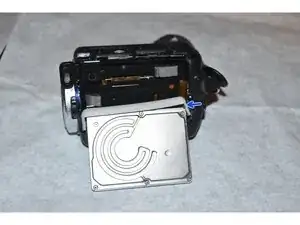
Using the Phillips #000 screwdriver, remove the four screws from the housing under the hard drive.
-
Remove the top plastic housing of the camera.
-
-
-
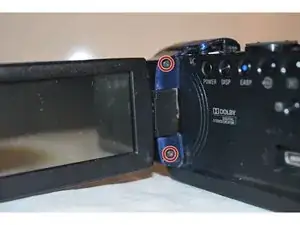
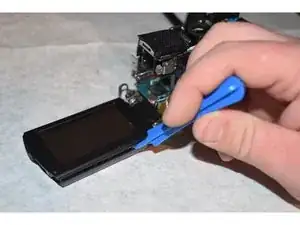
Using the Phillips #000 screwdriver, remove the two 3mm screws from the LCD Screen connector.
-
Remove the two 3mm screws that were exposed through the previous image.
-
Carefully detach the LCD screen from the rest of the camera.
-
-
-
Carefully remove the lens covering from the camera in order to access the internal components.
-
-
-
Using the Philips #000 screwdriver, remove the single 3mm screw from the top of the camera. This removal will allow the microphone port covering to be removed
-
-
-
Using the Phillips #000 screwdriver, remove the single 2mm screw from under the microphone port covering.
-
-
-
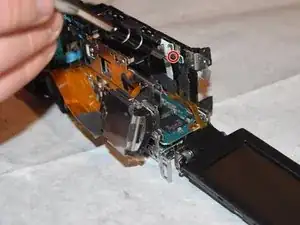
Using the spudger, gently remove the smaller flex cable connector from the LCD screen.
-
Using the Phillips #000 screwdriver, remove the one 3mm screw connecting the LCD screen from the housing.
-
-
-
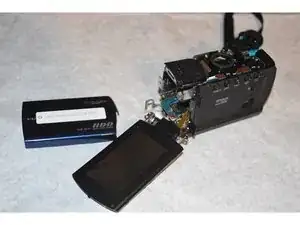
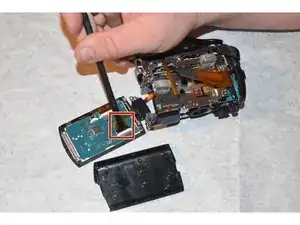
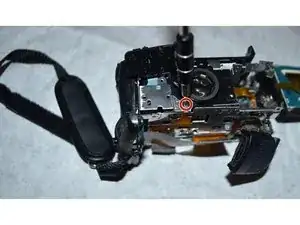
Using the Phillips #000 screwdriver, remove the one 3mm screw from the speaker port.
-
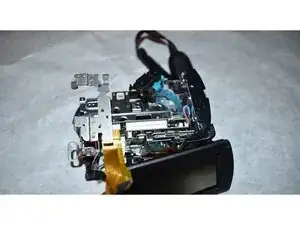
Detach the speaker and side of camera from the internal components.
-
-
-
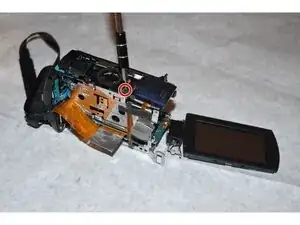
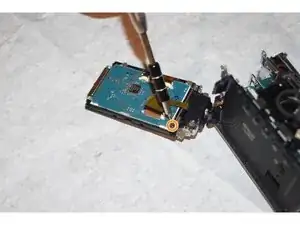
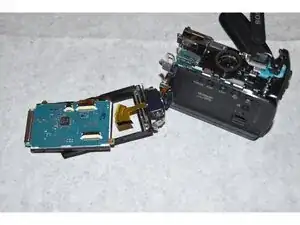
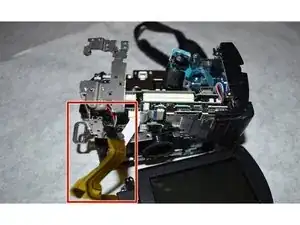
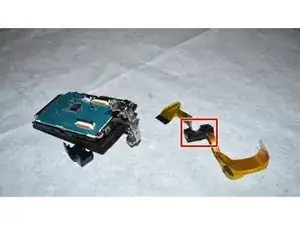
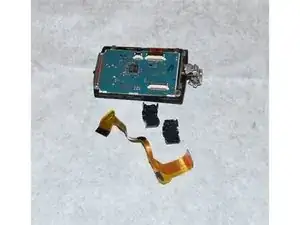
After removing the flex cable from the internal components, separate the LCD pivot arm housing from the flex cable using a spudger.
-
The old flex cable is now free and able to be switched with the new one.
-


To reassemble your device, follow these instructions in reverse order. Take your e-waste to an R2 or e-Stewards certified recycler.
Um comentário
Please where i can buy the flexible cables to Sony?
Antonio -