Introdução
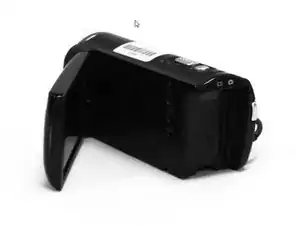
This guide will provide the right steps in replacing the SD Card Slot for the Sony Handycam HDR-CX250E. The HDR-CX250E is a compact HD camcorder able to record at 1080/50p and it's capable of up to a 8.9m still image capture. An "SD" card also known Secure Digital Memory Card is used to store photos or videos on these older devices. The SD card slot where the SD is stored, can lose its pin connections over time from removing and inserting the SD card. This can cause an internal failure with the device no longer storing due to not being able to read the SD card. Think of these electronic pins as fingers used to grab components; if it loses its finger it can not grab anything. For this reason a replacement would be necessary.
Ferramentas
-
-
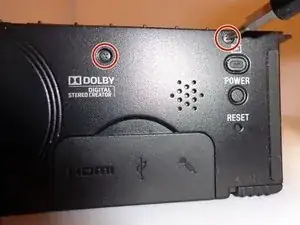
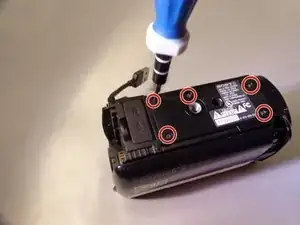
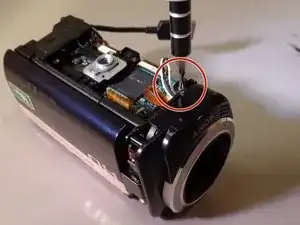
Remove the 3 mm screw and two 5 mm screws using a Phillips #00 screwdriver from the battery assembly area.
-
-
-
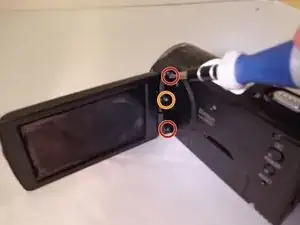
Remove the top and bottom 5 mm screws from the joint connecting the LCD screen to the camera.
-
Remove the middle 3 mm screw.
-
-
-
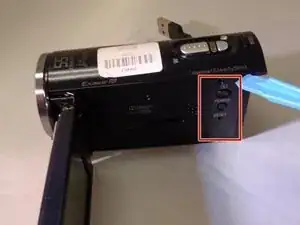
Use a plastic opening tool or other piece of thin angled plastic to remove the button’s cover.
-
-
-
Remove the five 5mm screws located on the bottom panel.
-
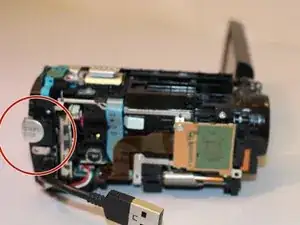
Remove the panel to expose the internal motherboard.
-
-
-
Remove the two 5mm screws adjacent to the lens on the opposite side from the LCD screen attachment joint.
-
Remove the nearby leather strap.
-
-
-
Remove the panel from the side where the leather strap was located.
-
Rotate the camera back to the other side and remove the 5mm screw to the left of the record button.
-
-
-
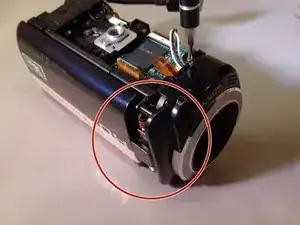
Locate the LCD joint cover on the right side of the lens and remove with a spudger or other wide flat-headed object.
-
-
-
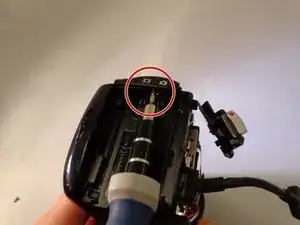
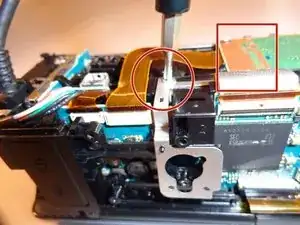
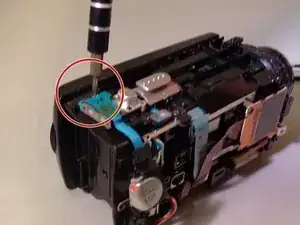
Orient the camera to the side opposite of the recording buttons where the leather strap was. Locate the orange motherboard and remove the three nearby 5mm black screws and 4mm silver screw.
-
-
-
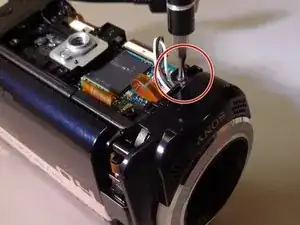
Locate the 5mm screw that is next to both the LCD attachment joint and the camera lens before removing it.
-
-
-
Locate the three 5mm screws holding the lens in place and remove them.
-
Carefully remove the lens by hand or with a spudger.
-
-
-
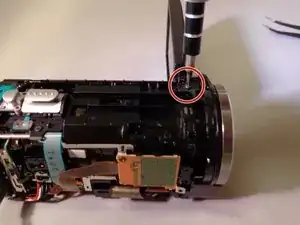
Remove a 5mm screw at the back of the camera next to the zoom and picture capturing control buttons.
-
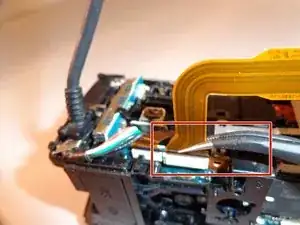
Unplug or carefully set aside the two flat blue wires keeping the buttons connected to the camera.
-
-
-
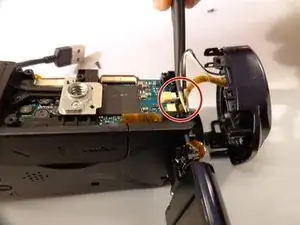
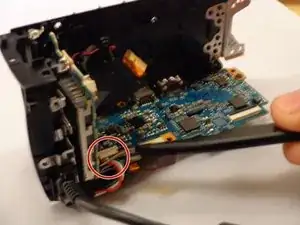
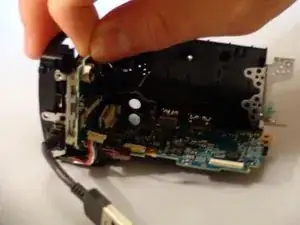
Unplug the wire attached to the orange motherboard.
-
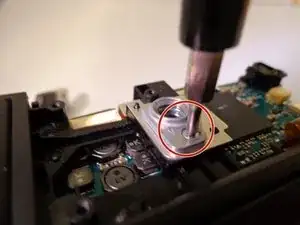
Remove the 5mm silver screw underneath the wire.
-
-
-
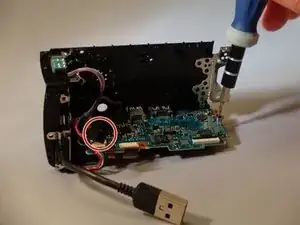
Locate the clip that the other end of the wire that attaches the main internal system from the main frame.
-
Release the clip with tweezers and unplug the cords running through the side panel’s frame, which will allow the rest of the camera to be freely taken apart.
-
-
-
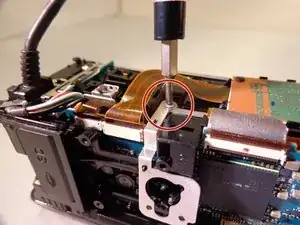
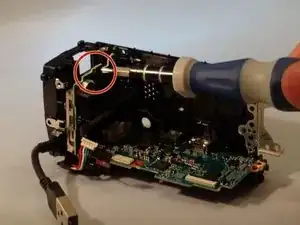
Use the Phillips #00 screwdriver to remove the 3 mm black screw that connects the SD card to the frame in the middle of the camera.
-

To reassemble your device, follow these instructions in reverse order.
2 comentários
where can i get the card slot please
i mean the replacement part