Introdução

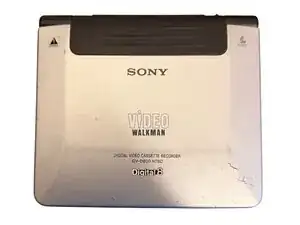
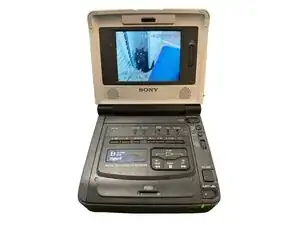
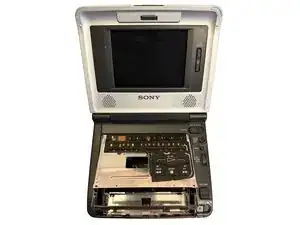
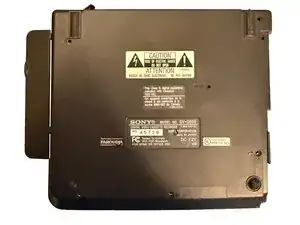
The Sony Digital 8 Video Walkman GV-D800 is a compact and decent tape player that can play Video8, Hi8, and Digital8 tapes, and even record Digital8 content. In my case, the sensitive heads on the drum were damaged beyond repair from a disintegrating tape. Ultimately, I found a Sony Handycam DCR-TRV110 that had a working head, but failed eject mechanism that served as a perfect tape drum head donor.

The 12voltvids YouTube channel has a video showing the process of getting the donor head, removing the dead head, and replacing with the donor head. While I didn't follow his video for this repair, it did help me find a suitable donor model. If you find this guide useful, please give his video a like.

  1. Y12WDFIyVuKtUNER
    Y12WDFIyVuKtUNER
    qOnEMCf5k5aLuBkF
    • Remove the cover for the expansion port on the left side.

  2. tBSuDWsTpMaPbgEs
    tBSuDWsTpMaPbgEs
    nHFyRXEJ3hFNSoCM
    • Open the lid.

  3. KJQ1nOlCKjxjBV2B
    KJQ1nOlCKjxjBV2B
    XnMkX1FKiRIsuRrB
    • Remove the 2x screws from the top of the cassette compartment.

  4. VLHRepUGyNcK6OPb
    VLHRepUGyNcK6OPb
    LjguhRMWe3uENBTM
    q1owLbI2kpTgFd5y
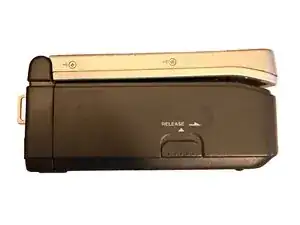
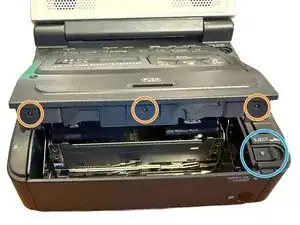
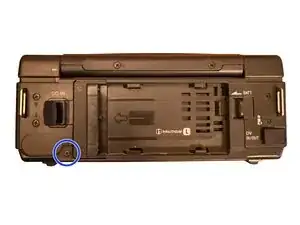
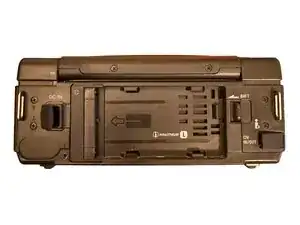
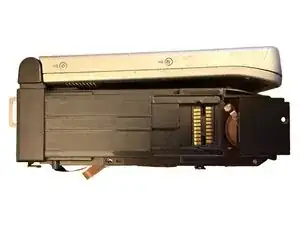
    • Press Eject to open the cassette compartment.

    • Gently pull up on the top plastic to clear these three bumps that hold this part in place.

  5. pPnsvj2feOHVfSI3
    pPnsvj2feOHVfSI3
    NDTJIoMBQnTNAmma
    • Remove the case screw on the back.

  6. ubvyvrBik6OYuMBn
    ubvyvrBik6OYuMBn
    jFHFBLBdoDnVRmxI
    vkIfeRSuBJH4YgUW
    • Remove the 5x screws on the bottom.

    • Remove the bottom panel of the case.

  7. TAEROIQPeiZINPEf
    TAEROIQPeiZINPEf
    JGFCMtJvK5I6jqal
    fTBWjs6e3P4mSpfM
    • Remove 2x screws on the left side.

    • Remove 1x screw for the battery compartment.

  8. JFQOT52xHoBOIeDN
    JFQOT52xHoBOIeDN
    ayID6ENNfLBVBUBJ
    • Slide the battery connector downwards.

    • Remove the 4x screws on the back of the device.

  9. T2PZSEdhowkRYvip
    T2PZSEdhowkRYvip
    T5IQuKlnFQUU44rG
    m1WdGWPHYYWdvpX6
    • Disconnect this connector.

    • Remove these 2x screws.

  10. ZAVFMu3ENwssDoih
    ZAVFMu3ENwssDoih
    vImHAdiQEvYPDswI
    • Remove these 3x screws.

    • During reassembly, replace these screws before replacing the ribbons.

  11. QuXdPLEghCNjZxAM
    QuXdPLEghCNjZxAM
    A2CPJxc2d4EdWgLT
    • Ribbon cables can be damaged easily. Take great care when removing these.

    • Some of these ribbons slide into the connector, others have retaining clips that can be pulled up or out to release the ribbons.

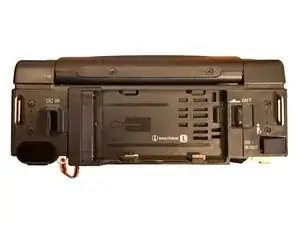
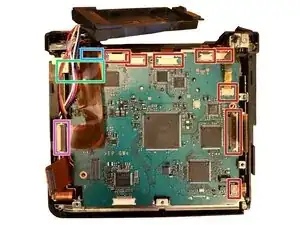
    • Remove the tape holding down the wires in this location (not pictured).

    • Disconnect this connector first to access all connectors across the top.

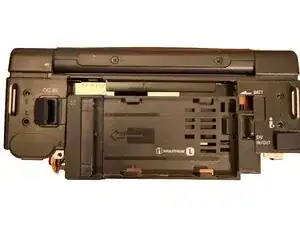
    • This connector should now be visible.

    • Disconnect these ribbons.

  12. O2l3GiXIHADBsPDA
    O2l3GiXIHADBsPDA
    5Q6rZNhUnVe64XwO
    mPWOKTqN3O5orMy6
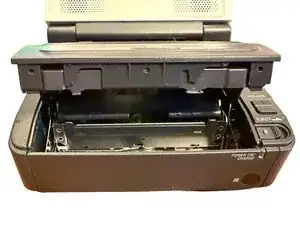
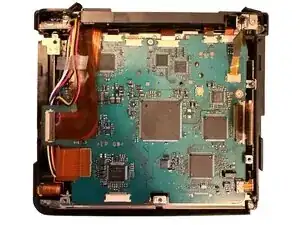
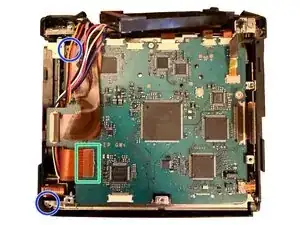
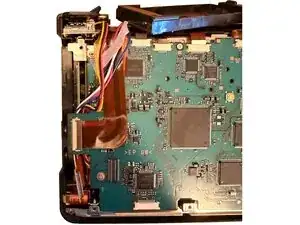
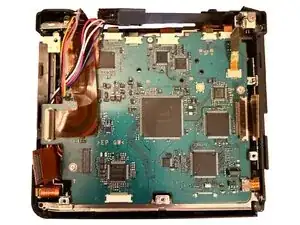
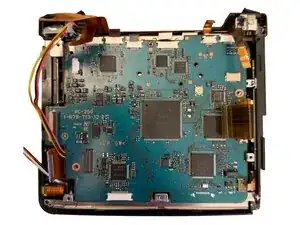
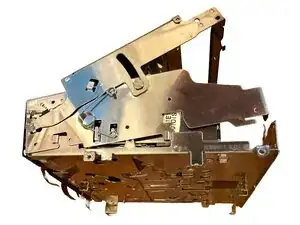
    • Lift the cassette mechanism up from the left side of the case.

    • Take care to not damage the ribbons and wires.

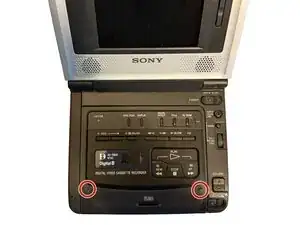
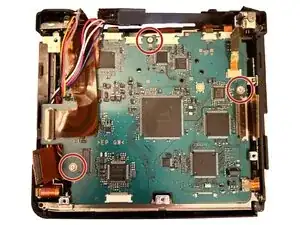
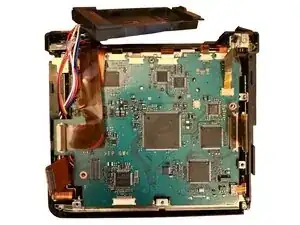
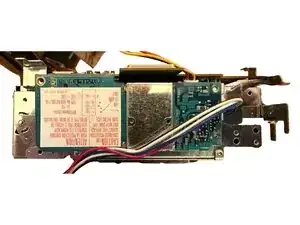
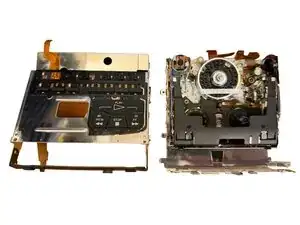
    • Remove these 2x screws. This allows you to lift the circuit board from the cassette mechanism.

  13. 2XQwWQJfNGpfs3Ec
    2XQwWQJfNGpfs3Ec
    HLxVa2UnubJSuiBH
    FqmiQXFQaVu5xAAK
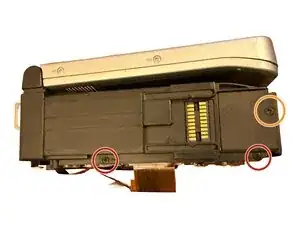
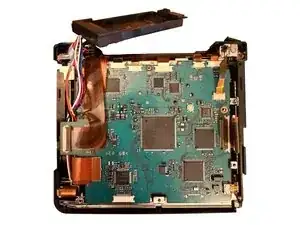
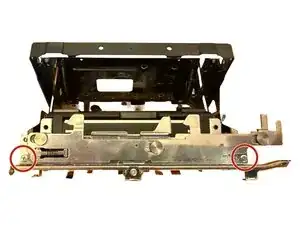
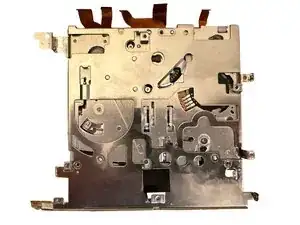
    • Remove these 2x screws from the front of the cassette mechanism.

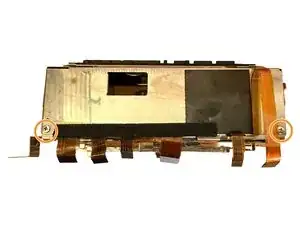
    • Remove these 2x screws from the back of the cassette mechanism.

  14. p3kShwAOAmTvwNva
    p3kShwAOAmTvwNva
    FaNxLuoky2GBIiNL
    CfZi2VtZovOQLIDq
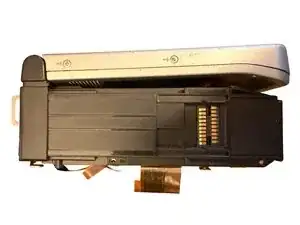
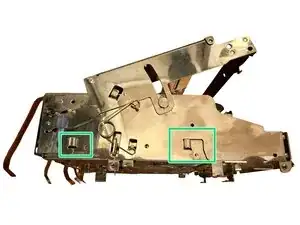
    • Slide the top part of the metal case to clear these clips.

    • Set the top portion to the side.

  15. Z6f3lWXoRNPsimAW
    Z6f3lWXoRNPsimAW
    nHiXFpES41ZrtwZQ
    NGEs6ZxHiuGEkYNC
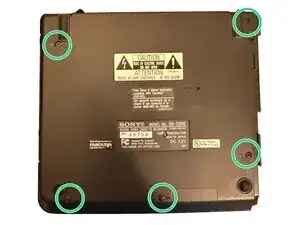
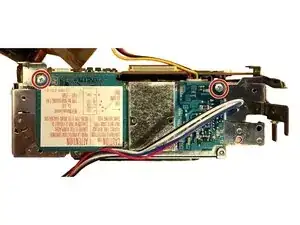
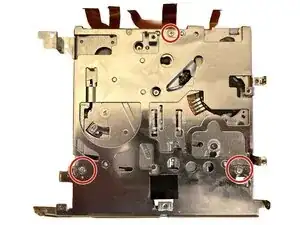
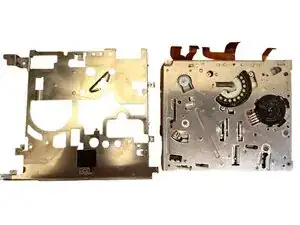
    • Remove these 3x screws from the bottom of the cassette mechanism.

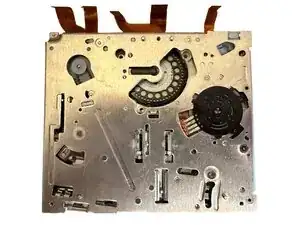
    • Remove the bottom metal portion of the cassette mechanism.

  16. SVCrCtNWJ5FgfLBx
    SVCrCtNWJ5FgfLBx
    E6V1Ka2XSkirbW6t
    • Remove these three screws from the head drum.

  17. 5fVJNJOrxXX1HwTb
    5fVJNJOrxXX1HwTb
    SsbJEoKDTwOZo3jt
    • Remove these 2x screws. This gives enough clearance to lift the head drum out.

  18. rqTSb4SQKZfDErX5
    rqTSb4SQKZfDErX5
    HFVdNpRGTL2URabA
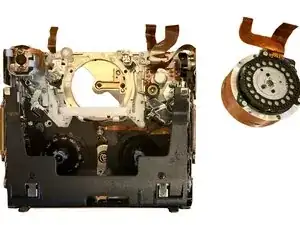
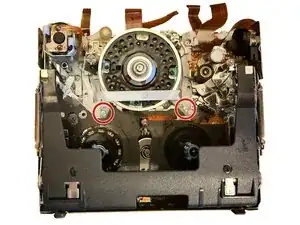
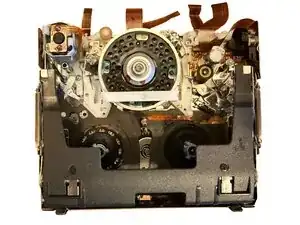
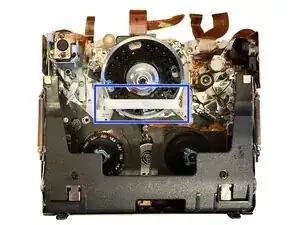
    • Gently pull down on this plastic piece. Lift the old head drum out towards the top.

    • When reassembling with the new head drum, take care when holding and placing to not damage the heads.

    • To reassemble, follow the guide in reverse.

Conclusão

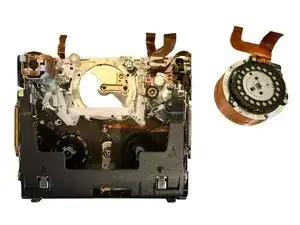
To reassemble your device, follow these instructions in reverse order. Take care when placing the new drum head and reinserting the ribbon cables.

drivec

Membro desde: 01/07/14

557 Reputação

0 comentários