
Introdução
If your Sonos Roam is unresponsive, having problems turning on, not staying on, and you have already tried replacing the outer circuit board then use this guide to replace the inner circuit board.
This circuit board is responsible for sending signals to the entire device. This means it is in charge of connectivity, charging, and audio for the Sonos Roam.
Before using this guide, try rebooting your Sonos Roam.
There are steps that recommend (not require) the use of the iOpener. This will help with carefully removing the adhesive used to keep this device together. Refer to this link on how to properly use the iOpener.
-
-
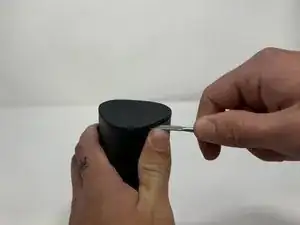
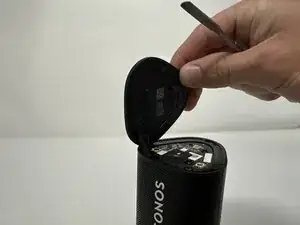
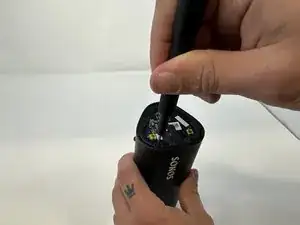
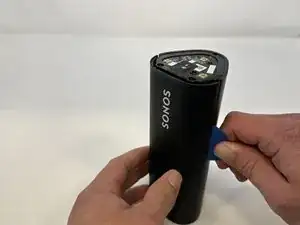
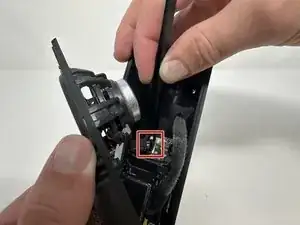
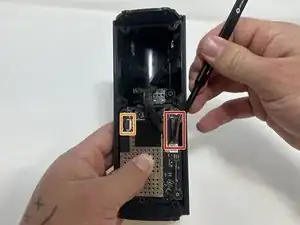
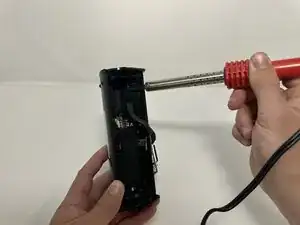
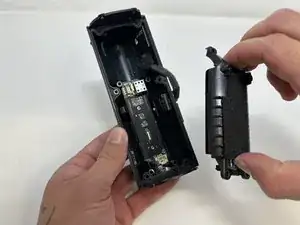
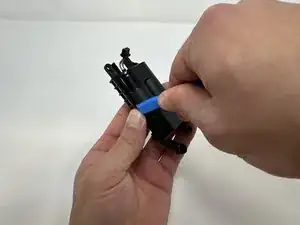
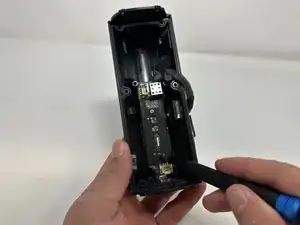
Use the metal spudger to pry the end cap with the buttons.
-
Pry from all sides to loosen the adhesive.
-
-
-
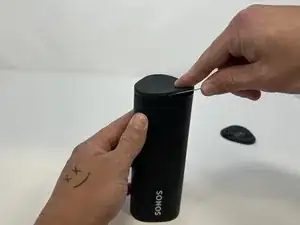
Flip the device so that the Sonos logo is on the top.
-
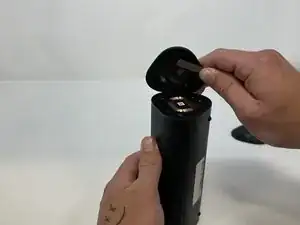
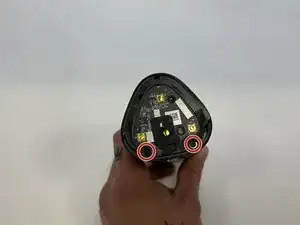
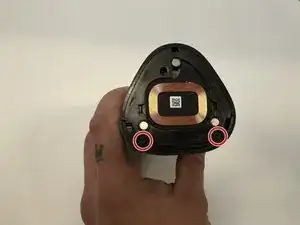
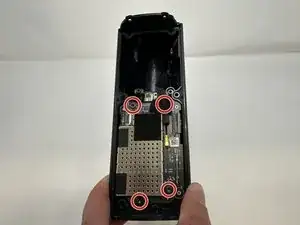
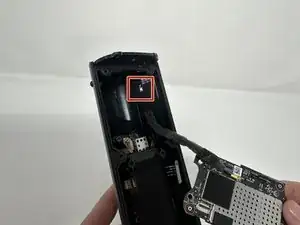
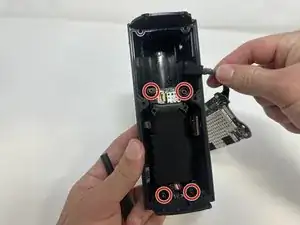
Use the Torx T6 screwdriver to remove the two 6 mm screws.
-
-
-
Flip the device so the Sonos logo is on the top.
-
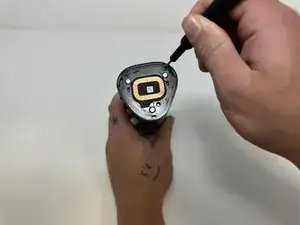
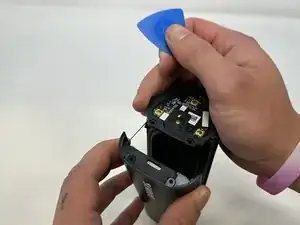
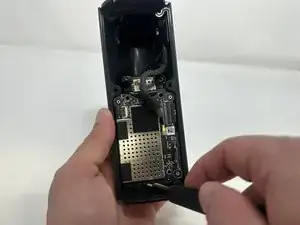
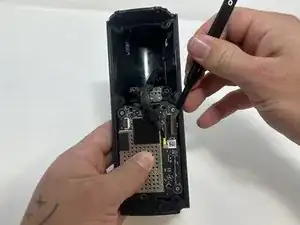
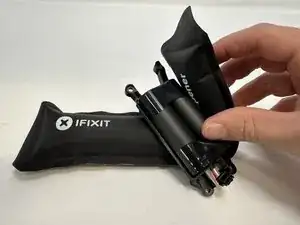
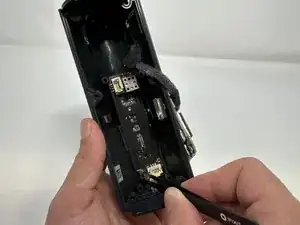
Use the iFixit opening picks to wedge between the split of the grille and the back of the speaker to pry the grille apart.
-
-
-
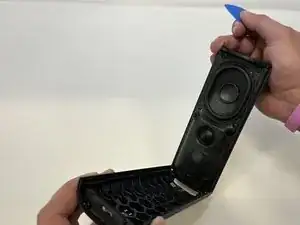
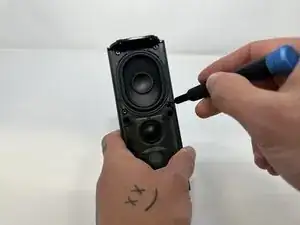
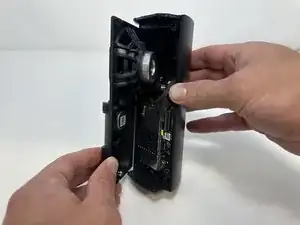
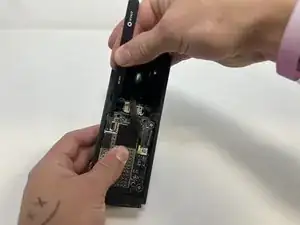
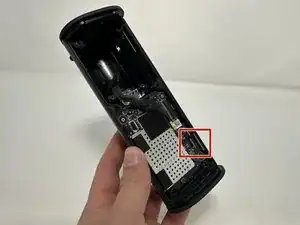
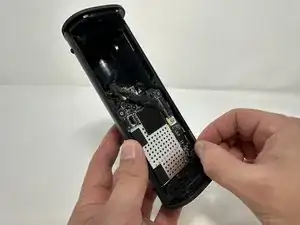
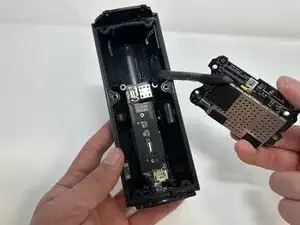
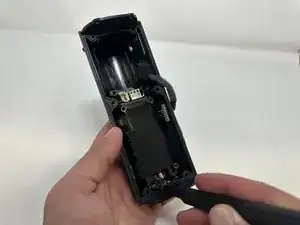
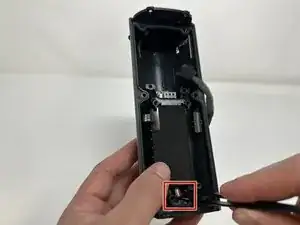
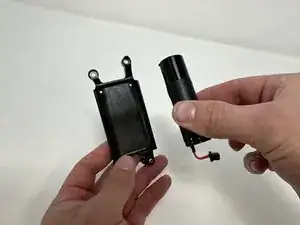
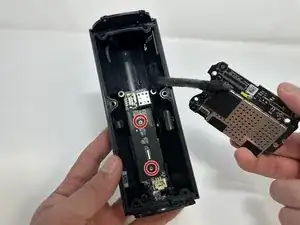
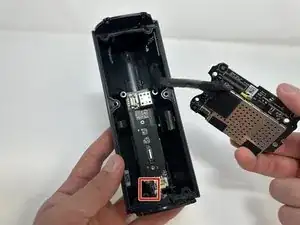
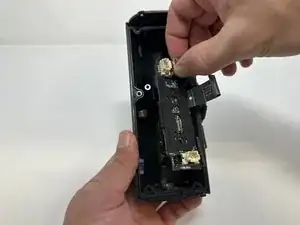
Grab the metal piece sticking out of the outer circuit board.
-
Pull upwards to remove the outer circuit board.
-


To reassemble your device, follow these instructions in reverse order.

3 comentários
Danke für die Anleitung.
Ich müsste die Leiterplatte auch tauschen. Weiß jemand, wo es noch passenden Ersatz gibt?
Danke aber das hatte ich schon versucht. Bietet man nicht an. Ich kann den Fehler eingrenzen aber den Chip bekomme ich leider auch nirgends.
What about IP67 rating? Am I going to lose the water resistance rating if I do not reapply some glue or additional adhesive when reassembling things back?
Askar -