Introdução
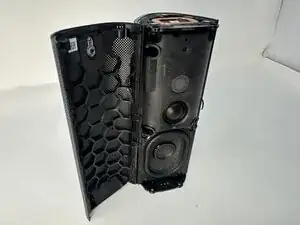
If your Sonos Roam 2 speaker’s outer shell is cracked, dented, or otherwise damaged, use this guide to replace it.
The shell serves as the primary protective barrier for the internal components of the speaker. It absorbs impact from drops and bumps, shielding the delicate electronics inside.
Before starting this repair, inspect the shell for signs of structural damage that may affect performance. If the speaker still functions properly but the casing is compromised, replacing the shell can restore its durability and appearance.
Make sure to power off the speaker completely and disconnect it from any external power source before beginning.
Ferramentas
-
-
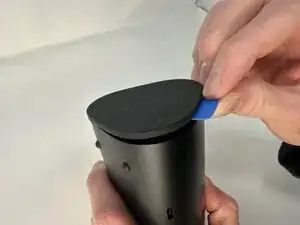
Stand the speaker on either end so that it's vertical.
-
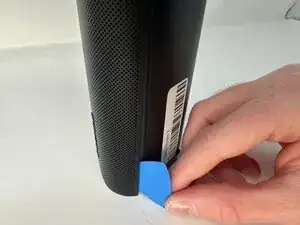
Wedge your opening pick between the speaker and the rubber triangle on the end of the speaker.
-
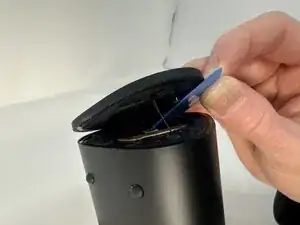
Wiggle the pick back and forth and drag the pick around the edges to break through this adhesive.
-
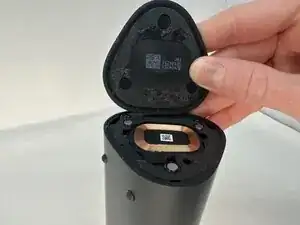
Completely remove the rubber triangle.
-
-
-
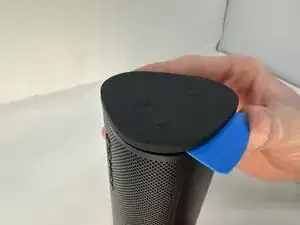
Flip the speaker over and begin working on the rubber triangle on the other side.
-
Wedge your opening pick between the speaker and the rubber triangle. Wiggle the pick back and forth and drag the pick around the edges to break through the adhesive.
-
Completely remove the rubber triangle.
-
-
-
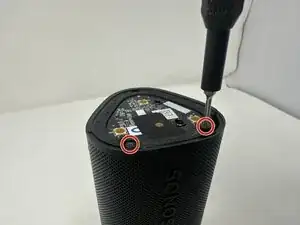
Remove the two 7.5 mm screws using a T6 Torx screwdriver.
-
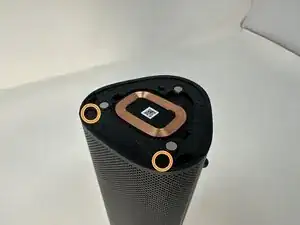
Flip the speaker over and remove the other two 7.5 mm screws using a T6 Torx screwdriver.
-
-
-
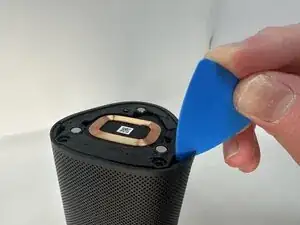
Insert your opening pick between the outer shell and the main body.
-
Work your way along the seam from top to bottom, gently prying at intervals to break the adhesive bond.
-
When the outer shell is adequately loosened, lift and remove the outer shell from the speaker assembly.
-


To reassemble your device, follow these instructions in reverse order.