Introdução
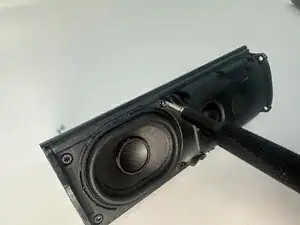
If your Sonos Roam 2 speaker is experiencing reduced battery life or continues to hold a charge even when powered off, this guide will show you how to replace the battery—no soldering required.
Before you begin, if the issue is simply slow charging, inspect the charging port for dust or debris, as this could be the root cause.
During disassembly, be cautious when pulling on internal components. Some parts may be secured by wires, which you'll need to disconnect carefully when you reach that step.
-
-
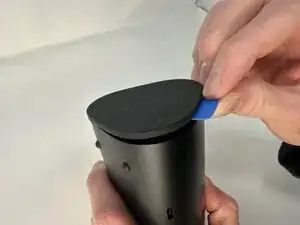
Stand the speaker on either end so that it's vertical.
-
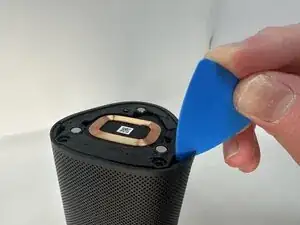
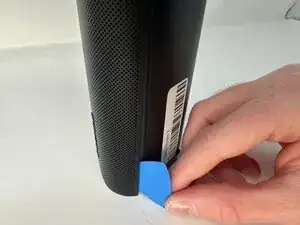
Wedge your opening pick between the speaker and the rubber triangle on the end of the speaker.
-
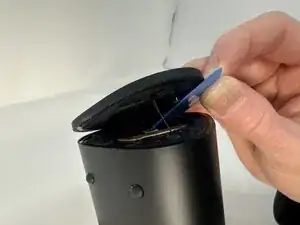
Wiggle the pick back and forth and drag the pick around the edges to break through this adhesive.
-
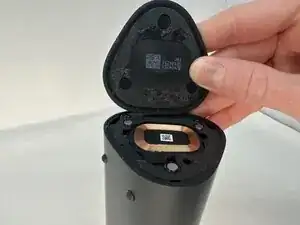
Completely remove the rubber triangle.
-
-
-
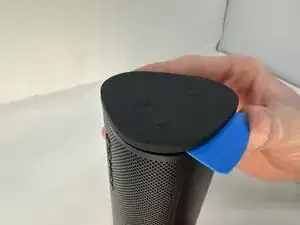
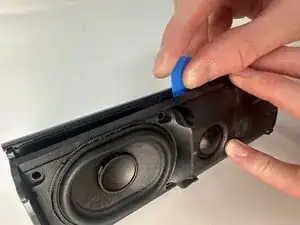
Flip the speaker over and begin working on the rubber triangle on the other side.
-
Wedge your opening pick between the speaker and the rubber triangle. Wiggle the pick back and forth and drag the pick around the edges to break through the adhesive.
-
Completely remove the rubber triangle.
-
-
-
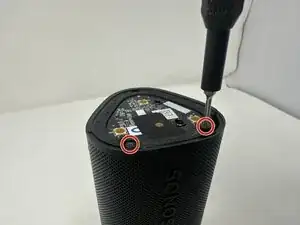
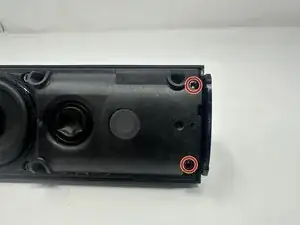
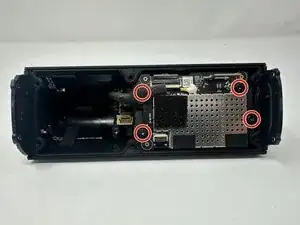
Remove the two 7.5 mm screws using a T6 Torx screwdriver.
-
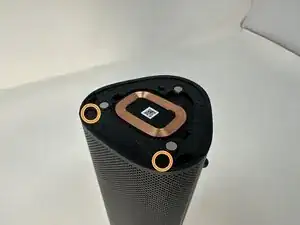
Flip the speaker over and remove the other two 7.5 mm screws using a T6 Torx screwdriver.
-
-
-
Insert your opening pick between the outer shell and the main body.
-
Work your way along the seam from top to bottom, gently prying at intervals to break the adhesive bond.
-
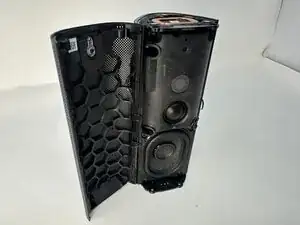
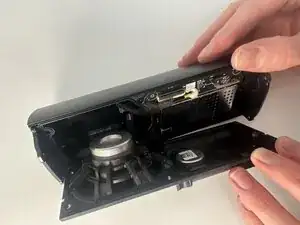
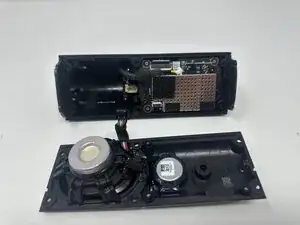
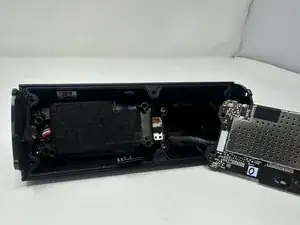
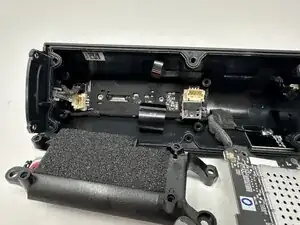
When the outer shell is adequately loosened, lift and remove the outer shell from the speaker assembly.
-
-
-
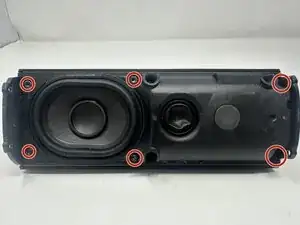
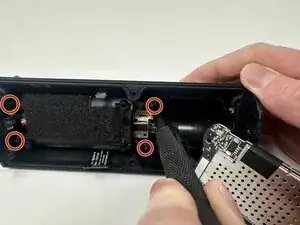
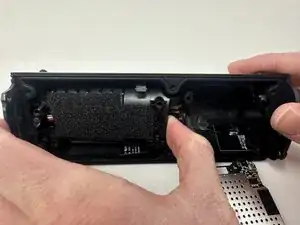
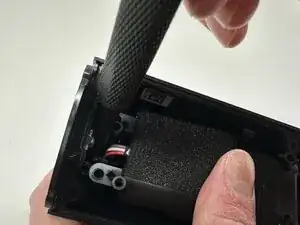
Press the connector release tab and gently pull the speaker driver free, taking care not to strain the attached wires.
-
-
-
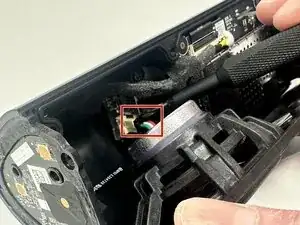
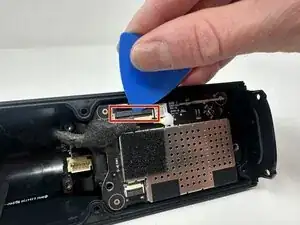
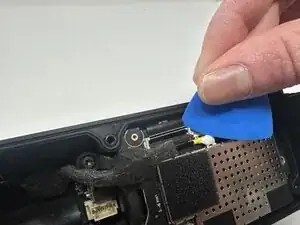
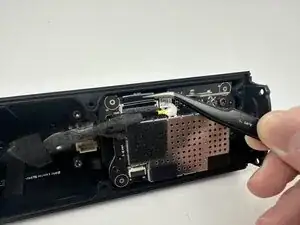
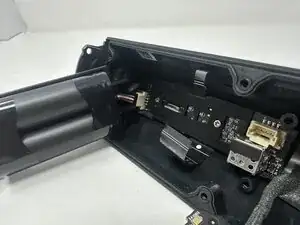
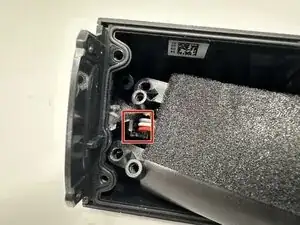
Use your opening pick and tweezers to pry out the black connector.
-
Flip the speaker to better access the smaller black connector.
-
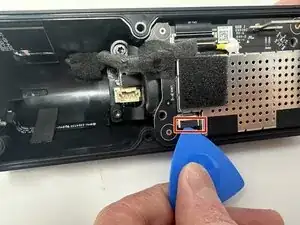
Use the opening pick to pry out the smaller black connector.
-
-
-
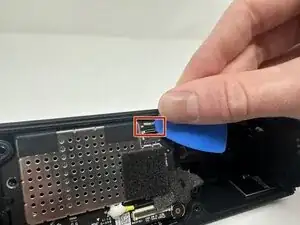
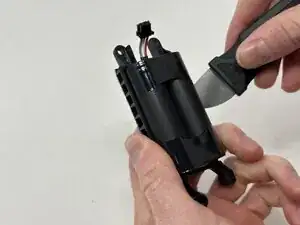
Use a spudger to gently press on the connector pad.
-
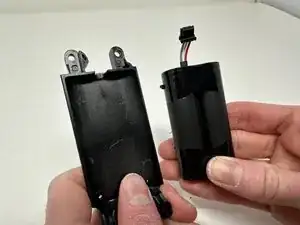
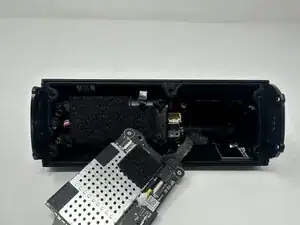
Pull the battery case out of the speaker fully.
-


To reassemble your device, follow these instructions in reverse order.