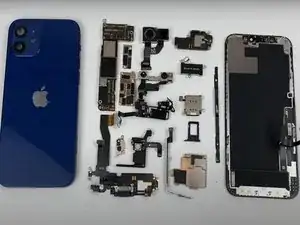
Introdução
-
-
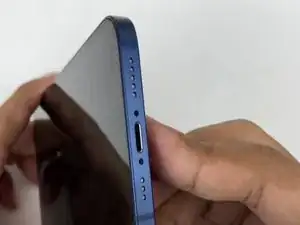
Applicare un iOpener riscaldato su tutto il bordo dello schermo per allentare l'adesivo sotto il display.
-
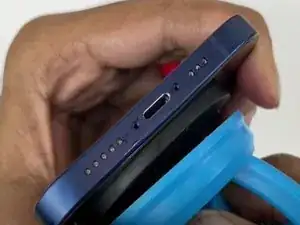
Alzare il display con una ventosa e inserire un oggetto fine per dividere lo schermo dal telaio.
-
Far scorrere l'oggetto fine lungo tutto il bordo per tagliare l'adesivo.
-
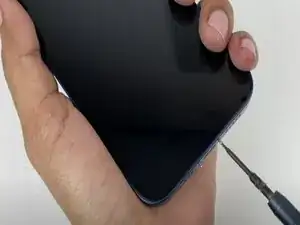
Alzare il display.
-
-
-
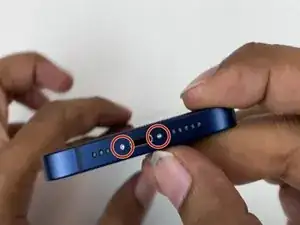
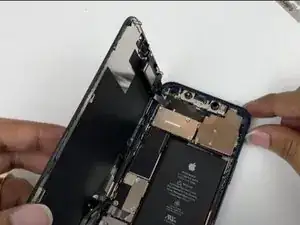
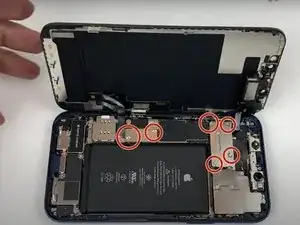
Rimuovere le 6 viti Phillips #00.
-
Con uno spudger o con le unghie delle dita alzare i due connettori.
-
Alzare il connettore che si trova sotto.
-
Disconnettere il connettore del display.
-
Alzare il display.
-
-
-
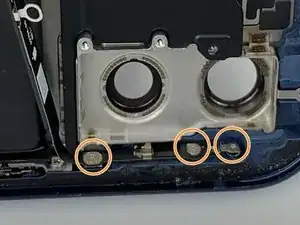
Svitare le 4 viti Phillips #00.
-
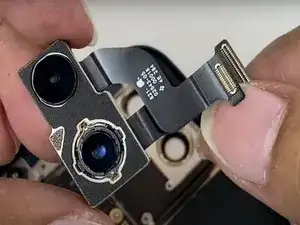
Con uno spudger o con le unghie delle dita scollegare i due connettori della fotocamera posteriore.
-
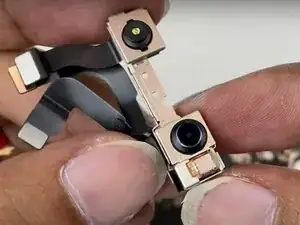
Rimuovere la fotocamera posteriore.
-
-
-
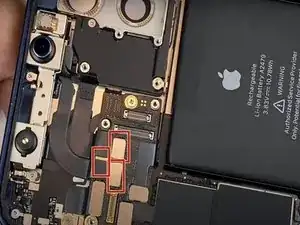
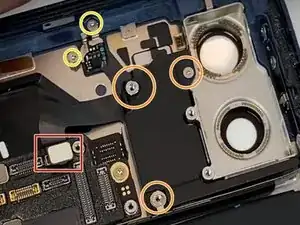
Con uno spudger o con le unghie della mano per disconnettere i tre connettori che connettono la fotocamera anteriore.
-
Rimuovere la fotocamera anteriore.
-
-
-
Con uno spudger o con le unghie della mano scollegare il connettore del supporto della batteria.
-
Svitare le 3 viti Phillips #00.
-
Rimuovere il supporto della batteria.
-
-
-
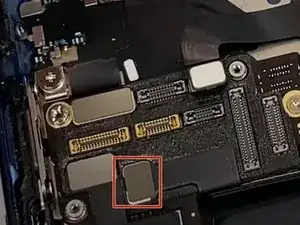
Con uno spudger o con le unghie della mano scollegare il connettore del flash della fotocamera posteriore.
-
Svitare le 3 viti Phillips #00.
-
Svitare le 2 viti Phillips #00.
-
Rimuovere il flash della fotocamera posteriore.
-
-
-
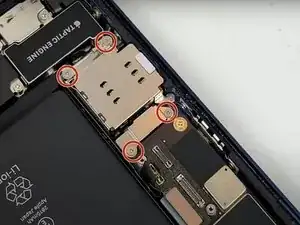
Svitare le 4 viti Phillips #00.
-
Svitare i 2 supporti per viti con il cacciavite adatto.
-
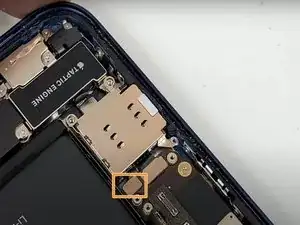
Con uno spudger o con le unghie della mano per scollegare il connettore del supporto della scheda SIM.
-
Rimuovere il supporto della scheda SIM.
-
-
-
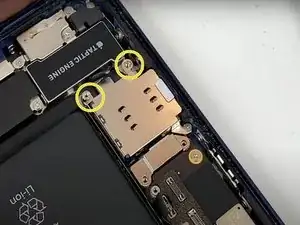
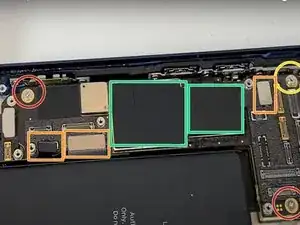
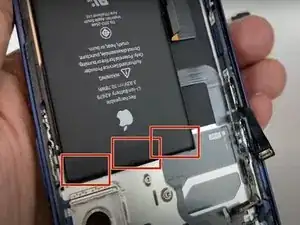
Rimuovere le 2 viti Phillips #00.
-
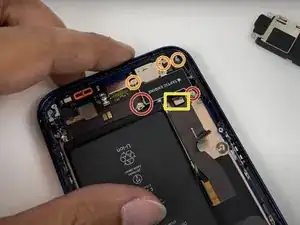
Con uno spudger o con le unghie della mano scollegare i 3 connettori della batteria.
-
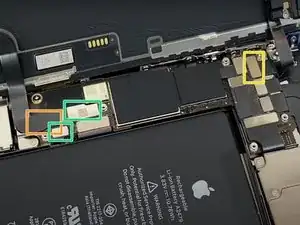
Svitare il supporto della vite con un caccavite standoff per iphone.
-
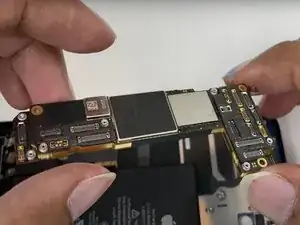
Con uno spudger rimuovere la pellicola in film.
-
Rimuovere la scheda logica.
-
-
-
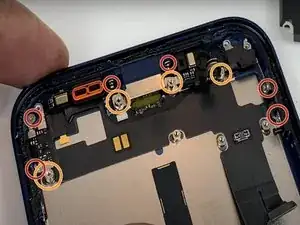
Rimuovere i 2 supporti delle viti con un caccaivite standoff per iphone
-
Svitare le 3 viti Phillips #00.
-
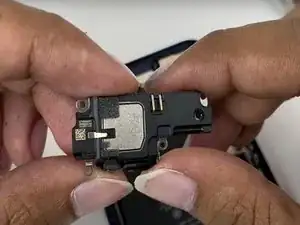
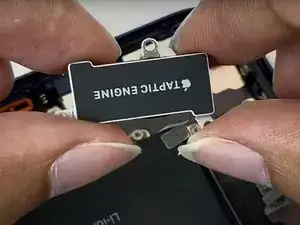
Con uno spudger o con le unghie delle dita rimuovere il connettore del taptic engine.
-
Rimuovere il taptic engine.
-
-
-
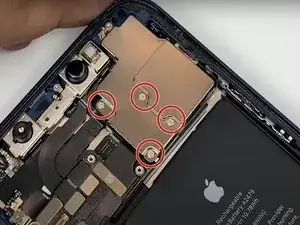
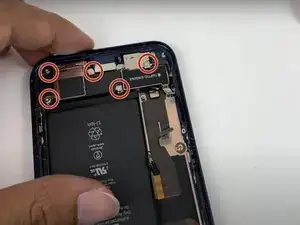
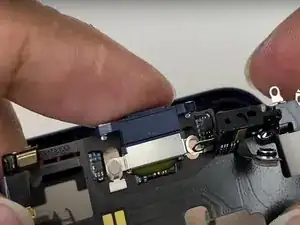
Svitare 6 viti Phillips #00.
-
Rimuovere i 4 supporti per viti con un cacciavite standoff per iphone.
-
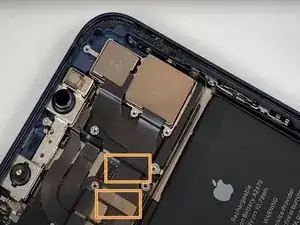
Con uno spudger rimuovere la pellicola in film.
-
Rimuovere la scheda di ricarica.
-


8 comentários
I had problem with nfc. When it was changed. Have any solution?
Ak H -
I don't see any mentioning of the microphone, Is the Microphone an integral part of the charging port harnes?
This guide is missing A LOT of steps