Introdução

Use this guide to remove the back wheel of a Shimano Vertical PK7 bike.

There are a variety of reasons the back wheel may need to be removed or replaced. The wheel may be damaged (e.g. bent spokes), rendering the bike unusable and requiring the wheel to be replaced with a totally new one. Otherwise, the wheel may simply be misaligned with the brakes, which results in friction between the brakes and the wheel and causes an unsmooth, choppy, or elsewise uncomfortable riding experience; in this case, we are replacing the same wheel.

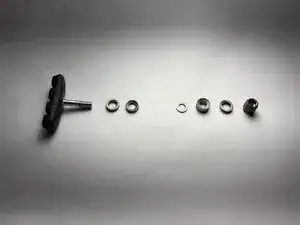
Note that there are several small pieces that need to be disassembled during the procedure, so keep track of all materials you detach from the bike.

For this guide, the only tool you will need at least two wrenches, one being an adjustable wrench (any kind should be fine).

  1. OdXO6K4SQssdQwnA
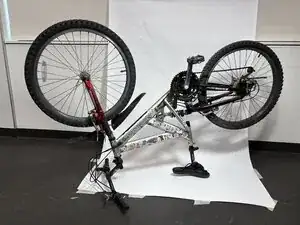
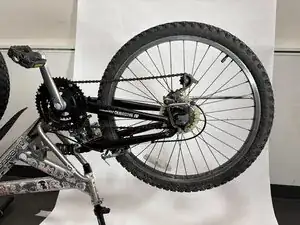
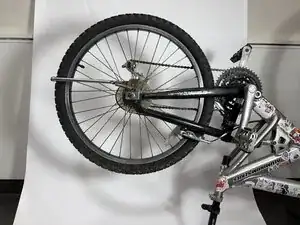
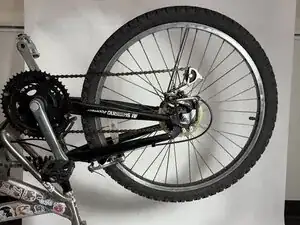
    • Flip the bike upside down so that the handle bar and seat are balanced on the floor, with the wheels facing upwards.

  2. MovW2wUwTSqh2lv2
    MovW2wUwTSqh2lv2
    oTPojir2Gis1ojnh
    juHY3FnPAVY66JNk
    • Use the wrench to remove one side of the brakes on the back wheel.

    • The order of the nuts you remove go from left to right in the image provided.

    • Remember that to loosen a nut, you rotate it counterclockwise. To tighten, you rotate clockwise.

  3. muY2UnM1MiHueAoh
    muY2UnM1MiHueAoh
    eniFOK6gAQuacEQQ
    Z1T5pJVnpiiBrnBj
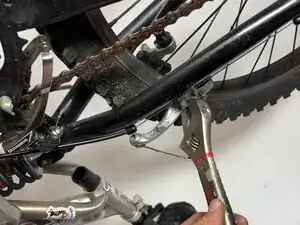
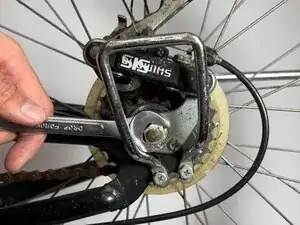
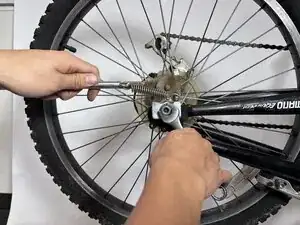
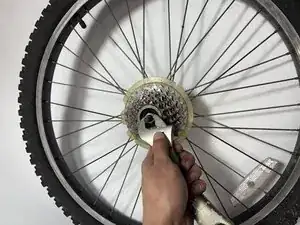
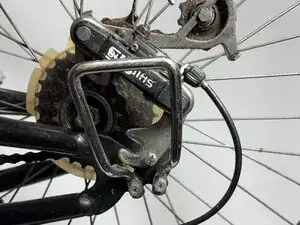
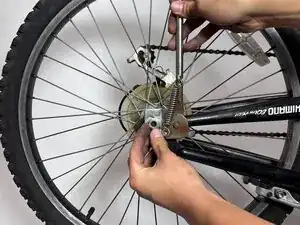
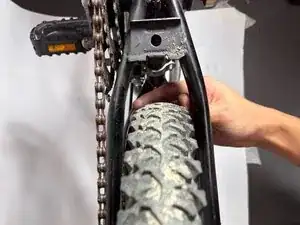
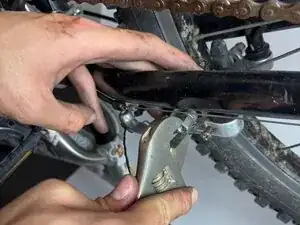
    • Use the wrench to remove the nut at the end of the axle, on the side of the wheel with gears.

  4. cPkThUJaJQPC22hS
    cPkThUJaJQPC22hS
    dTKHyDLYsThxayc4
    • Move to the other side of the wheel or rotate the bike.

  5. NPYejBLqZ3QqDDwc
    NPYejBLqZ3QqDDwc
    OvkJQyFVWOANaV5L
    kMGIIyaDV45qu2ao
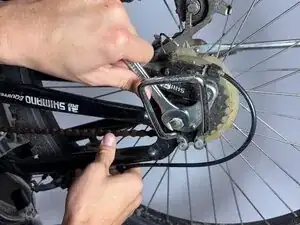
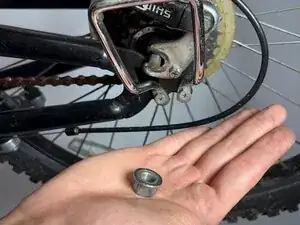
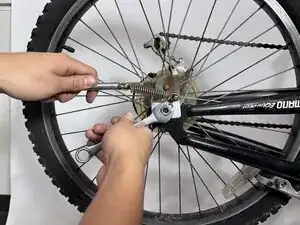
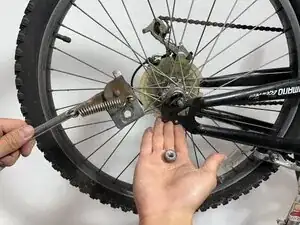
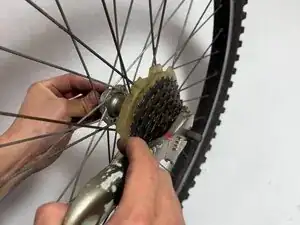
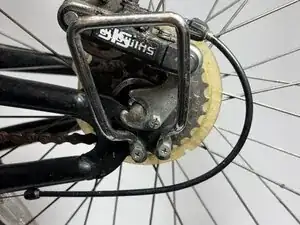
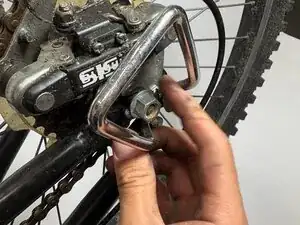
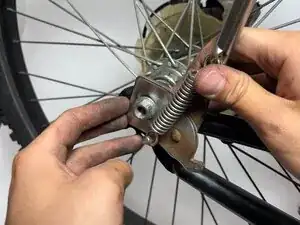
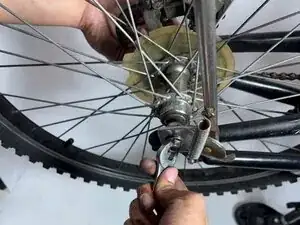
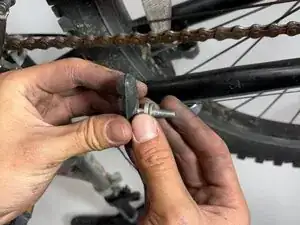
    • Use the wrench to remove the nut. The bike stand will come free as well, so remove it and set it aside.

  6. vUiiswceJiFYtYhY
    vUiiswceJiFYtYhY
    lCLtSCJ5onjGcGnR
    tKxKQ1uqKKQGuvKU
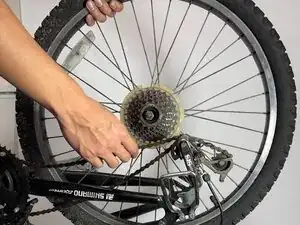
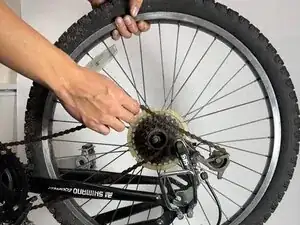
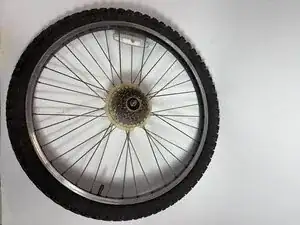
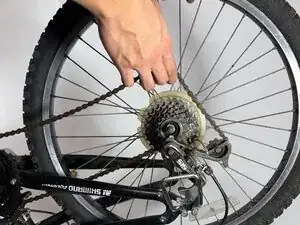
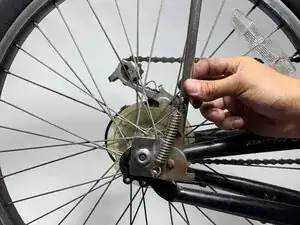
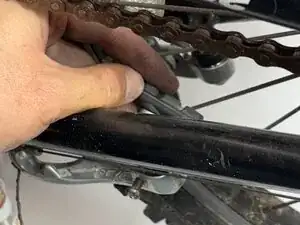
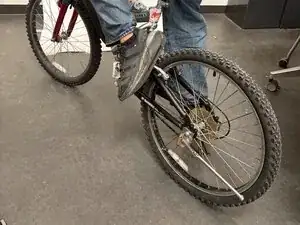
    • Use one hand to lift up the gear chain to detach it from the cassette. Remove the wheel and set it aside.

    • The cassette refers to the stack of gears attached to the wheel.

    • Careful! Hands or the wheel axle may get caught on the chains.

  7. E1UlGL2symZn2EWf
    E1UlGL2symZn2EWf
    oKgDKJkMZ2bYNPVf
    • Tighten the nuts around the axle that goes through the center of the wheel.

    • Hold still the opposite end of the axle while tightening.

  8. EwwaQfkq5EXnmHtn
    EwwaQfkq5EXnmHtn
    fgUy4tGjlHqGYLZW
    nhDNGJGQ5yMvZg6f
    • Lift the chain and place the wheel's cassette back in between the chains. Slide the axle of the wheel back into its slot.

  9. LOCYMyPRgMqnbqCP
    • Use your fingers to tighten, but not completely, the nut on the gear side of the wheel.

    • Check and make sure the wheel axle remains all the way in its slot.

  10. IyfsYq2GdxiiRh5j
    IyfsYq2GdxiiRh5j
    VLMPOIYbFmnvyWXv
    worXYoQahRwWhZVQ
    • Realign the bike stand on the axle with one hand, then tighten its nut back on.

  11. VAN2K5qKPJTxE1pb
    VAN2K5qKPJTxE1pb
    AsJNrjRMGolpUZFV
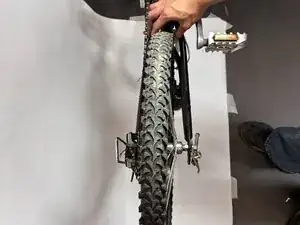
    • Screw the wheel back in, lightly tightening only one side. Then, screw in the other side while making sure the wheel is straight. Fully tighten everything once the wheel is evened out.

    • Keep an eye on the wheel relative to the bars of the seat stay (the bars that go on either side of the wheel and hold the axle). Everything should be parallel.

  12. 2QkQipkNEOJUhmZ6
    • Fully reattach the bike stand. Use the wrench to tighten its nut.

  13. OPulNDcsjvAJqfTX
    OPulNDcsjvAJqfTX
    5KLh5WKKiyu2wbXI
    tQnGyCfcvmb46ECT
    • Reattach the brakes. Use the wrench to tighten the nuts in reverse order from step 2.

  14. unwuTRskrOWQFK5u
    unwuTRskrOWQFK5u
    nfZ6Tqo4uNjQsk1J
    • Flip the bike over.

  15. 4XCEEgLemsWFMHLm
    4XCEEgLemsWFMHLm
    GJuaXvctraFjbZVT
    • Take the bike for a test ride.

Conclusão

If the wheel still appears loose or wobbly, attempt the procedure again from the beginning.

Eugene Law

Membro desde: 04/11/25

271 Reputação

0 comentários