Introdução
Before you begin replacing the circuit board in your Shark Ultimate Professional iron, make sure the unit is unplugged and completely cooled down. Failing to do so can result in serious electric shock or burns.
This guide will walk you through every step needed to safely disassemble the iron, disconnect its wiring, remove the old circuit board, and install the replacement. Take care to follow each instruction. Skipping or rushing a step could damage components or create a safety hazard. Once completed, the reverse process will get your iron reassembled and ready for use.
Ferramentas
-
-
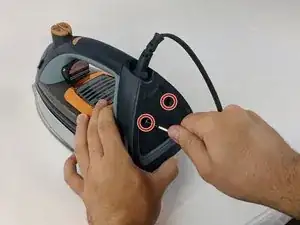
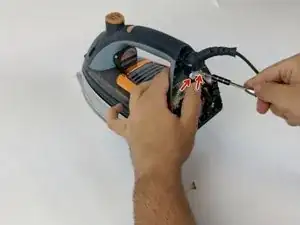
Use the Philips head #0 screwdriver to remove the two 11.49mm screws at the back of the iron.
-
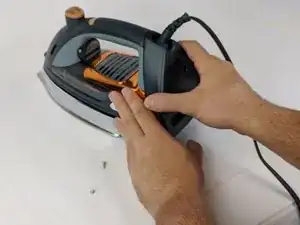
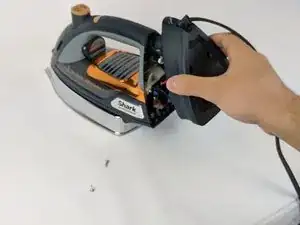
Remove the back cover piece.
-
-
-
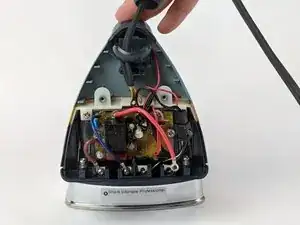
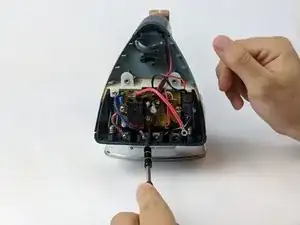
Use the Philips head #0 screwdriver to remove the two 11.77mm screws holding the white clamp to the iron.
-
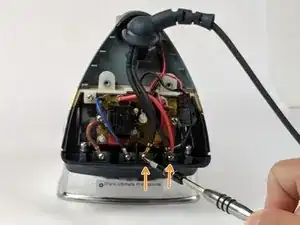
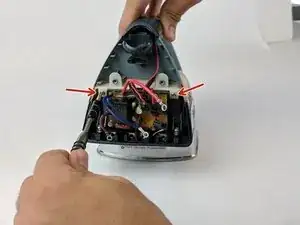
Use the Philips head #0 screwdriver to remove the two 6.58mm screws holding the black wires to the body of the iron.
-
-
-
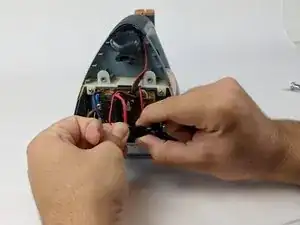
Pull the split end of the power cord upward through the ball joint.
-
Set aside the power cord.
-
-
-
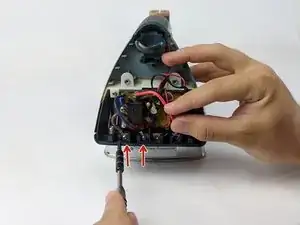
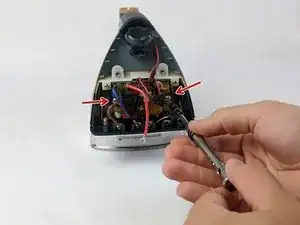
Use the Philips head #0 screwdriver to remove the remaining 6.58mm screws that hold the wires on the bottom (brown and blue).
-
Remove from left to right
-
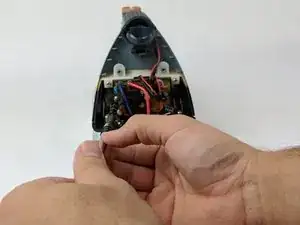
Unclip the black adapter piece on the bottom right.
-
-
-
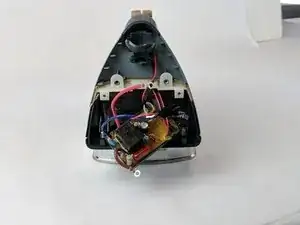
Use the Philips head #0 screwdriver to remove the two 9.75mm screws (left and right) affixed to the circuit board.
-
-
-
Use the Philips head #0 screwdriver to remove the two 9.82mm screws (left and right) from the white border on top of the circuit board.
-
Gently pull the circuit board from affixed position.
-
-
-
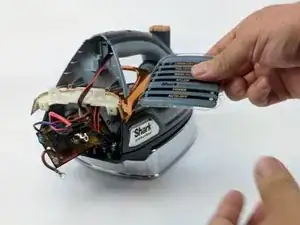
Remove the mode display piece and set aside.
-
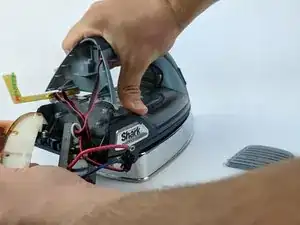
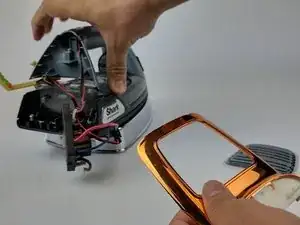
Lift the handle and wiggle the plastic trim and the orange-chrome bezel out from under the handle.
-
-
-
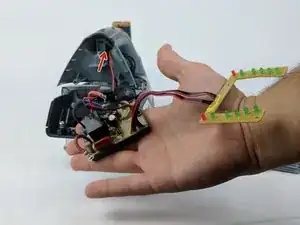
Remove the connecting wire from the connected adapter in the handle by pulling lightly.
-
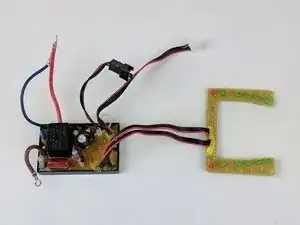
Set aside the circuit board.
-
To reassemble your device, follow these instructions in reverse order. Take your e-waste to an R2 or e-Stewards certified recycler.
4 comentários
My shark 1505C does not have philips screws on the back. They are security torx and I cannot find a tool to open it.
Where can I buy a main board for this iron ?
Thanks
NevG.
nevstarg -
where do I buy it's circuit board?
Where can u buy the circuit board professional 1800 version?