Introdução
If the pedal resistance adjustment no longer gives enough resistance for your exercise needs, this guide will show you how to adjust it to return it to working status.
This guide was inspired by a YouTube video uploaded by user edgeviolin. Although their guide is working on a Model 170 Upright Bike, the basics are the same for the Model 130. A few details are slightly different, but outside of the process of removing the pedal, this guide can be used for either bike.
The resistance setting works by adjusting a set of magnets to be closer or further away from a rotating metal wheel. The closer the magnets are to the wheel, the higher the resistance that will be felt. Over time, the servo motor fails to move the magnets close enough to the wheel to provide sufficient resistance, but the good news is that distance is adjustable and can be reset to work correctly once more.
-
-
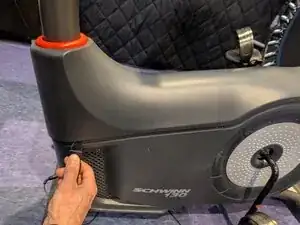
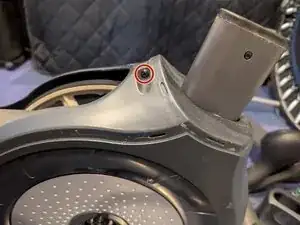
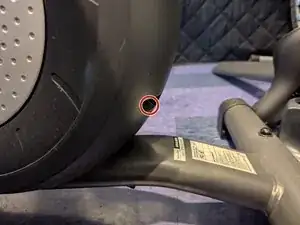
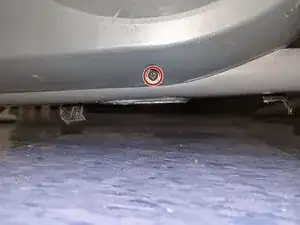
Unscrew the seat height adjustment knob.
-
Hold onto the seat as you unscrew the knob or it will drop suddenly.
-
Remove the seat and adjustment knob.
-
-
-
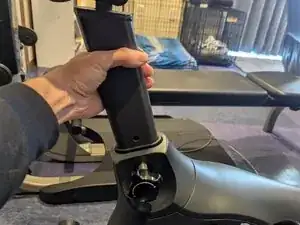
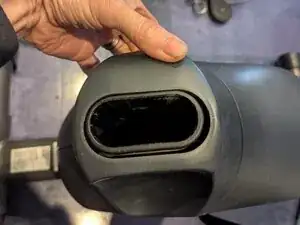
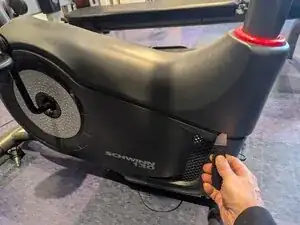
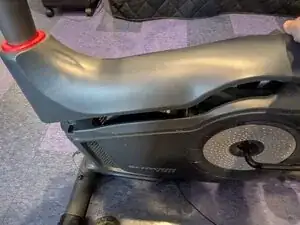
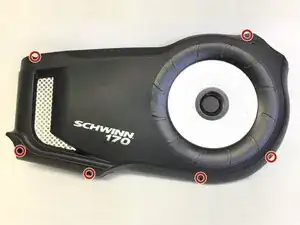
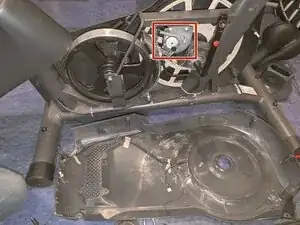
Work the panel off the pedal arm; rotate it up and to the back until you find a position where it can be removed.
-
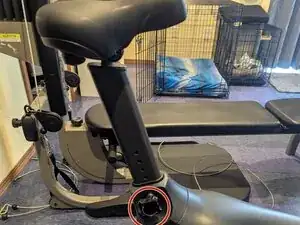
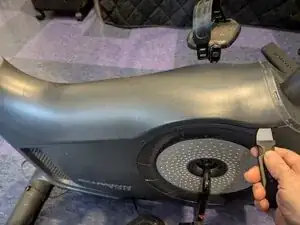
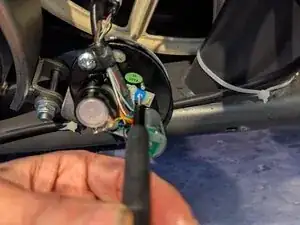
Here you can see the power cord still attached to the connector below the resistance servo motor.
-
-
-
Before proceeding, you'll want to check the position of the servo when the bike is set to its highest resistance.
-
With the power still connected, turn the bike on and press the Resistance Up button repeatedly until it reaches the maximum.
-
Unplug the bike without turning it off first so the servo will stay in its current position.
-
-
-
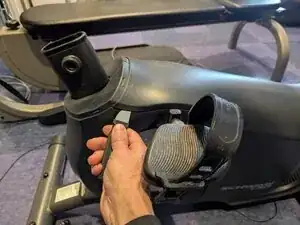
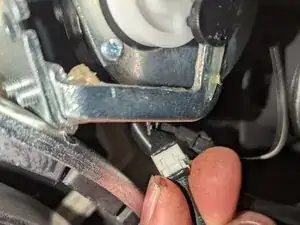
Hold onto the male side of the connector, then use your fingernails to grasp the sides of the female connector and pull it out.
-
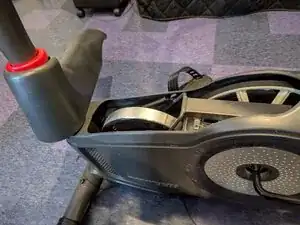
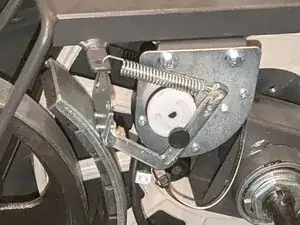
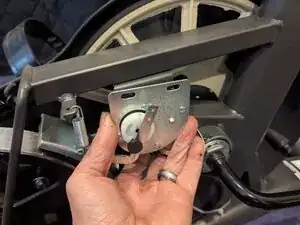
The panel has been removed. Here you see the servo motor and its mounting that must be taken off to adjust it.
-
-
-
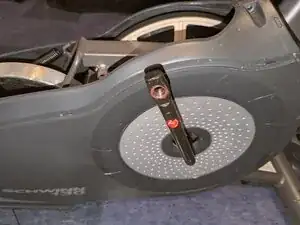
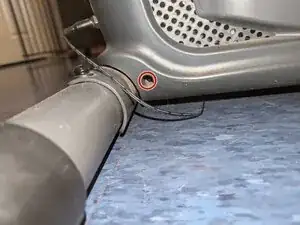
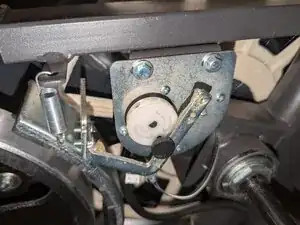
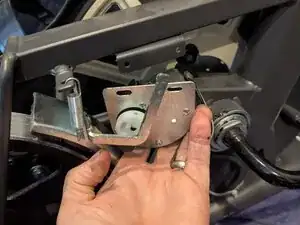
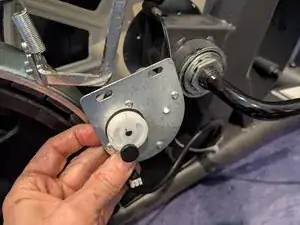
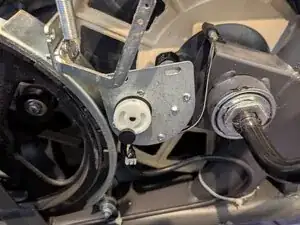
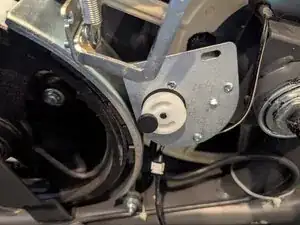
For reference, here the servo is at its minimum resistance setting.
-
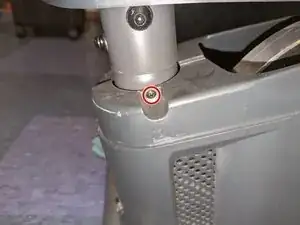
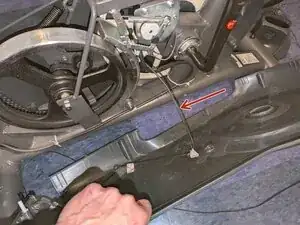
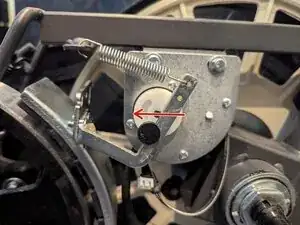
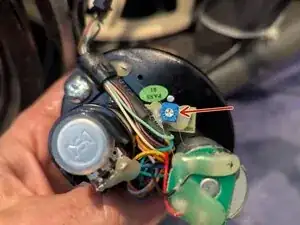
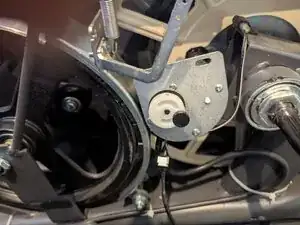
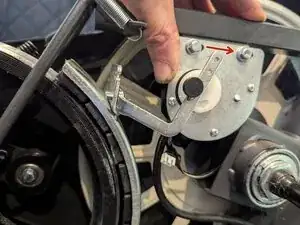
Here you see the servo at its maximum resistance position. The red arrow shows where we want it to be.
-
-
-
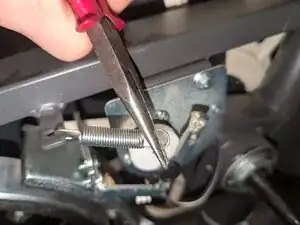
Grasp the end of the tension spring and unhook it from the servo arm.
-
Once it's free, let it hang from the frame mount.
-
-
-
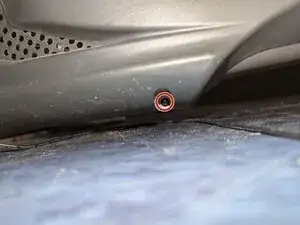
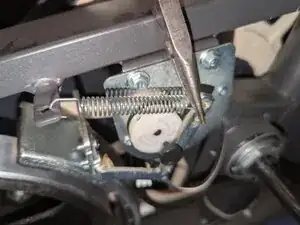
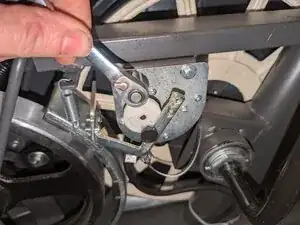
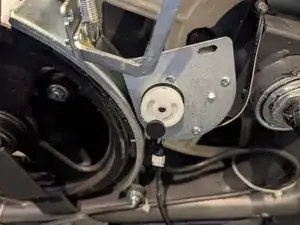
Here is the potentiometer that allows for adjustment of the servo position.
-
Using a flat blade screwdriver, turn the pot fully clockwise. It has a 3/4 turn maximum rotation, so rotate it back half of its travel to as close to a centered position as you can get it.
-
-
-
Plug in the power cord. The servo will return to its minimum position automatically as seen here.
-
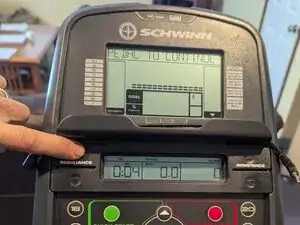
Press the Resistance Up button repeatedly until it's maxed out.
-
The second photo shows the servo motor has traveled to its previous maximum position.
-
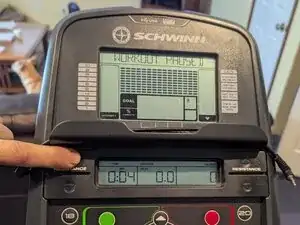
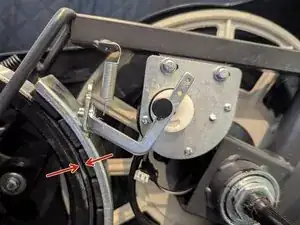
And the third picture tells us our adjustment now allows the servo to reach the position we wanted it in!
-
-
-
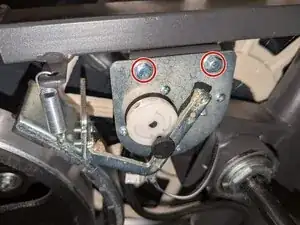
Reposition the servo assembly back on the frame and insert the two bolts, but only tighten them finger tight.
-
If necessary, slide the assembly back until the magnet assembly is a slight distance away from the rotating wheel. Make sure it is not actually touching at any point, then tighten the bolts.
-


To reassemble your device, follow these instructions in reverse order.