Introdução
Replace the P-Jog assembly, which houses the on-board control knob, and the infrared sensor for the remote.
I have linked a P-Jog Assembly for sale in Europe, there are sellers in the US and other parts of the world. Look for model number BN96-26411B.
Ferramentas
Peças
-
-
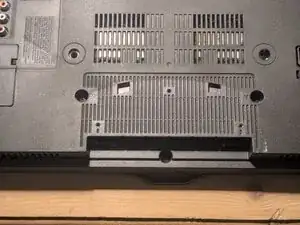
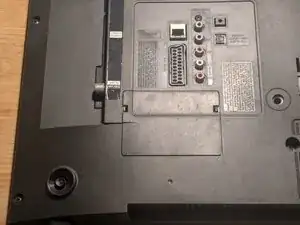
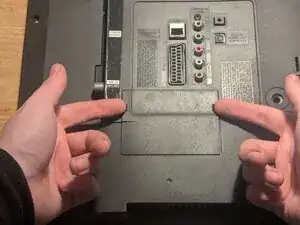
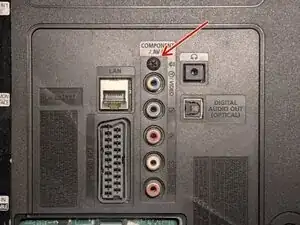
Remove the cover by the tabs.
-
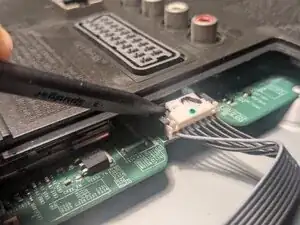
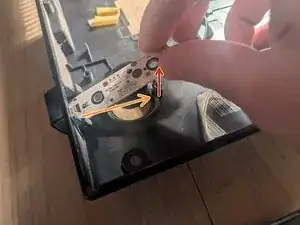
Use a spudger to lift the cable clip, and simultaneously pull to remove.
-
-
-
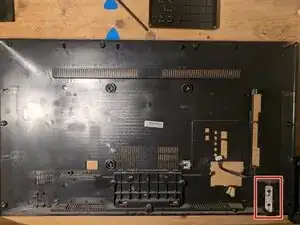
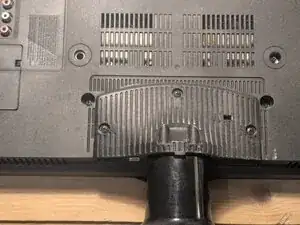
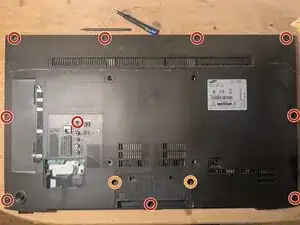
Remove the following screws securing the back cover
-
Ten Phillips #2 screws
-
Two Phillips #2 screws
-
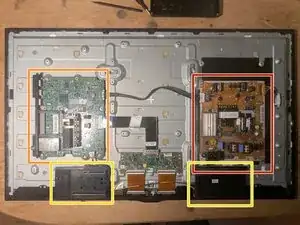
Lift the back cover off, to reveal:
-
Power Assembly
-
Main Assembly
-
Speakers
-
-
-
Remove the two Phillips #2 screws securing the board.
-
Lift the P-Jog Assembly up,
-
then pull it in away from the edge to remove it.
-
Secure the new P-Jog Assembly with the two Phillips #2 screws that were removed.
-


To reassemble your device, follow these instructions in reverse order.
