
Introdução
Ferramentas
-
-
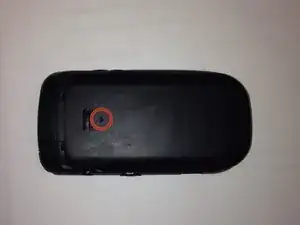
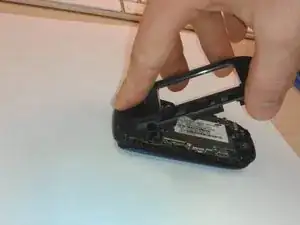
Detach the battery cover by sliding the cover down toward the bottom of the phone.
-
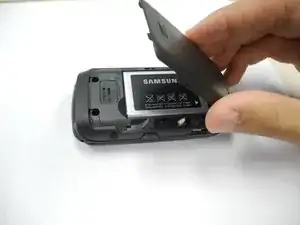
Lift up on the battery cover to complete cover removal.
-
-
-
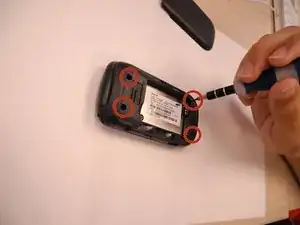
Use a phillips head (PH) #00 screwdriver to remove four screws connecting the two halves of the case.
-
-
-
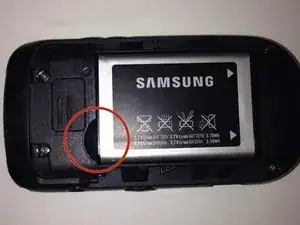
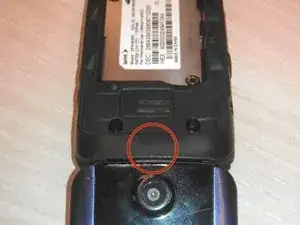
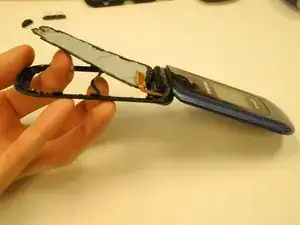
Using your plastic opening tool, pry under the back case starting with the top as marked by red circle.
-
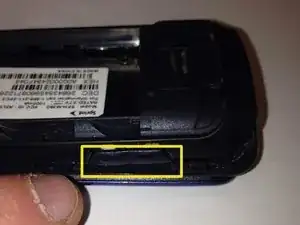
The volume button and camera button are held in by the back case. Volume button pictured. Camera button opposite.
-
REASSEMBLY ONLY: Replace volume and camera buttons in place. Then, insert the top of the back case FIRST and squeeze together clips as you work toward the bottom of the phone.
-
-
-
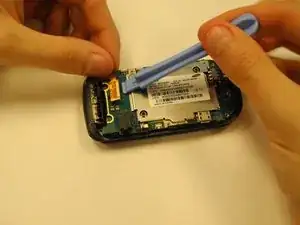
Locate the ribbon at the top right corner of the logic board.
-
Use the opening tool to gently lift the ribbon away. It should lift easily.
-
During reassembly, align the gold contacts and black plastic ends, then press lightly until it clicks into place.
-
-
-
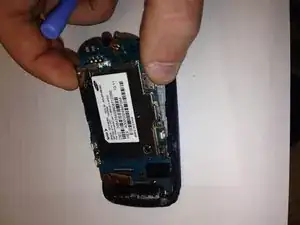
Insert the plastic opening tool beneath the logic board.
-
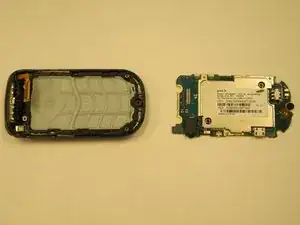
While stabilizing the phone, gently lift the board away from the casing. Please do NOT force it! If it resists, apply even pressure in multiple locations.
-
-
-
If you plan to reuse the logic board, store it in a clean, static-free environment to avoid dust and debris contamination.
-
-
-
After removing the logic board, grasp the bottom of the plastic casing.
-
Using your hands, pop the plastic keyboard out of the plastic casing by pushing lightly on the middle of the keyboard.
-
Insert new keyboard.
-


To reassemble your device, follow these instructions in reverse order.