Introdução

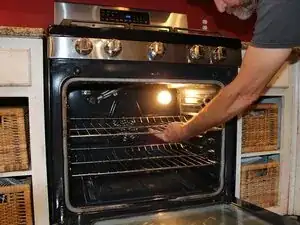
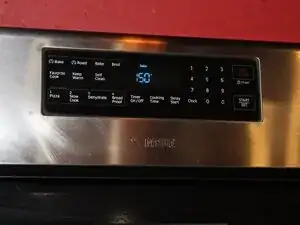
If your stove gas oven is not warming up, you might need to change the oven igniter. This is a simple fix and anyone regardless of experience should be able to do it. You will only need a replacement igniter from Amazon and a #2 Phillips screw driver. This is a fast fix for a Samsung gas stove igniter, model number is NX58H5600SS.

  1. ErJ51UbretX1k3jv
    ErJ51UbretX1k3jv
    EyKiTtmXUIWW2HP1
    • Unplug the stove from the power outlet.

  2. QIAmAAobQw2HnPf2
    QIAmAAobQw2HnPf2
    RUjwEF6CZqW3lSoY
    HSmfxQAR2i2fDAFv
    • Remove the racks from the oven.

  3. SBGGHqPPeMnFMuDh
    SBGGHqPPeMnFMuDh
    H6yb4HAPd3Au6XXs
    xXZFJ1AeQvaSABXT
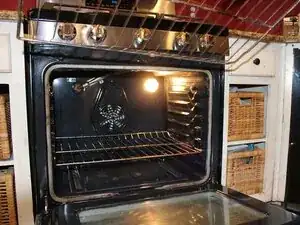
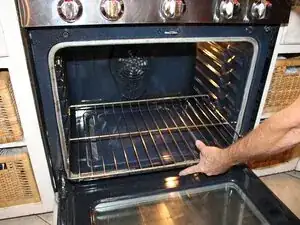
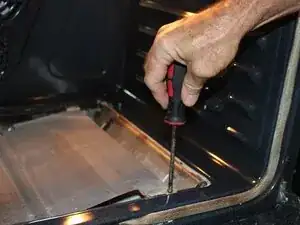
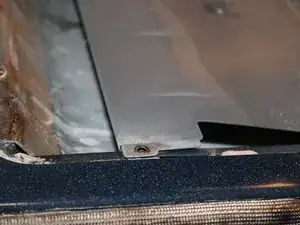
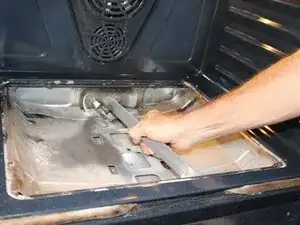
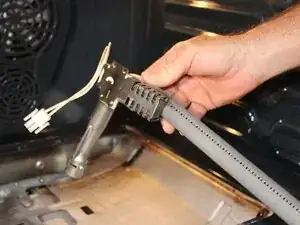
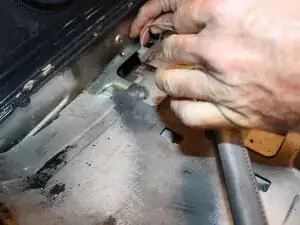
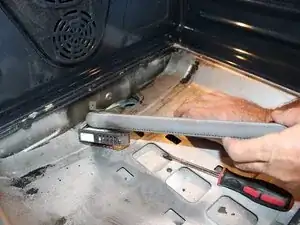
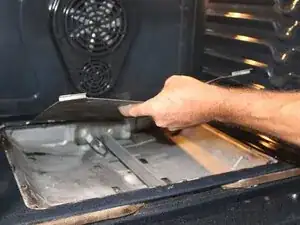
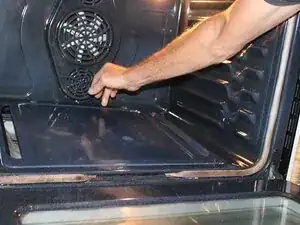
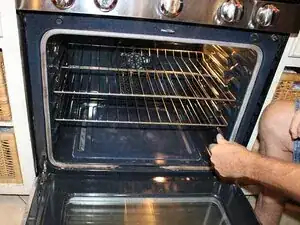
    • Remove the vented floor pan from the bottom of the oven by removing the two 11 mm Phillips #2 screws from the rear of the base plate.

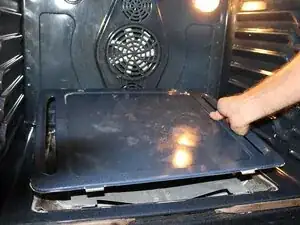
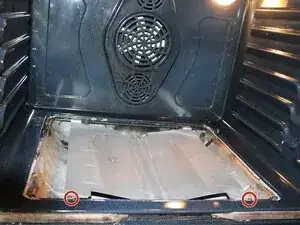
    • Lift out the base plate.

  4. c1Vd25dbb3Xpalap
    c1Vd25dbb3Xpalap
    yQFnDUrOnANXVRxy
    adOKHdPCyKKY3oPF
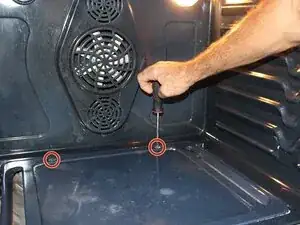
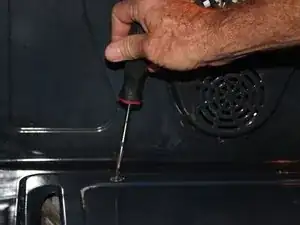
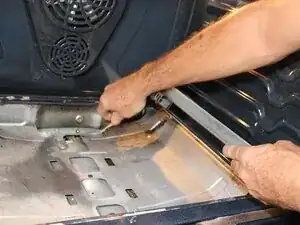
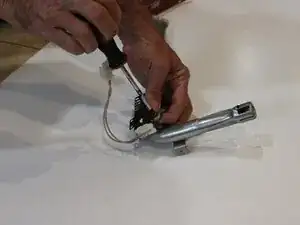
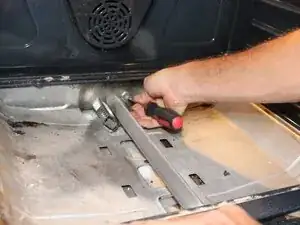
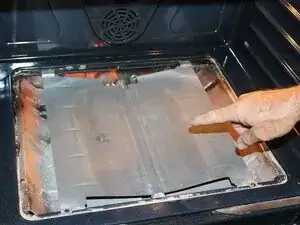
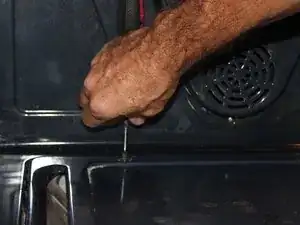
    • Remove the flame diverter plate by removing the two round head, 6 mm Phillips #2 front screws that secure the diverter plate.

  5. EDPSmUB2K2tYvqTE
    EDPSmUB2K2tYvqTE
    MZfuFKurLcJH6skY
    • Remove the two 8 mm Phillips #2 screws attaching the burned tube from the oven frame.

  6. p5RCDl3yUqfEVVyV
    p5RCDl3yUqfEVVyV
    rrgTMVU1ttJcHvnA
    • Trace the power wire through the back or bottom of the oven.

  7. EsuVbHUbVKKjamEB
    EsuVbHUbVKKjamEB
    pOSAn4BtJdPWGVHv
    • Unclip the power wire connector and pull out the igniter.

  8. tFYtZADWel5ioF2f
    • Remove the gas bar and igniter.

  9. TreAtNAXXw3OymAO
    TreAtNAXXw3OymAO
    LBewcITKTA1XAooe
    cLOipDNnUbgY1Mnp
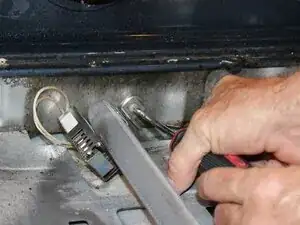
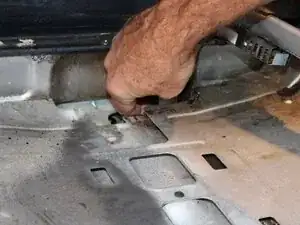
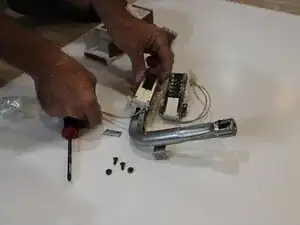
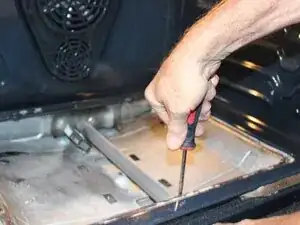
    • Remove the old igniter by removing the two round head, 10 mm Phillips #2 screws.

    • Screw the new igniter by adding the two round head, 10 mm Phillips #2 screws.

  10. 1GftdiNgIPJIDGbE
    • Clip the power wire to the connector at the back of the oven.

  11. bEZYMO1E22b4qag1
    bEZYMO1E22b4qag1
    OfDp5fMDUneTKFYS
    HgKJqNjMUFbZw2d1
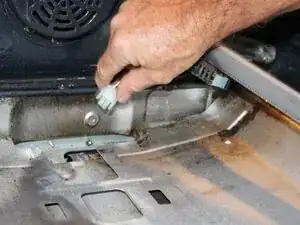
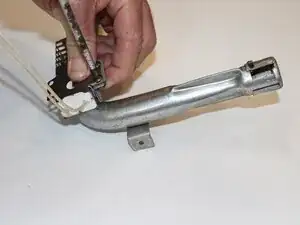
    • Reinstall the gas tube with the new igniter into the oven with the two round, 8 mm Phillips # 2 screws.

  12. TLGCTcCBeMXrLJiR
    TLGCTcCBeMXrLJiR
    XNKDeYc36kc1QNgW
    • Replace the flame diverter plate.

  13. k2tLYVR4FcmE3TVW
    k2tLYVR4FcmE3TVW
    kGTnkW4r4AS4ftxt
    • Test the oven for function by turning the oven on.

    • Make sure to turn off the oven prior to continuing the next steps.

  14. lMu2hKBceqqZnwG5
    lMu2hKBceqqZnwG5
    e2Chc14ObCeob3EA
    qtFUjsIcNuMx62Nu
    • If the oven works well, replace the remaining parts to reassemble and test again.

  15. AJP5On5MsSYjedKq
    AJP5On5MsSYjedKq
    FZUcc6Uf63KI3LaB
    • Reassemble the oven back and plug in the stove.

Conclusão

To reassemble your device, follow these instructions in reverse order.

Tylynn

Membro desde: 25/09/25

268 Reputação

0 comentários