Introdução
Microphones are an essential part of the Galaxy Tab A 7.0 device. This guide will walk you through the steps of how to replace it with ease! Handle all components with care. Please be gentle with all procedures these are very sensitive components.
Ferramentas
-
-
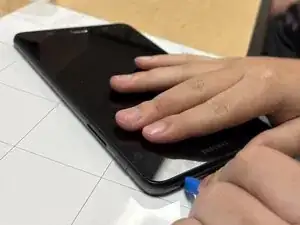
Insert the plastic opening tool into the seam between the back and front covers, starting at a corner of the tablet to create a gap.
-
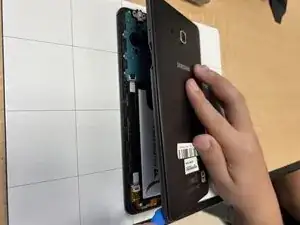
Slide an opening pick along the edge of the rear cover to release the clips.
-
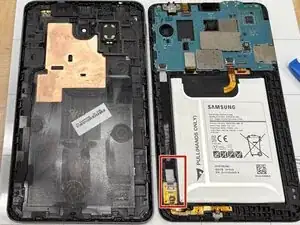
Carefully separate the back and front panel.
-
-
-
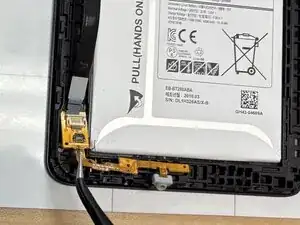
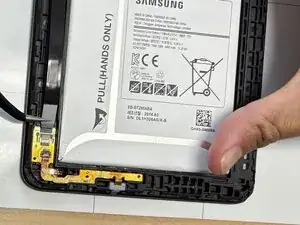
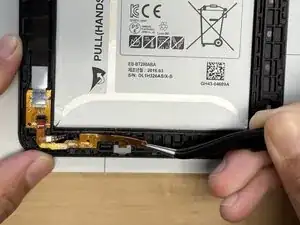
Use a spudger to flip up the black locking tab securing the small ZIF connector.
-
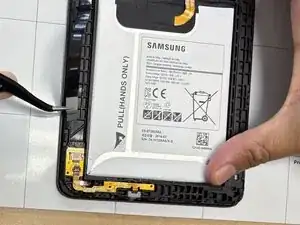
Use tweezers to carefully pull the orange cable from its socket.
-
-
-
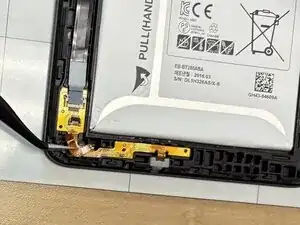
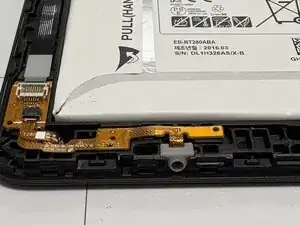
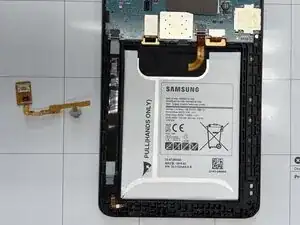
Use tweezers to gently lift the small orange board that houses the ribbon connectors from the corner.
-


To reassemble your device, follow these instructions in reverse order. Take your e-waste to an R2 or e-Stewards certified recycler.