
Introdução
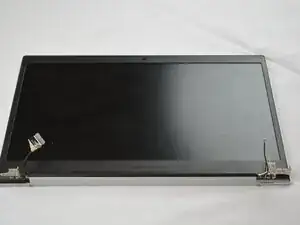
A cracked, flickering, or completely unresponsive display can make your Samsung Galaxy Chromebook Go 14 nearly impossible to use. Fortunately, replacing the screen on the XE345XDA is a relatively straightforward repair that requires only basic tools and careful handling of the thin display panel.
To determine if you need to replace the display assembly, take a look at the Samsung Galaxy Chromebook Go 14 XE345XDA Screen Is Black troubleshooting page for other potential solutions.
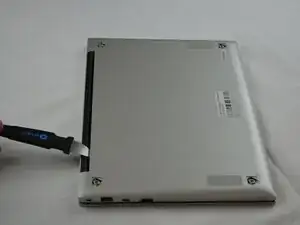
Before you begin, power off and unplug your Chromebok.
-
-
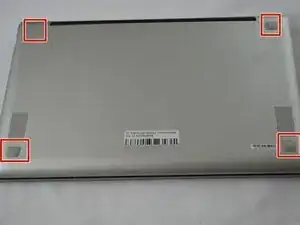
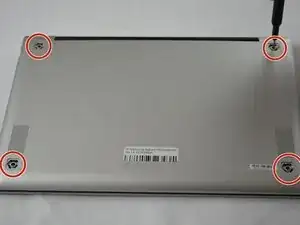
Use the Phillips #00 screwdriver to remove the four 4.32 mm screws underneath each rubber sole.
-
-
-
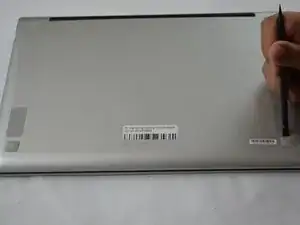
Insert an opening tool into the space between the bottom and top cover.
-
Slide the opening tool around the perimeter of the device to release the clips securing the bottom cover.
-
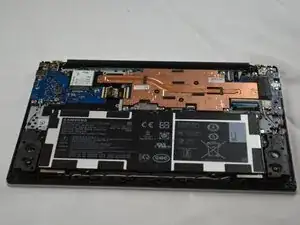
Pry off the bottom of your Chromebook.
-
-
-
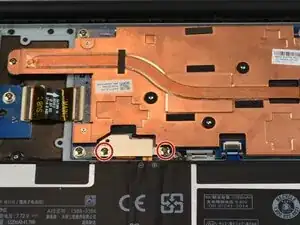
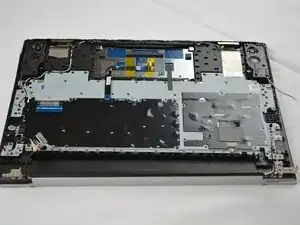
Use a Phillips #00 screwdriver to remove the two 4 mm screws holding down the silver plate covering the battery connector.
-
Remove the plate.
-
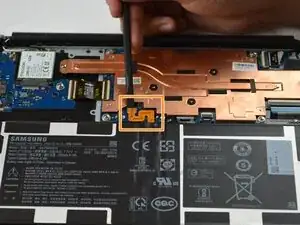
Place a spudger or an opening tool under the edge of the battery connector and pry straight up to disconnect it.
-
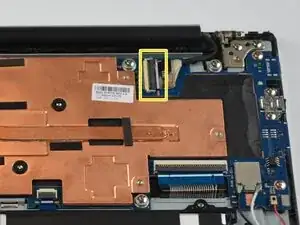
Use a spudge or a clean fingernail to flip up the locking flap on the display connector—this is the unlocked position.
-
Use tweezers or your fingers to gently pull the cable out of its socket.
-
-
-
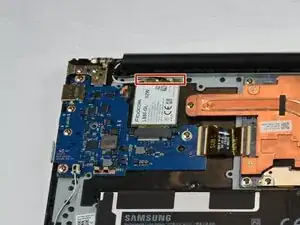
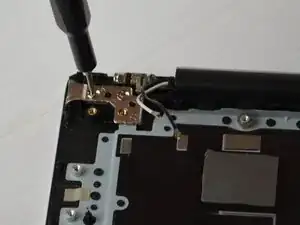
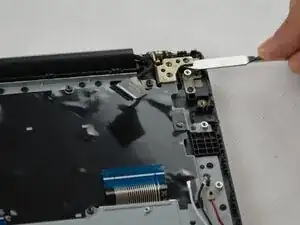
Slide a thin, ESD-safe pry tool or angled tweezers under the metal neck of the coaxial connector on the Wi-Fi card (as close to the head as possible) and lift straight up from the board.
-
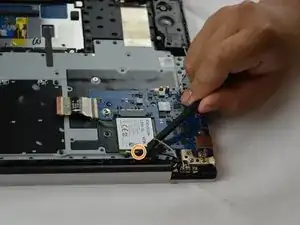
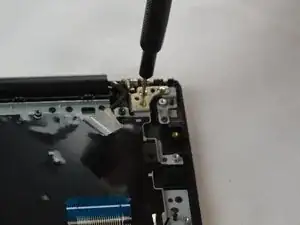
Use the Phillips #00 screwdriver to remove the 3.53 mm screw securing the Wi-Fi card.
-
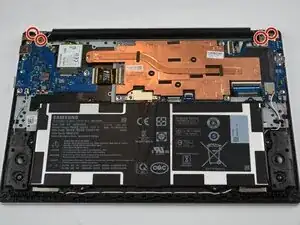
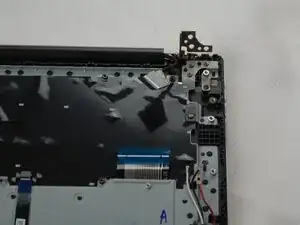
To reassemble your device, follow these instructions in reverse order. Take your e-waste to an R2 or e-Stewards certified recycler.
