-
-
Heat the device to soften the adhesive. Take care not to apply too much heat or in one area overlong to avoid damage to the battery or other components
-
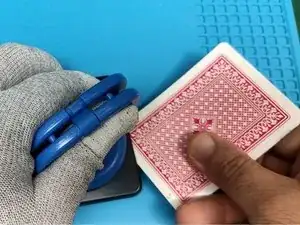
To separate the back cover, use plastic tools; a spudger, pick or playing card as shown here. A suction cup and a little high alcohol content ethanol or isopropyl alcohol (Not Rubbing Alcohol) to help soften the adhesive may be helpful. (shown in the video)
-
-
-
Remove the SIM Tray.
-
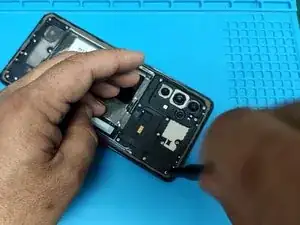
Remove the ten silver Phillips screws securing the plastic mother board cover.
-
Pry off the cover and remove it.
-
-
-
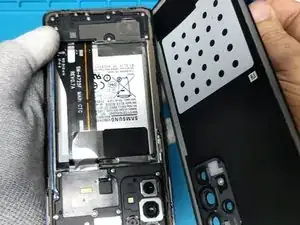
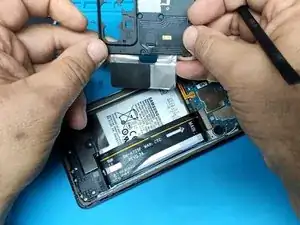
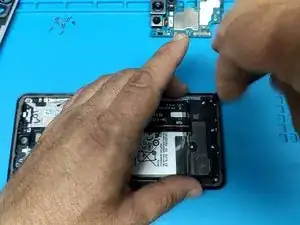
Disconnect the battery by prying gently.
-
Unplug the main flex cable.
-
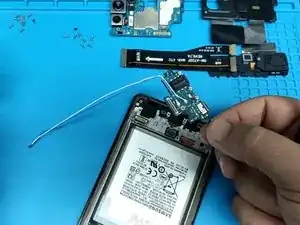
Pry gently upward to disconnect the coaxial antenna cables connectors.
-
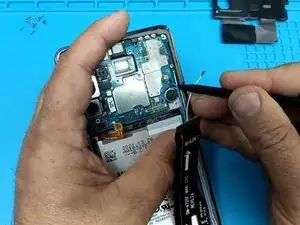
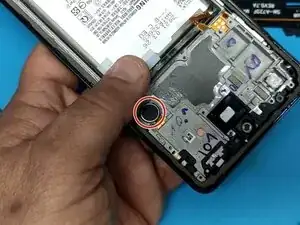
Remove the black Philips screw securing the motherboard to the display frame. set it aside.
-
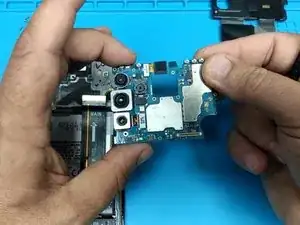
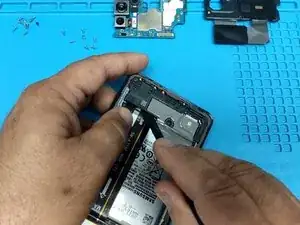
Use a plastic tool to pry up and remove the Motherboard.
-
-
-
Remove the silver Phillips screws and with a plastic tool pry up the plastic cover. Set it aside.
-
-
-
Pry up the connector and disconnect the fingerprint sensor.
-
Unplug the Main flex cable.
-
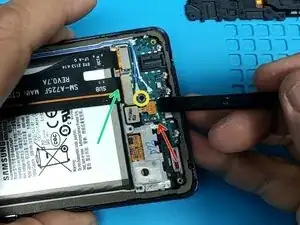
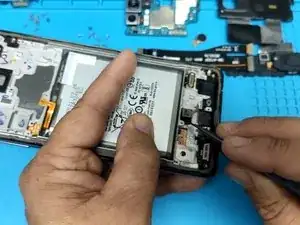
Remove the black screw securing the Charging board.
-
Use a plastic tool to gently pry up and then pick up the charging board and set it to the side. (photos two and three)
-
-
-
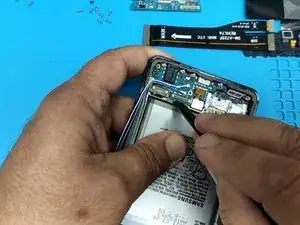
Carefully pry up and remove the vibrator motor.
-
Remove the Fingerprint sensor.
-
After all components are removed, follow the steps in reverse to install them in the new frame. If necessary, watch the video to clarify any misunderstanding.
-
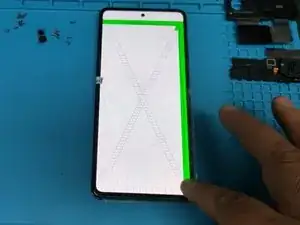
Before assembling the phone, test the new display by entering this code: *#0*# one the phone number pad. This tests the display in various ways, look for unresponsive areas, dead pixels and the like. Congratulations!
-


To reassemble your device, follow these instructions in reverse order.