Introdução
In case you are far away from Germany or don’t want to spend the extra money sending your PM to SRM, this guide shows you how to attempt a DIY. I had no knowledge of the product design or variants of the mechanical aspects. This guide was created through observation and basic electronics knowledge. I did perform the battery swap on my own PM that I continue to use for training.
In case you are lucky to get a later model, I believe the battery replacement can now be performed by yourself.
Good Luck!
-
-
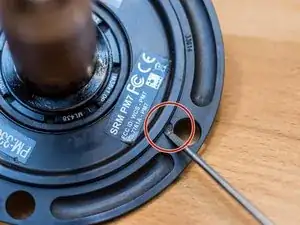
Remove the chain rings. On some models there are little screws to open the cap. On my FSA Model there is a tab to pop open the cap.
-
Make sure the seals stay intact.
-
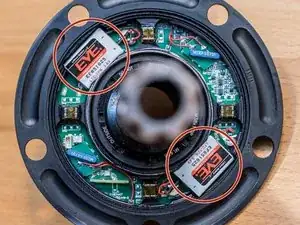
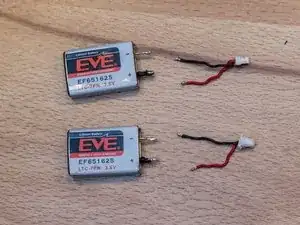
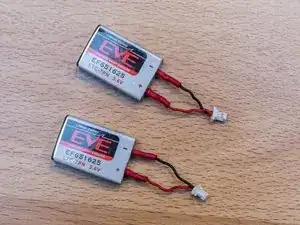
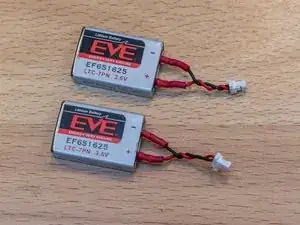
There are 2 batteries glued in. They are connected with a power cable that has a little 2 pin plug.
-
-
-
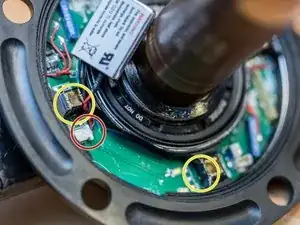
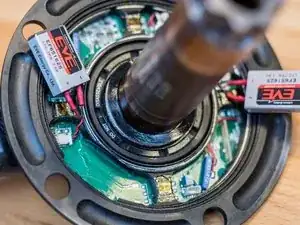
ATTENTION: Make sure you don't damage the thin cooper wires marked in yellow.
-
Unplug the batteries from the circuit board. (red)
-
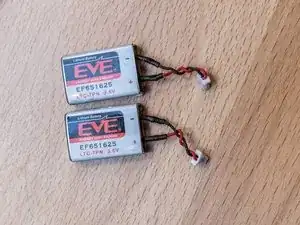
With the solder gun remove the cables from the old batteries. Make sure not to melt the cables or plug.
-
-
-
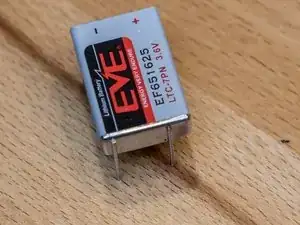
My batteries had mounting pins attached to the silver side. They have to be remove with pliers.
-
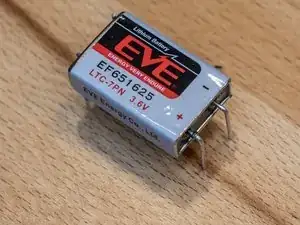
The terminal pins have to be bent straight.
-
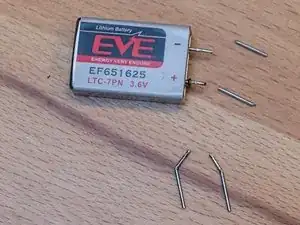
Finally the pins have to be cut to the same length as the old batteries.
-
-
-
Add heat shrink to cables and solder them to battery. Red to (+) and black to (-)
-
Push the heat shrink up to cover the entire pin and soldering connection.
-
Twist the wired back together gently.
-
-
-
Attach the new batteries. There is a + on the circuit board on the side where the red wire goes.
-
Push the batteries gently back into place.
-
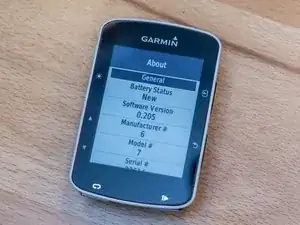
Connect the power meter and check the battery status of the sensor. On my Garmin I see NEW.
-


Um comentário
Super Anleitung, vielen Dank!
Hast Du das Powermeter mit einem Garmin Gerät verbunden? Wird dir da der Batteriezustand angezeigt? Ich habe mir ein gebrauchtes PM 7 gekauft, aber er zeigt nur „- - -„ an. Jetzt weiß ich leider nicht ob sich ein Wechsel schon lohnt
Felix -