Introdução
If your SRAM AXS electronic derailleur doesn't power on with a charged battery, it's possible one of the pogo pins that contacts the battery is broken. Look closely at the pogo pins - is one shorter than the other, or feel weaker? If you add a small amount of tinfoil to the suspect pins to raise their height, does the battery work again? If so, the pogo pin has likely failed. This is a known issue for several AXS products.
If the device is less than 2 years old and you have proof of purchase you should get a warranty replacement from SRAM instead.
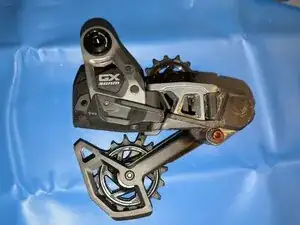
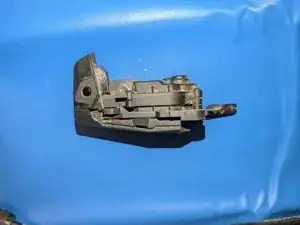
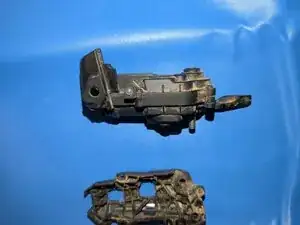
Despite SRAM calling it "the most repairable derailleur we've ever made", there are no replacement parts or official guides for the upper assembly that contains the motor, inner link, B-knuckle and P-knuckle. This guide will cover disassembly down to the circuit board and replacement of the pogo pins.
The process should be almost identical for an S1000 derailleur. XX/X0 T-Type derailleurs and other AXS components are constructed differently and have different pogo pin sizes.
For replacement pogo pins the Mill-Max 0906-2-15-20-75-14-11-0 (available on digikey for $0.75) measures very closely to the stock ones on the GX derailleur I opened up. While the height is pretty much perfect, the "base" of the pin is shorter than the original ones.
Some other sources around the web for this issue:
Ferramentas
Peças
-
-
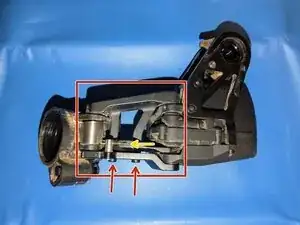
Begin by removing the derailleur from the bike. As covered in the video SRAM GX and S1000 Eagle Transmission Rear Derailleur Rebuild, remove the:
-
pulley cage and damper assembly
-
skid plate (one 2mm allen screw)
-
upper and lower parts of the outer parallelogram link (two 2.5mm allen bolts)
-
-
-
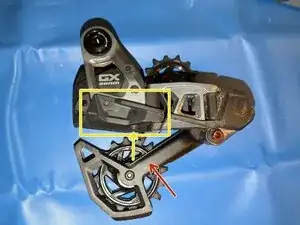
Undo the two 2.5mm security allen bolts and carefully pull the lower and then upper halves of the inner parallelogram link off.
-
When reassembling, slip the metal arm from the motor under the spring before sliding the upper half of the inner link into place.
-
-
-
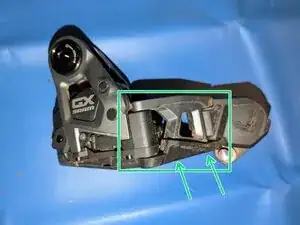
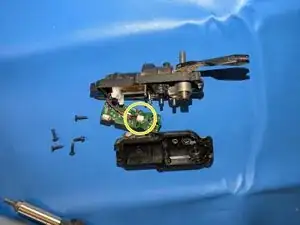
Remove the upper arms, small white bushing, pivot axles, and GX nameplate from the motor case.
-
When reassembling, it is helpful to get everything else loosely in place before wiggling the name plate into position.
-
-
-
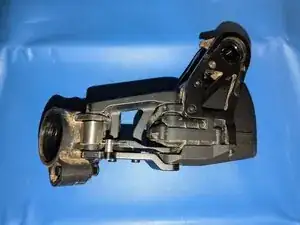
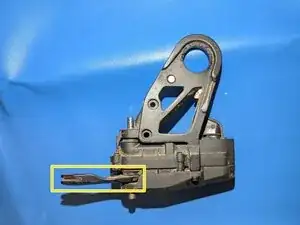
Remove the plastic shields on the bottom of the motor case and around the AXS button.
-
You can test the derailleur at this point by holding a battery against the pogo pins and pressing the AXS button. If a green light appears and the derailleur moves, congrats - you fixed it!
-
-
-
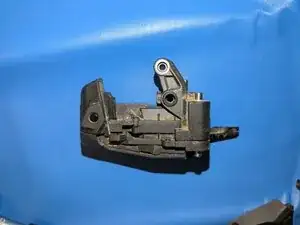
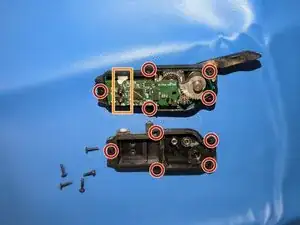
Remove the torx screws holding the two halves of the motor case together.
-
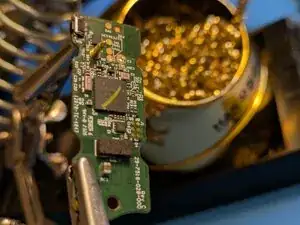
Remove the circuit board from the white plastic clip.
-
Unplug the motor cable by gently lifting the white connector up from the circuit board.
-
-
-
Remove and replace all damaged pogo pins. Make sure the new pogo pins are fully seated and straight.
-


To reassemble your device, follow these instructions in reverse order.
To reinstall the derailleur on a bike, follow the video SRAM Eagle AXS Transmission System Installation.