Introdução
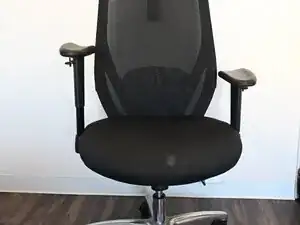
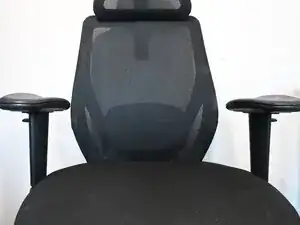
Use this guide to replace a missing or broken spring in the armrest of a SIHOO M57 ergonomic office chair.
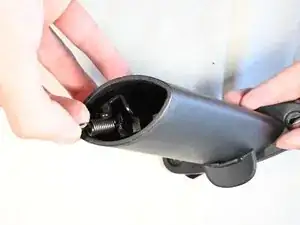
Most ergonomic office chairs come with adjustable armrests, but this mechanism may break down due to excessive use or poor assembly of the parts. For an adjustable armrest to function, the arm shaft of the armrest houses the adjustment track. This adjustment track is the main feature that allows the armrest to be adjustable. If something is broken in the mechanism, such as the tension spring, the functionality of the armrest will be compromised. This will lead to discomfort if only one of the armrests works to support the user's arm, compared to having two working armrests.
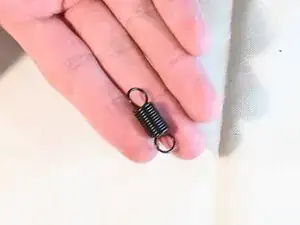
Before you begin the fixing process, make sure you have the necessary hook tension spring to replace the missing or broken spring. The spring should be 3 mm x 10 mm.
Ferramentas
Peças
-
-
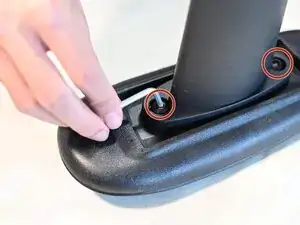
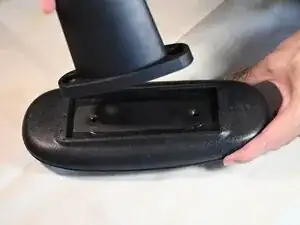
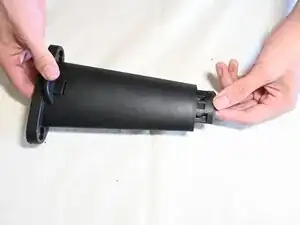
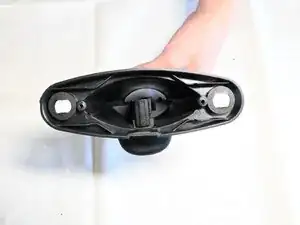
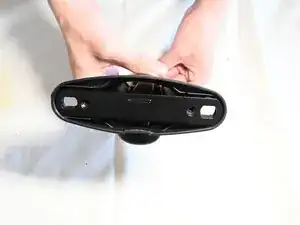
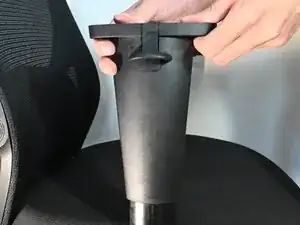
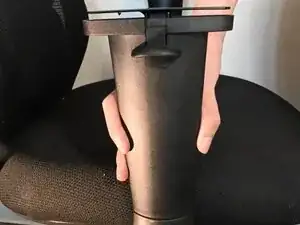
Place the armrest upside down on a table.
-
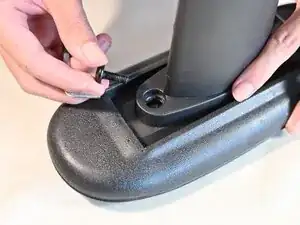
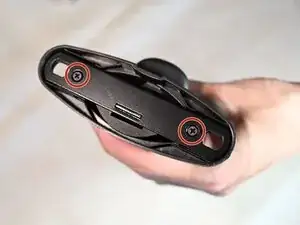
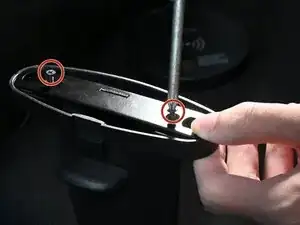
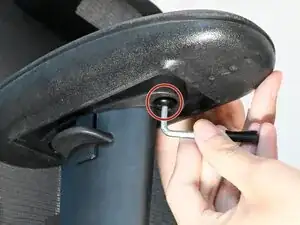
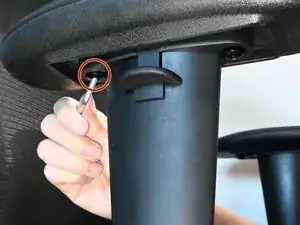
Use an Allen wrench to remove the two 5 mm hex screws by turning counterclockwise.
-
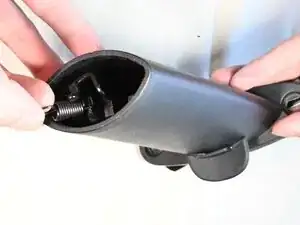
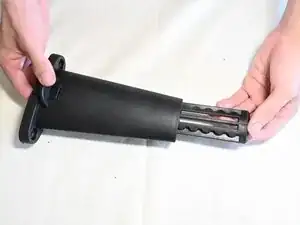
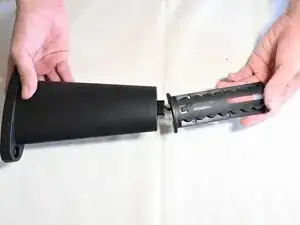
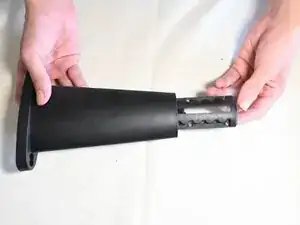
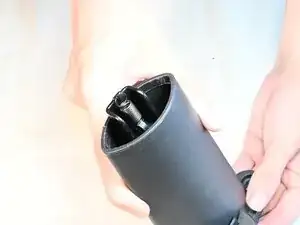
Remove the arm shaft from the arm pad.
-
-
-
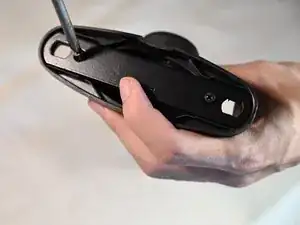
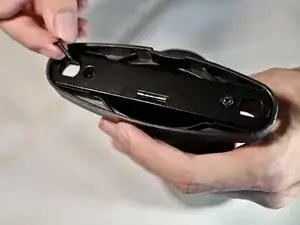
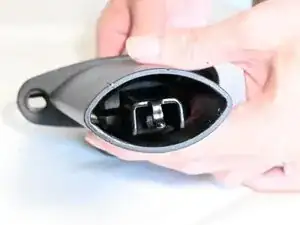
Use a Phillips #1 screwdriver to remove the two 2 mm Phillips screws securing the parts of the adjustment mechanism.
-
-
-
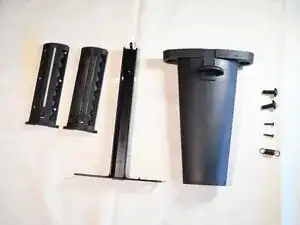
Carefully slide the components of the adjustment track out, starting with the hard plastic parts.
-
-
-
Lay out everything for easy access, including the replacement spring.
-
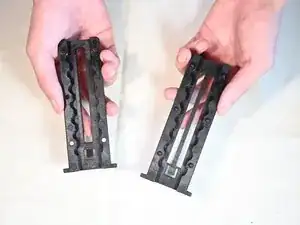
Taking the two clasps, choose the one with the bar in the middle.
-
-
-
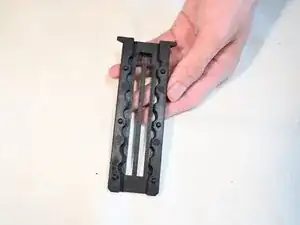
Push the adjustment tab up and insert the clasp piece into the arm shaft from the bottom.
-
Check to make sure it rests neatly inside.
-
-
-
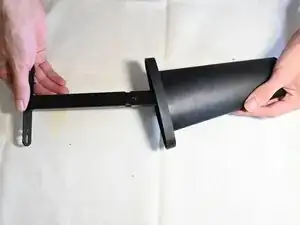
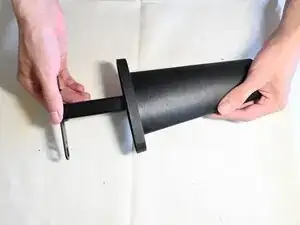
Take the T-shaped metal bar and insert it from the top.
-
Check to make sure it sits in the mold of the clasp.
-
-
-
Take the other clasp and insert it into the arm shaft from the bottom.
-
Check to make sure it rests neatly inside with the other parts.
-
-
-
Loop one end of the 3 mm x 10 mm hook tension spring to the plastic hook of the clasp first.
-
Loop the other end of the spring to the hook on the T-shaped metal bar.
-
-
-
Place the arm pad back on.
-
Screw the two 5 mm hex screws back in place using an Allen wrench, rotating clockwise.
-


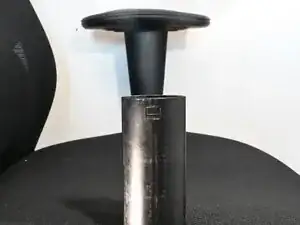

By the end of this guide, the armrest should be repaired and ready for use again.
