Introdução
A short guide about how to take apart an XB6 modem from Rogers (Comcast in U.S.)
-
-
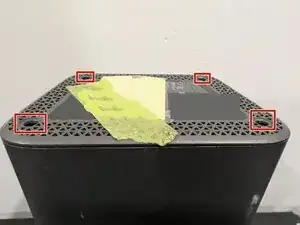
First start off by removing the four rubber feet from the bottom. Then using a plastic prying tool, wedge open the bottom between the plastic shroud and the metal bottom casing.
-
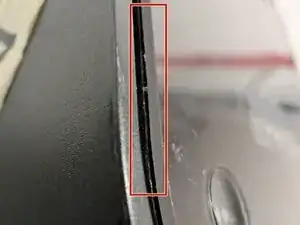
Using the prying tools again, work on removing the top plastic cover of the shroud.
-
The goal is to pry open the clips that are holding the plastic assembly in place.
-
⚠️Be careful when lifting with your prying tool, it is easy to accidentally wedge open only the transparent plastic cover, which is glued to the opaque bottom.
-
-
-
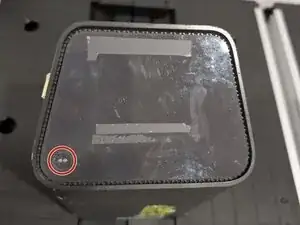
Next, we need to remove the three T2 (or T3, sorry I can't remember) screws that were sitting under the top cover of the modem.
-
⚠️This will void your warranty. ⚠️
-
I didn't take a photo but, the bottom screw was covered with a warranty seal that requires to be broken.
-
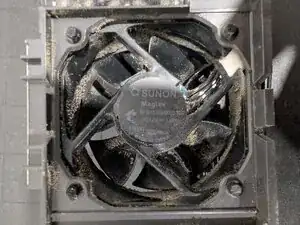
ℹ️ Take note that the top rectangular structure above the three screws is the cooling fan for the modem.
-
-
-
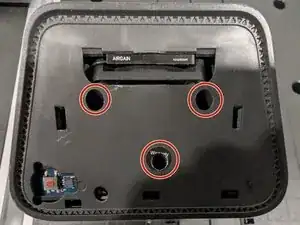
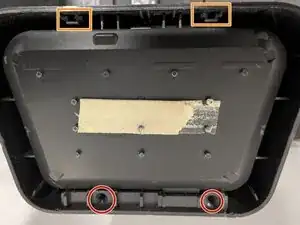
Start by removing the bottom two screws circled in red.
-
Next, while gently prying open the two tabs (in orange), push down from the top of the modem, so that it can slide away from the external casing.
-
ℹ️Take note that the inputs and outputs of the modem are physically attached to the internal components and are not attached to the external housing.
-
-
-
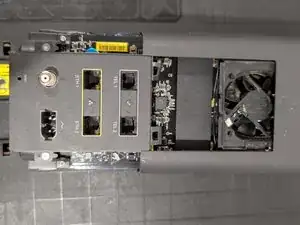
The modem is now ready for cleaning, I recommend reading through other electronic cleaning guides to get a general sense of what to do.
-
-
-
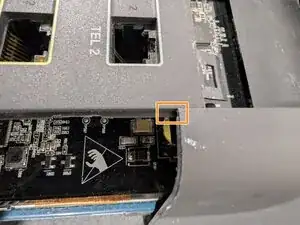
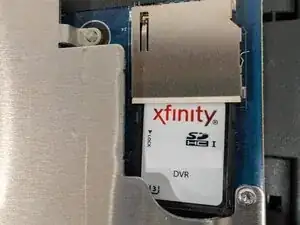
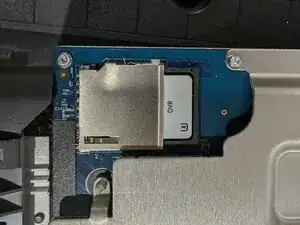
I didn't personally poke around with anything internally, I thought it was curious that there was an SD card and slot here. I'll let others speculate what it is for though.
-

To reassemble your device, follow these instructions in reverse order.