
Introdução
-
-
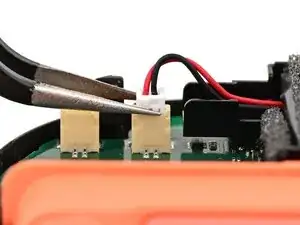
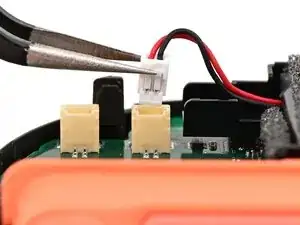
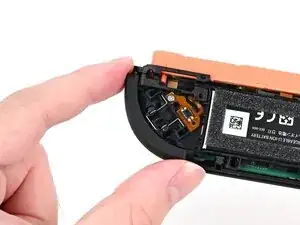
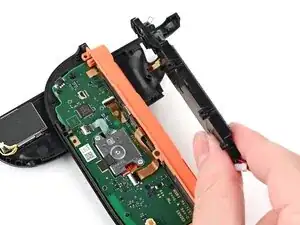
Use tweezers or your fingers to firmly grip the battery cable's white JST connector and pull straight away from its socket to disconnect it.
-
-
-
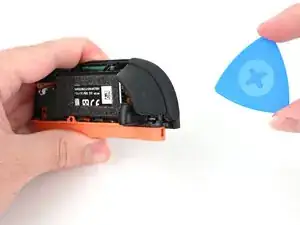
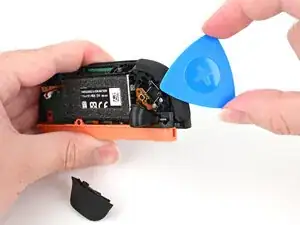
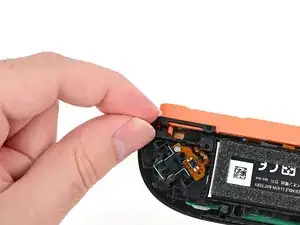
Insert an opening pick between the bumper (R) and trigger (ZR) buttons at the top of the controller.
-
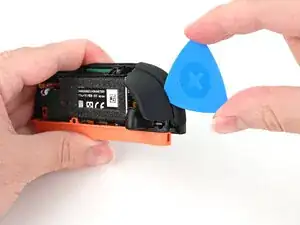
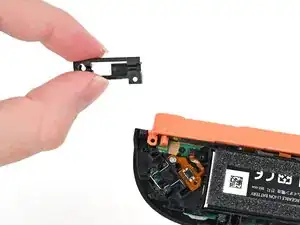
Use the opening pick to pry the trigger away from the bumper until it pops off the controller.
-
-
-
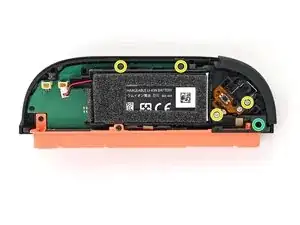
Use a JIS 00 driver to remove the five screws securing the midframe:
-
Four 3.9 mm‑long silver screws
-
One 6.2 mm‑long black screw
-
-
-
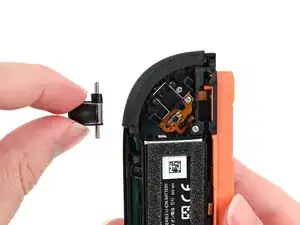
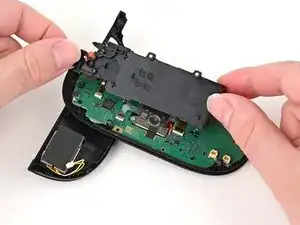
Hold the midframe lightly in place.
-
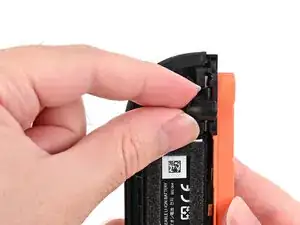
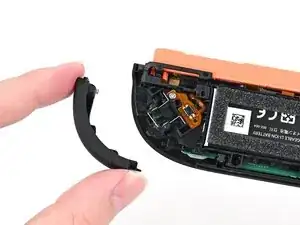
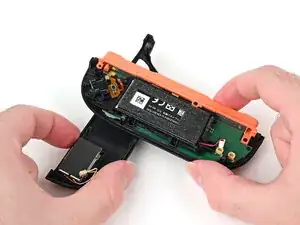
Pull the bumper (R) button off its mounting pegs and remove it.
-
-
-
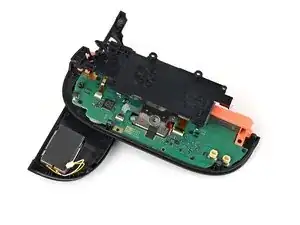
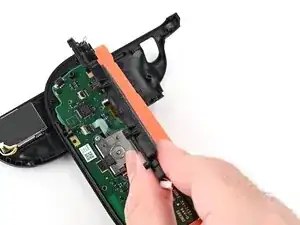
Flip the controller's mid-frame over so it rests on the Joy-Con's inner edge (the edge with the shoulder buttons).
-
-
-
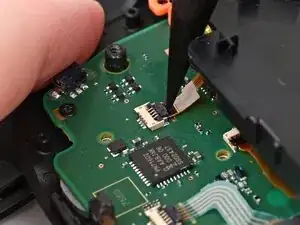
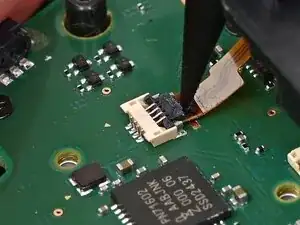
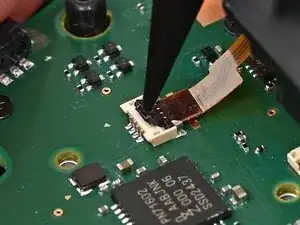
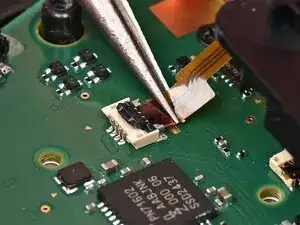
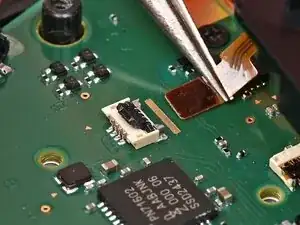
Use the point of a spudger to flip up the locking flap on the midframe cable ZIF connector, located on the controller's board.
-

To reassemble your device, follow these instructions in reverse order.
