Introdução
-
-
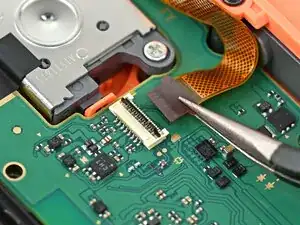
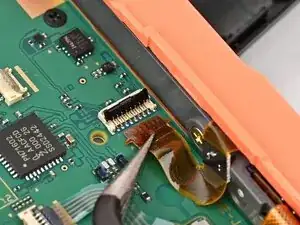
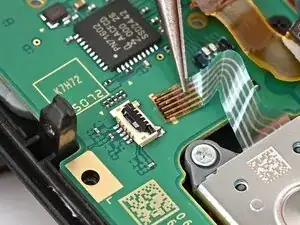
Repeat this procedure to disconnect the remaining three ZIF connectors on the controller's board.
-
-
-
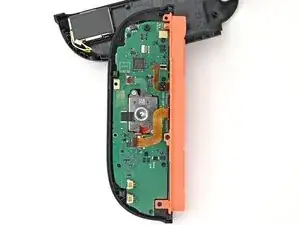
Use a JIS 00 driver to remove the five 3.1 mm‑long black screws securing the board to the controller.
-
-
-
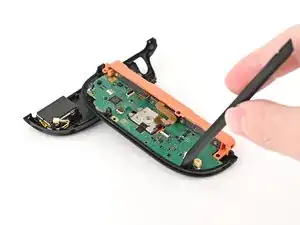
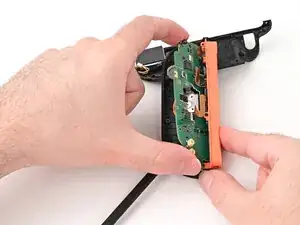
Insert the point of a spudger between the board and the controller, near the battery connector socket.
-
Pry up on the board enough to grasp its edge with your fingertips.
-
-
-
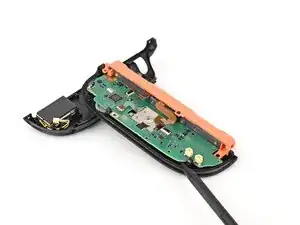
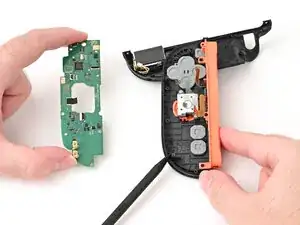
Lift the board by its outer edges to a roughly 45-degree angle, so it's no longer being blocked by the joystick assembly.
-
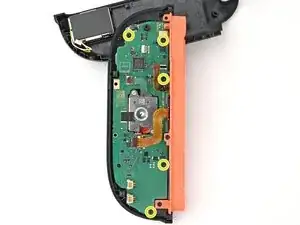
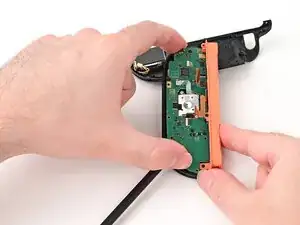
Remove the board.
-
Conclusão
To reassemble your device, follow these instructions in reverse order.
