Introdução
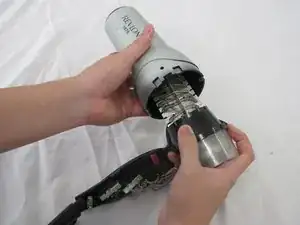
If your hairdryer stops heating or stops working at all, the thermal cutout may be the problem. This part is a safety feature that shuts the dryer off when it overheats. In this guide, you’ll learn how to replace the thermal cutout. This repair may require a multimeter to check if the part has failed.
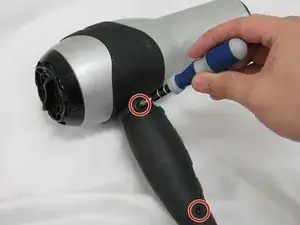
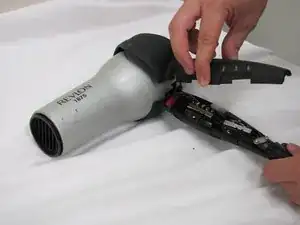
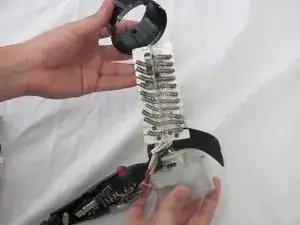
Before you start, unplug the hairdryer and let it cool down completely. Be careful when opening the device hairdryers can collect dust and old wiring can be fragile. Avoid touching any exposed metal while testing with a multimeter.
If you’re not sure the thermal cutout is the issue, check the No Heat or Shuts Off Quickly sections of your troubleshooting page for more signs of overheating. You can also look at your hairdryer brand’s support page for basic safety tips and device information.
Ferramentas
Peças
-
-
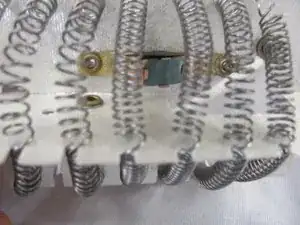
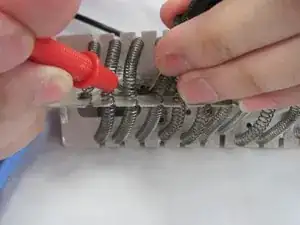
Test the thermal cutout for continuity using the multimeter.
-
If the numbers on the multimeter continue to change, the circuit is closed and properly functioning.
-
If the multimeter reads a consistent number, the circuit is opened and the thermal cutout needs to be replaced.
-
-
-
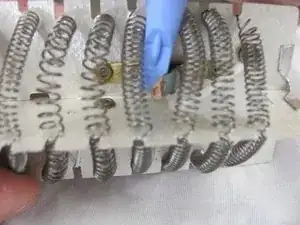
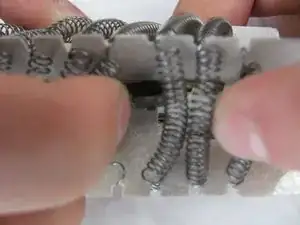
To replace the thermal cutout, use the spudgers to extract the object.
-
You do not need to take out the gold piece, only the thermal cutout.
-
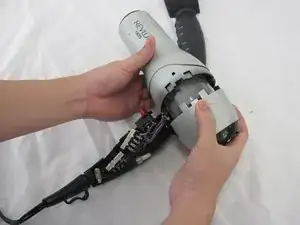
To reassemble your device, follow these instructions in reverse order.