Introdução
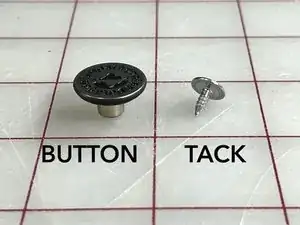
O botão de jeans (também conhecido como taxinha ou botão metálco) mantém a calça jeans firmemente fechada na cintura.
Este guia mostrará como se coloca um botão novo no jeans.
Leia todo o guia antes de começar o conserto, e organize todas as ferramentas e os materiais necessários. Mesmo que seja ideal usar materiais específicos da marca Patagonia, isso não é necessário. As peças de reposição da Patagonia podem ser compradas por telefone ou enviando uma mensagem para o Atendimento ao Cliente Patagonia.
Como alternativa, os produtos da Patagonia podem ser levados a uma revendedora local para que seja feita uma avaliação do reparo ou à Patagonia pelo seu serviço de reparo via Correios.
Bora consertar?
ADVERTÊNCIA! Peças pequenas. A Patagonia não recomenda a execução desses consertos em roupas destinadas a crianças de 3 anos ou menos. Em vez disso, recomendamos o retorno do produto para que possam ser realizados serviços profissionais de conserto.
Tutorial relacionado: Substituição de rebites em calças de trabalho
Ferramentas
Peças
-
-
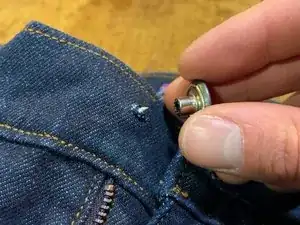
Organize as peças de reposição, incluindo um botão e um pino de fixação.
-
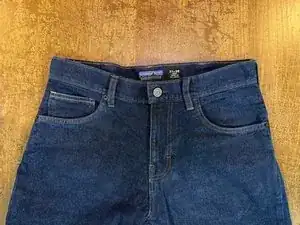
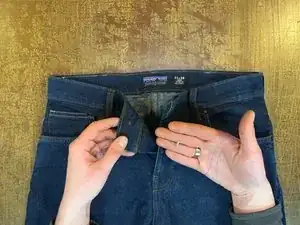
Disponha o jeans com a frente virada para cima em uma mesa ou bancada robusta.
-
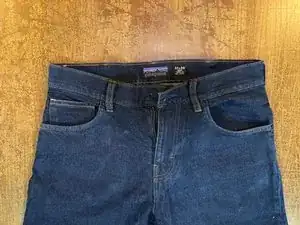
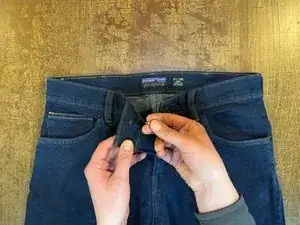
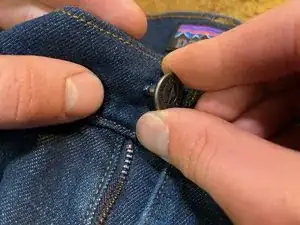
Abra o zíper e ache o furo no cós, onde o botão velho estava localizado.
-
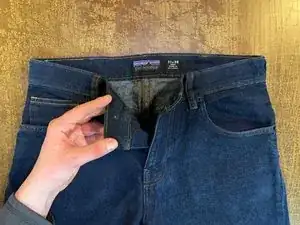
Remova completamente quaisquer restos do botão velho antes de instalar o novo. Descarte as peças velhas com responsabilidade.
-
-
-
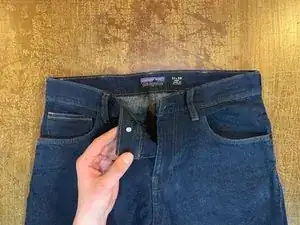
Introduza o pino de fixação na parte de trás do furo.
-
Empurre o pino de fixação no furo até que ele fique rente ao cós.
-
-
-
Segurando o pino de fixação por trás, coloque o botão por cima do pino de fixação e segure as peças com os seus dedos.
-
-
-
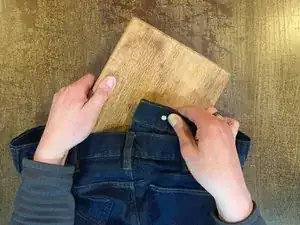
Vire as calças jeans do avesso e coloque uma peça achatada e macia imediatamente abaixo do botão, como um pedaço de madeira ou couro.
-
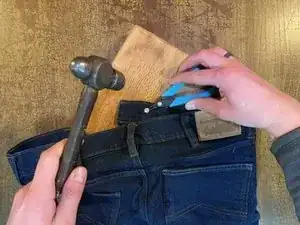
Com um alicate para segurar o pino de fixação, certifique-se de que as peças pino de fixação e botão ainda estão alinhadas.
-
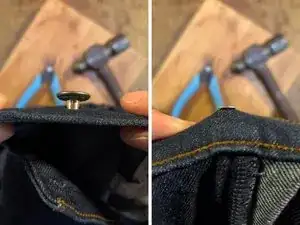
Martele o pino de fixação com um golpe retilíneo para baixo.
-
-
-
Teste o botão novo abotoando a calça jeans e puxando pelo cós, para certificar-se que ele está bem assentado e firme.
-


10 comentários
Nice, but let's consider how this situation occurs. The tack comes out of its hole, just simply replacing it is not realistic, unless the new tack is significantly bigger. So how do you "repair" the hole such that it will hold a tack again?
As noted in step 2, you can move the tack over to where the denim isn't damaged. If that will cause the jeans not to fit properly, you can sew a folded piece of denim behind the hole (sew around the edges on the inside of the jeans) and punch the tack through the new piece.
I didn´t have a new button and was in a pinch. Just ripped the old button off completely, jammed it in the tail end of a hammer and yanked it apart with som pliers. Then i followed the instructions in this fix. Worked like a charm, so far...
Thanks I’m gonna try this first!
The best thing to do is patch the hole. I simply use fabric glue and some pieces of blue jeans that you probably have hanging around. Trim off the extra threads and then apply fabric glue to the back of the waist band covering the hole made by the old button. Do the same on the front and then let dry. about 30 minutes or so, if you have a machine I always stitch back and for on the edges. Trim any edges or use additional glue to tack them down. Now because you have strengthened the hole carefully push the back of the button through where you can see the end, add the front to the nail end and turning the garment face down on a protected hard surface hammer about 3 times and check to see if it is sturdy, continue to hammer until you have reached the objective. Now you have got many more years with that button.