Introdução
DISCLAIMER: In this guide you're actually going to be popping the cart reader's pins out of their intended positions. It's a messy fix and it makes inserting and removing cartridges very difficult. I have also only tried this on one gameboy. So far it has been reading cartridges flawlessly, but I have only been testing it for one day. Only perform this fix on a gameboy if you're willing to risk destroying it.
UPDATE: After more than a year my gameboy is still reading cartridges, and removing the cartridges has become much easier over time. I still recommend the fix.
Ferramentas
-
-
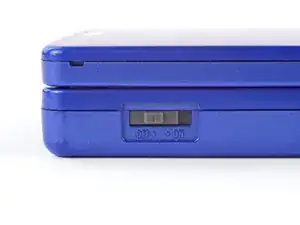
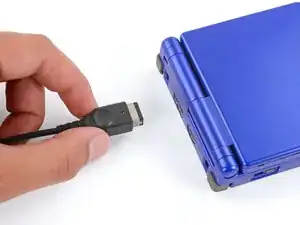
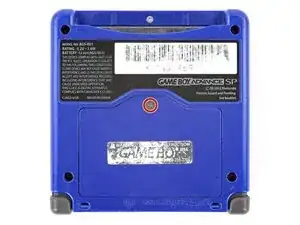
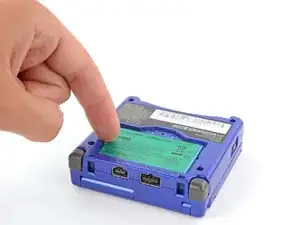
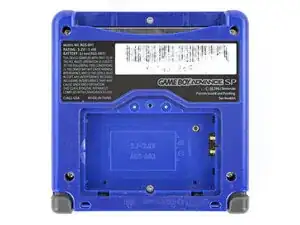
Slide the power switch to the OFF position and unplug any cables.
-
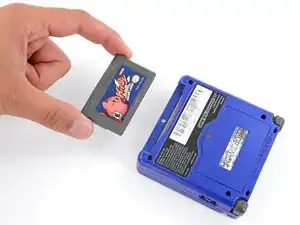
If you have a game cartridge in, remove it.
-
-
-
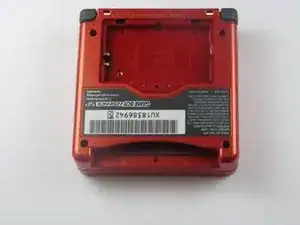
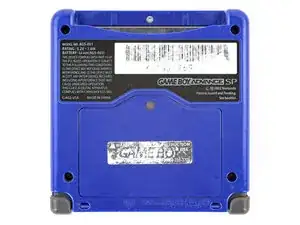
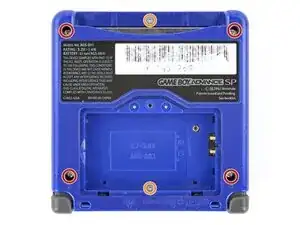
Use a tri‑point Y0 screwdriver to remove the six screws securing the bottom shell:
-
Four 6.3 mm‑long recessed screws
-
Two 4.6 mm‑long screws
-
-
-
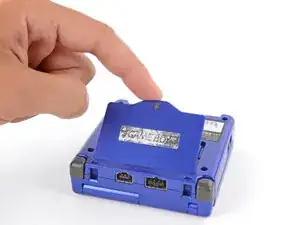
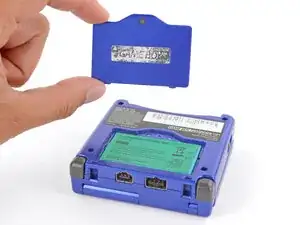
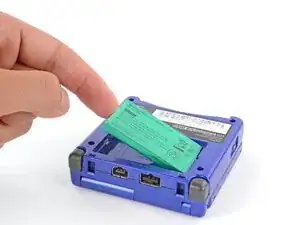
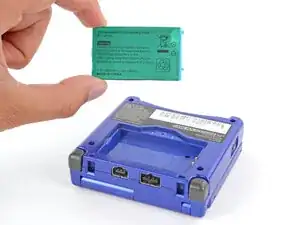
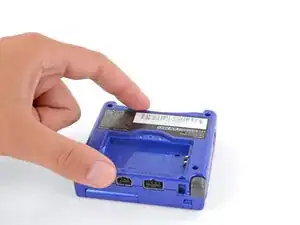
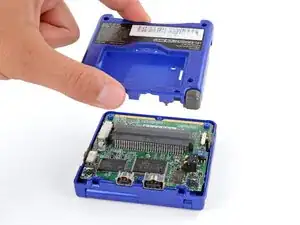
Remove the back cover of your gameboy advance sp. When you have the internals exposed and the battery removed you'll need to grab some kind of narrow pointy tool like a bent safety pin or (thin) paper clip. Also make sure you have good light.
-
-
-
Look inside the cartridge connector at the metal pins. See how they're all contained within a plastic housing? Each pin has its own little square. You're going to take that safety pin and pop each pin out of its hole and towards where the game cartridge's metal contacts would sit if it were inserted.
-
-
-
Understand that doing this to the cartridge connector will make inserting and removing game cartridges quite difficult. It is doable, but it will hurt your thumbs. Alternatively, you could try bending the pins up or out without displacing them from their plastic housing. I was not able to make this work.
-
-
-
When you've completed breaking--I mean--repairing the cartridge connector, examine the pins and make sure they are all up against the outside edge of their respective plastic squares. If they're bent too far towards where the cartridge's contacts insert, the pins will get mashed when you jam the first game cart in.
-
-
-
Now put your gameboy back together and push a game cartridge in--hard. When it goes in, flip the switch on and hope for the best. Be prepared for sore thumbs when it comes time to switch cartridges. Removing them is harder than inserting.
-

To reassemble your device, follow these instructions in reverse order.
Um comentário
My beloved Game Boy had developed a bit of a "twitch". It would reset itself at completely random moments, leaving me staring in horror at the start up screen of Pokemon Blue. I had cleaned the contacts of the Game Boy and the game cartridge several times but that wasn't helping. It was clear that the pins weren't tight enough.
I followed this guide, using a thumb tack as my tool to bend the pins down. It worked well. I experienced a momentary panic when the first pin popped out of place, thinking I had pressed too hard and damaged it but a quick look told me I was fine.
I put it back together and have played for an hour or so. The Game Boy is working wonderfully again. The pins are very tight, as the guide said they would be. Getting the game in or out requires a lot more force than it used to but not so much that it requires a bodybuilder to accomplish.