Introdução
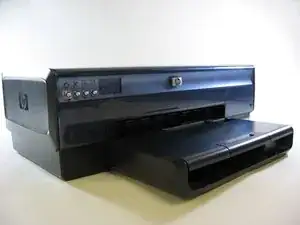
When there is a problem printing located inside your device, there is a good chance that the rubber paper rollers may be stuck. This guide is designed to help you repair them, should this be your issue.
Ferramentas
-
-
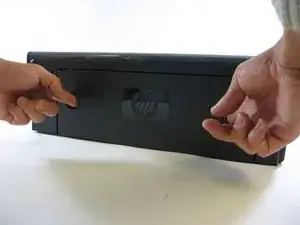
Use both hands to press the two grooves on the back of the printer. Simultaneously press both grooves down and in.
-
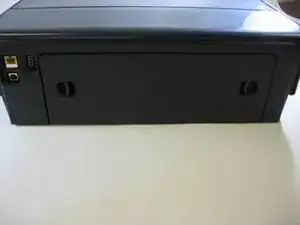
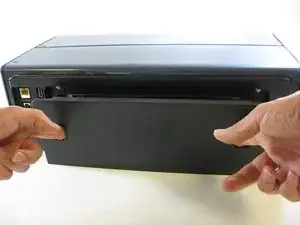
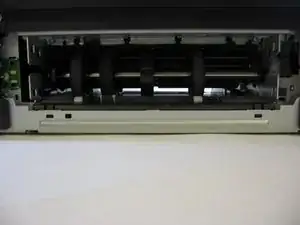
Remove the back panel from the printer.
-
-
-
Use a screwdriver to remove each visible screw.
-
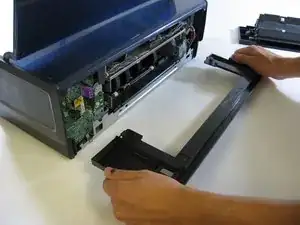
Using two hands, pull out and remove the rear support structure.
-
-
-
Carefully remove the large, black shell that encases the internal body of your printer.
-
Gently remove the shell from the base of the printer by placing your hands at the corners and firmly lifting the shell until it pops off of the base. Do not pry or bend the shell.
-
-
-
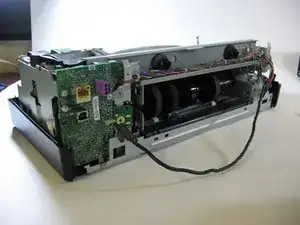
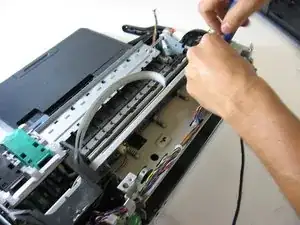
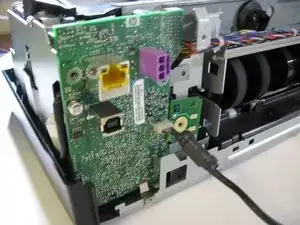
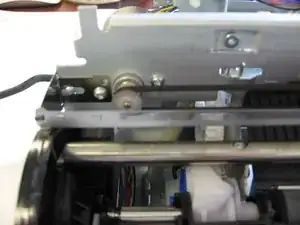
Use a screwdriver to remove the screws from the printer carriage assembly and the green plastic motherboard.
-
Gently loosen the motherboard from its base, but do not fully remove it.
-
-
-
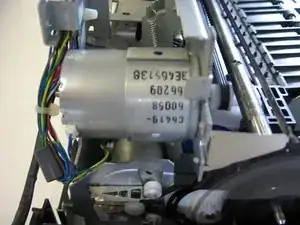
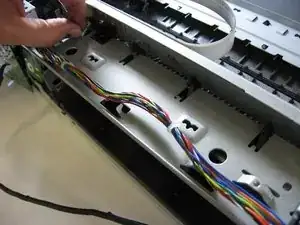
Use a screwdriver to remove the screws securing the motor carriage.
-
If you need to replace the motor, remove the screws from the motor housing.
-
Carefully lift the motor out of the housing with your fingers and replace it with a new one.
-
-
-
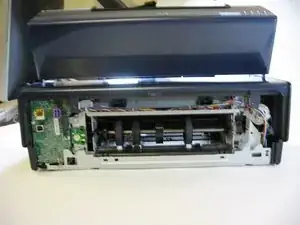
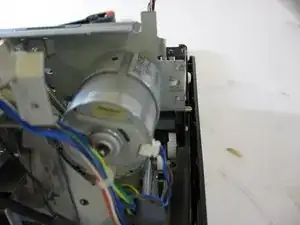
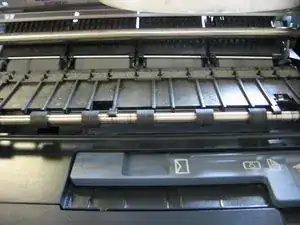
By now, your printer should resemble the one in the photograph.
-
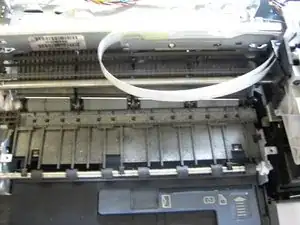
Use the screwdriver to remove any remaining screws.
-
-
-
Remove the roller assembly from the printer case.
-
Firmly grip one of the end rubber rollers (or use pliers) and twist it. This should rotate the metal bar and release any paper debris that is preventing the printer from functioning properly.
-


To reassemble your device, follow these instructions in reverse order.