Introdução
-
-
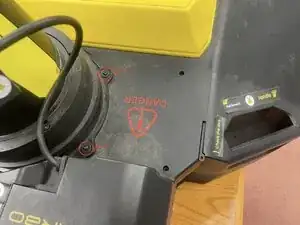
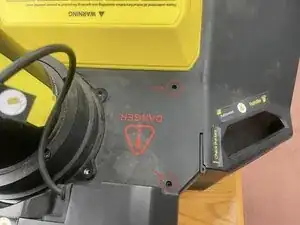
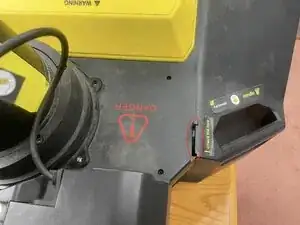
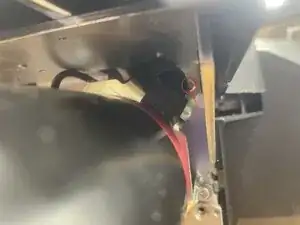
Remove the 2x H2.0mm hex bolts to the right holding the snow chute ring in place.
-
Remove the 2x H2.5mm hex bolts to the far right of the snow chute ring
-
Lift the right most lock lever.
-
-
-
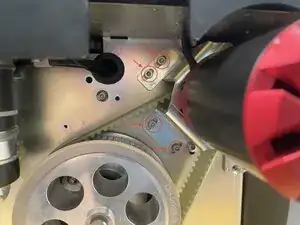
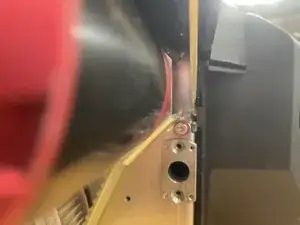
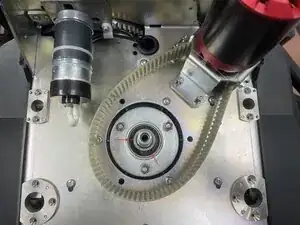
Loosen 5x H3.0mm hex bolts to the bottom, left, and top of the 6395 electric motor. Note: You may need to gently pry the loosened cover up to expose access to the topmost hex bolt.
-
Completely remove the remaining 1x H3.0mm hex bolt directly above the locking pin plate.
-
The motor will slide when the bolts are loosened and the bolt above the locking plate is removed. loosen the bolts to the bottom and left of the motor so there is enough play that the motor mounting parts can clear the locking plate.
-
-
-
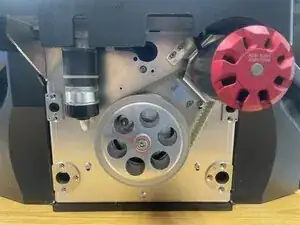
Make sure the auger blades cannot rotate. This can be done by inserting a rod down the snow chute and stopping the impeller from turning.
-
Remove the A2-70 bolt. Note: may need to apply penetrating oil and let sit first.
-
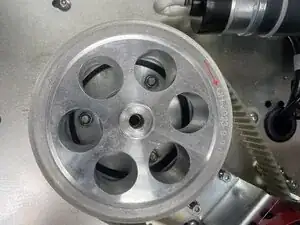
Slide the QH-2023-9-9-01 gear straight off the back of the rod.
-
Loosen the 2x screws holding the rod in place using a H3.0mm hex wrench.
-
-
-
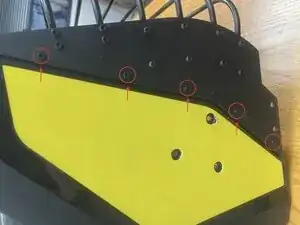
Remove the 10x H2.5mm hex screws (5 on the left, 5 on the right) holding the protection fence on.
-
-
-
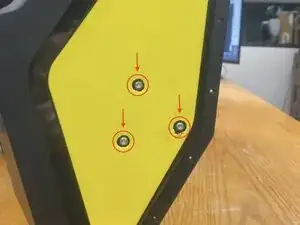
There are 6x (3 on the left and 3 on the right) H3.0 hex bolts hidden under side stickers.
-
Use an exacto knife to expose them.
-
Remove the 6x H3.0 hex bolts.
-
-
-
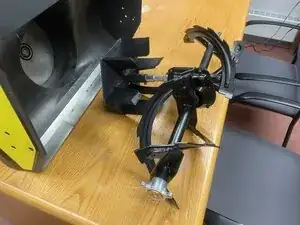
Entire drive shaft/impeller/auger blade assembly should be free and can be pulled out through the front.
-
To reassemble your device, follow these instructions in reverse order.