Introdução
May solve this problems:
- No battery charging at all , AND had never worked.
- The charging LED does not glow (anymore).
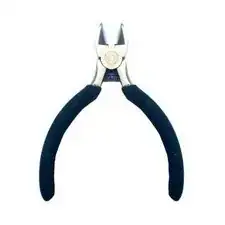
Ferramentas
-
-
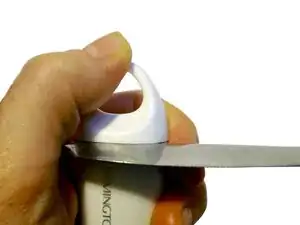
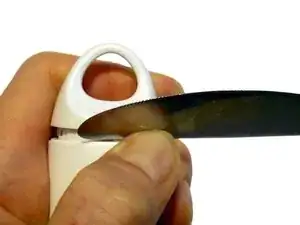
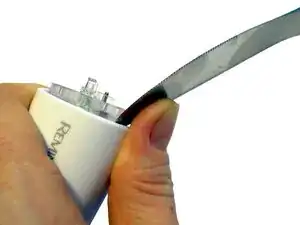
Carefully lever off the knob with a small knife.
-
To reassemble: This small hook should be in that hole.
-
Take care, to no lose this little part.
-
-
-
use a stub knife (like the stub side of a butter knife). Be careful.
-
Your hear a "blob" sound, when a locking is open.
-
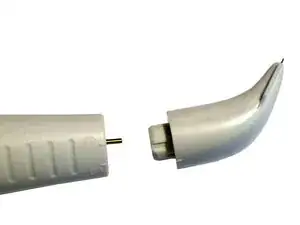
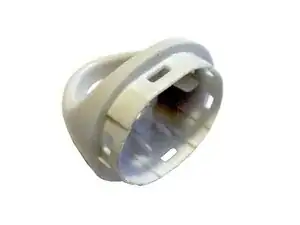
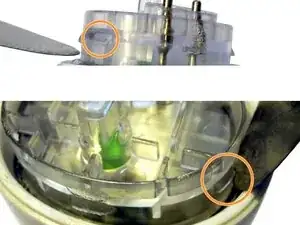
There are two hocks on each side, which has hold the outer cap. These may help you to lever up. But stay careful.
-
An image of the two inner locks.
-
-
-
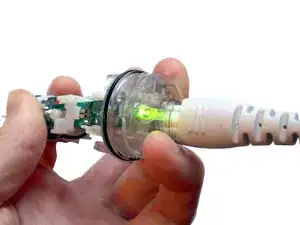
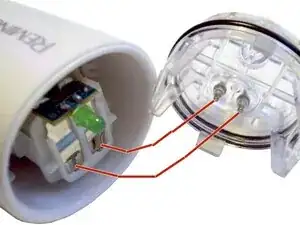
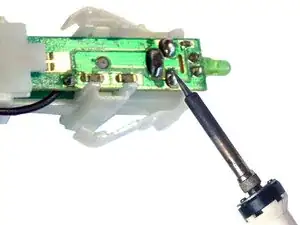
We will check for a working connection:
-
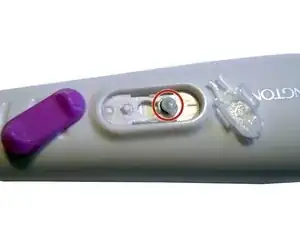
Connect the charger.
-
Press all parts together.
-
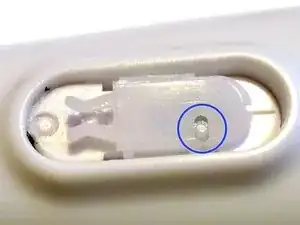
The LED should now glow (=on):
-
If not: Press a bit more to have a bedder electric contact.
-
Still no LED on?: You Problem are maybe somewhere else.
-
-
-
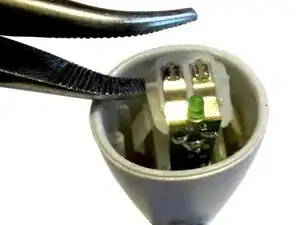
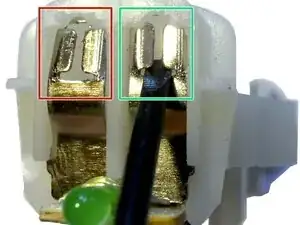
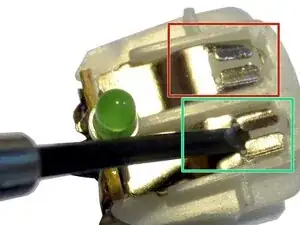
Use a small screw (2mm width, flat) to bend the metal up:
-
1.) Bend it from inside out.
-
2.) Bend the two lateral (the tooth) out, to make it more flat (= more narrow / tight).
-
left side: is defect: You should bend it up.
-
right side: OK. So it should look like.
-
-
-
(optional:) Use a soldering station to rework the contact. Especially the contact of charger and battery.
-


To reassemble your device, follow these instructions in reverse order.