Introdução

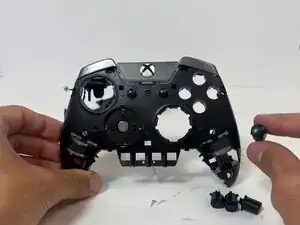
Pressing a button and it isn't working? There is a chance that one or more buttons are jammed or broken. This guide will show you how to take apart your Razer Wolverine Ultimate for access to clean and/or repair its face buttons.

  1. WfO1WeKlGVOUYKhg
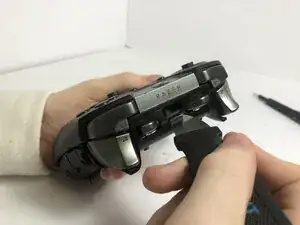
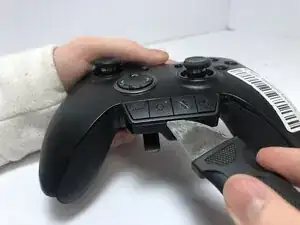
    • Place a Jimmy into the crevice between the front panel and one of the back grips, and gently pry the back grip off. Repeat for the other back grip.

    • You may damage the grip's rubber when doing this, but the damage is minimal and does not affect the effectiveness of this device.

  2. SiJX53SWkTjGhpIC
    SiJX53SWkTjGhpIC
    ASuTc6eNBjLLqqxu
    • Remove two 2 mm screws on the back of each grip using a T5 Torx screwdriver.

  3. nbfUdU6gx3jySEUD
    nbfUdU6gx3jySEUD
    KRcrbTBZdKVYGxBK
    GxWdbwPpWXMZ2ciA
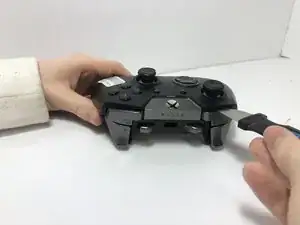
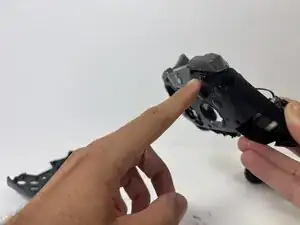
    • Place a Jimmy into the crevice between the front and back panels and pry the back panel away.

  4. HDnSsIdtY1MJu1Uu
    • Separate the top of the controller from the back, exposing the motherboard.

  5. 5eWQiTLphFq6MjRw
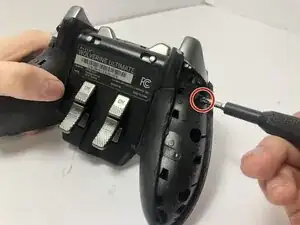
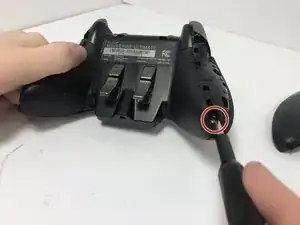
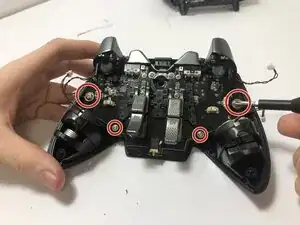
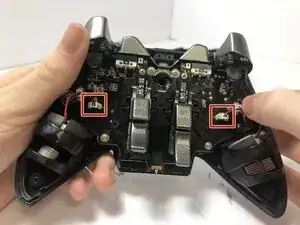
    • Remove all four 4 mm main screws holding the motherboard in its place using a Phillips #000 screwdriver.

  6. LDUyAMJZfmXBkeL2
    • Detach the two white connectors from the motherboard.

  7. hZHDxeNCrXoapHRE
    • Lift the motherboard up slowly to avoid damaging any inner components.

    • In the middle is a white ribbon of wires connecting the inside of the controller to the motherboard. Be careful not to detach or damage it by pulling too hard.

  8. RHSLOoTYRY4UFlCO
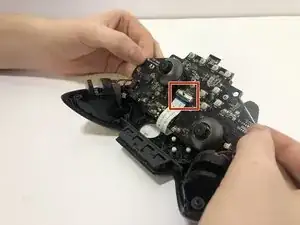
    • Detach the white ribbon cable from the motherboard.

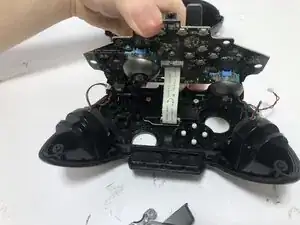
    • Remove the motherboard from the controller.

  9. BbRtyDoLSfZXDsHR
    • Push the face buttons out from the front side of the controller.

    • Be advised as the buttons are not firmly in place; they can fall out.

Conclusão

For reassembly, follow these steps in reverse order.

andrew martin ☝️

Membro desde: 09/09/25

193 Reputação

0 comentários