Introdução

In this guide we will show you how to safely replace the Motherboard within the mouse.

The motherboard is the main component of any electronic device. Usually, if there is a problem with the motherboard, you should take it to a professional first, unless you know what you are doing. The motherboard tells all other components what to do.

Common disconnections/causes

  • Dropping the mouse
  • Wear and tear
  • Connection issues

In this guide, we will help you take the motherboard off and get to the component you need to get to.

  1. MOnoFNgPMvaoJZdB
    MOnoFNgPMvaoJZdB
    FrgOKFAeyDoTNHmb
    RwNpw5lBno6OkNeK
    • Remove the top panel using an opening tool.

    • Remove the dongle.

  2. iZFCjxuEMrwwFe1q
    iZFCjxuEMrwwFe1q
    xpnVVLwbeCSoTobb
    CmG1jeGYy4pjdTB3
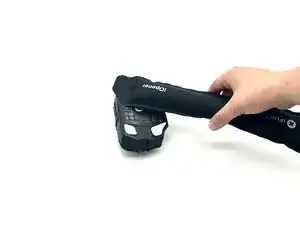
    • Use an iOpener or hairdryer to heat the mouse feet.

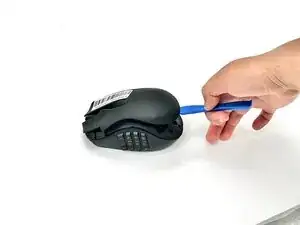
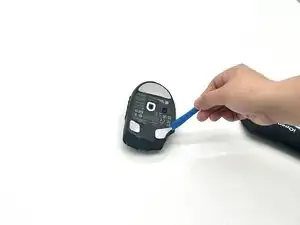
    • Use an opening tool to remove the mouse feet.

    • Reapply adhesive onto the feet before replacement if you intend to reuse them.

  3. WZtwFbMTGBXc2JOt
    • Use a T6 Torx screwdriver to remove the four screws on the bottom of the mouse.

  4. AJqPVR2WBaYvJFOM
    AJqPVR2WBaYvJFOM
    ATOYP1qrxIyfWmMv
    • Use the iFixit opening tool to help remove the top middle shell, as well as the right side.

  5. SsnpKcYWJrJIJyec
    SsnpKcYWJrJIJyec
    W5lHeHJEOWqrdpcS
    • Disconnect the battery compartment connector.

  6. NPtowgMQVdfNQsLd
    • Disconnect the ribbon cable.

  7. 16xoR5luMEPnNVZ3
    • Disconnect the brown wire that's connected to the scroll wheel with tweezers.

  8. dCEUelsmRIpPvMXq
    dCEUelsmRIpPvMXq
    djZBu6YqTXkyGHG2
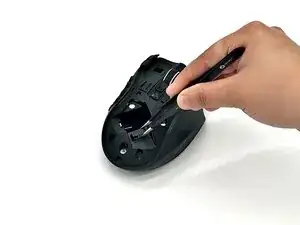
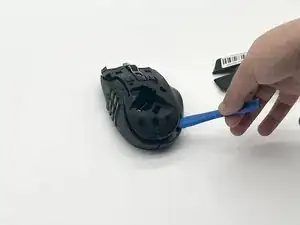
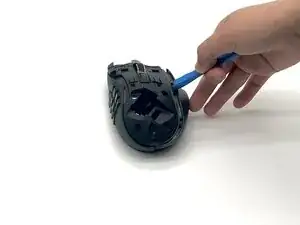
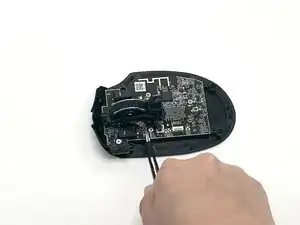
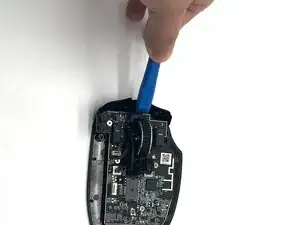
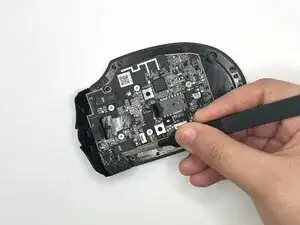
    • Use the iFixit opening tool on the clip near the front of the mouse to release the mouse from its confinement and remove it.

  9. jWhZm3bjvurNTRu3
    • Remove all six Phillips #1 screws securing the motherboard.

  10. dtZpUAYXCpyooief
    dtZpUAYXCpyooief
    ZbDVKPCXxwhHmssE
    hI2CEaQgJHhynoJm
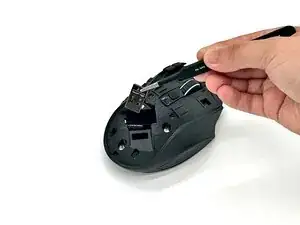
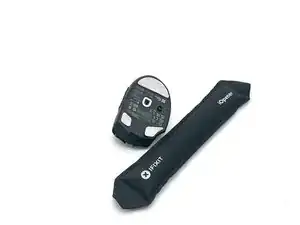
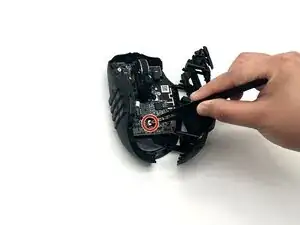
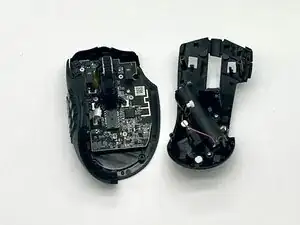
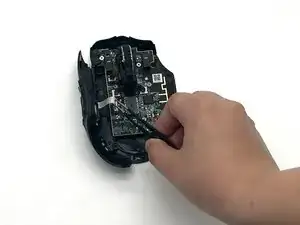
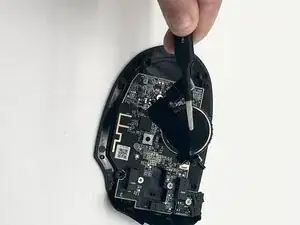
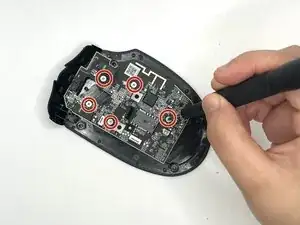
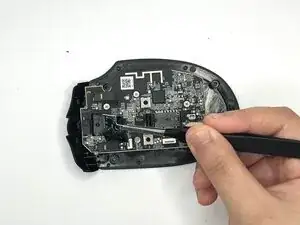
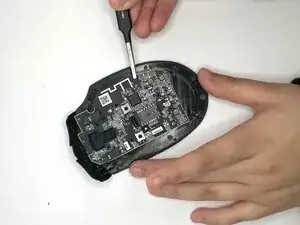
    • Remove the top left black panel first using the precision tweezers, and then carefully remove the motherboard using the precision tweezers.

Conclusão

To reassemble your device, follow the above steps in reverse order.
Take your e-waste to an R2 or e-Stewards certified recycler.
Repair didn’t go as planned? Try some basic troubleshooting or ask our Answers community for help.

Josiah Murphree

Membro desde: 25/09/25

596 Reputação

0 comentários