Introdução

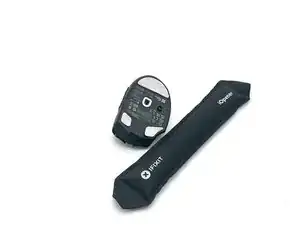
In this guide, we will show you how to safely replace the left/right switches in your Razer Naga V2 Hyperspeed Wireless Mouse.

The left/right switches are the primary buttons, which are programmed by default to perform mouse actions. These are the main buttons for selecting and interacting with elements on a computer.

Common Cause

  • Corrupted Drivers
  • Low Battery
  • Physical Debris
  • Internal Hardware Failure

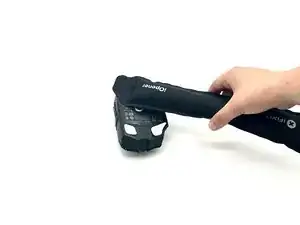
This guide will walk you through each step of fixing your left and right switches with each step of this replacement process. Please be careful and ensure you are patient with this process to avoid any damage to your device.

  1. VqYyQRTgxD2V1jE3
    VqYyQRTgxD2V1jE3
    1EqRfhOZXrNxkLbO
    OR3tF2pWrT3RWp5c
    • Take off the magnetic top with the iFixit Opening tool and remove the dongle.

  2. dJADfnqY1FWoOatH
    dJADfnqY1FWoOatH
    2QPRNDFOhHQ6xxnd
    yLMRrX52AqdMMVYf
    • Heat the mouse feet with an iOpener or hairdryer.

    • Gently peel off the feet.

    • Reapply adhesive on the feet before installation if you're reusing them.

  3. pRH5oNXwgsHHBmP1
    • Use a T6 Torx screwdriver to remove the four 1.7 mm-long screws on the bottom of the mouse.

  4. uJOTnVVQ3N1CAhVa
    uJOTnVVQ3N1CAhVa
    rGVlop1wAn5wGnKK
    • Flip the mouse over and remove the top shell and side panel.

  5. lLQYSnwPnhUYXfhC
    lLQYSnwPnhUYXfhC
    SO6DfNbKLXVgxC55
    • Disconnect the battery compartment connector.

  6. wATkEBkqfbS1iGOv
    • Disconnect the programmable button panel connector.

  7. IdZe6LiN3qVXHAJj
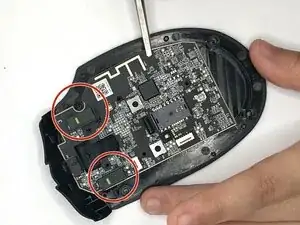
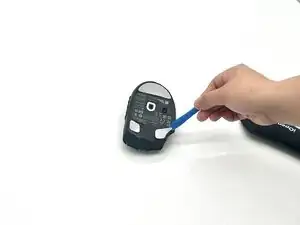
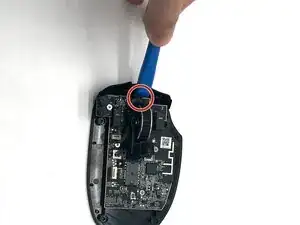
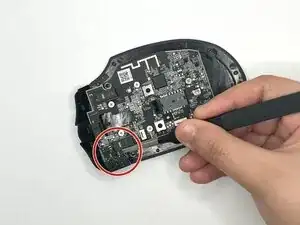
    • Disconnect the brown ribbon cable that's connected to the scroll wheel with precision tweezers.

  8. rxsoPauuVqkQYx3b
    rxsoPauuVqkQYx3b
    VmdlVZsduGRVthbE
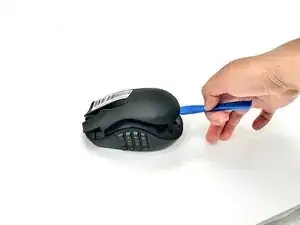
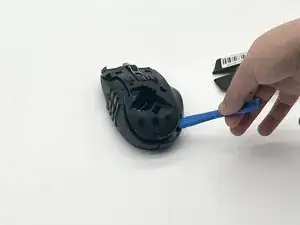
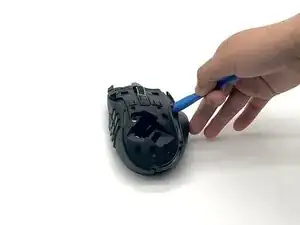
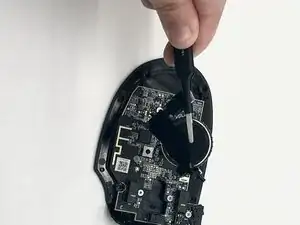
    • Use the iFixit Opening tool on the clip near the front of the mouse to release and remove the scroll wheel.

  9. RjZThYEuhsLxMvBC
    RjZThYEuhsLxMvBC
    5DeIlQRDCHPPECyS
    • Remove all six 1.7 mm-long Phillips #1 screws securing the motherboard and top left panel.

  10. PTKETGGECdpvNYo3
    PTKETGGECdpvNYo3
    Abd5ChnO4DTgrRhg
    • Remove the top left black panel first using the precision tweezers.

  11. PMwudWoZSHCbgiJ2
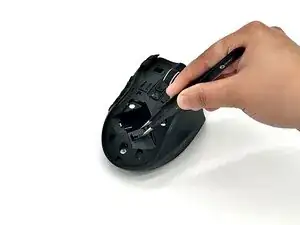
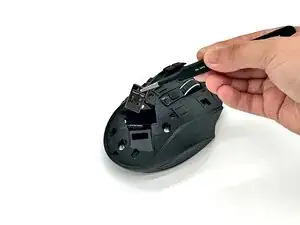
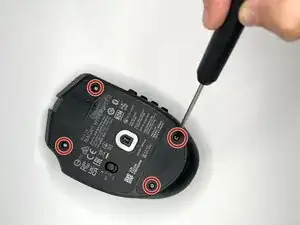
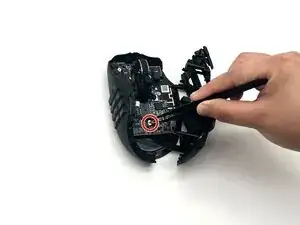
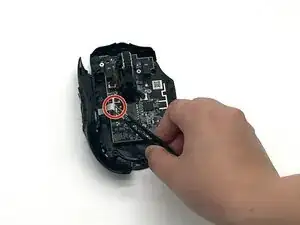
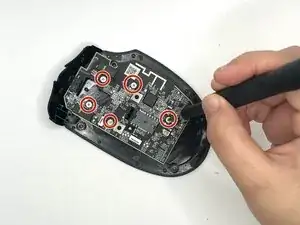
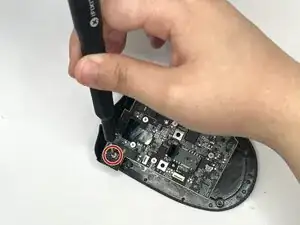
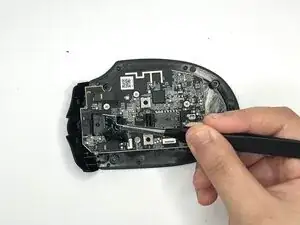
    • Remove the motherboard and remove the left/right click switches using the precision tweezers.

Conclusão

To reassemble your device, follow the above steps in reverse order.
Take your e-waste to an R2 or e-Stewards certified recycler.
Repair didn’t go as planned? Try some basic troubleshooting or ask our Answers community for help.

Brianna The Fixer

Membro desde: 25/09/25

426 Reputação

0 comentários