Introdução
If your Razer DeathAdder V3 Pro's mouse button 1 or 2 is unresponsive to input, not making clicking sounds, or is difficult to click the buttons, you may need to replace the optical switches.
For any quick fixes, please visit our troubleshooting guides for the Razer DeathAdder V3 Pro Scroll Wheel Not Responding to Input and Razer DeathAdder V3 Pro Spotty Wired Connection.
Before you begin the replacement, please make sure that you have unplugged and powered off the device.
Ferramentas
-
-
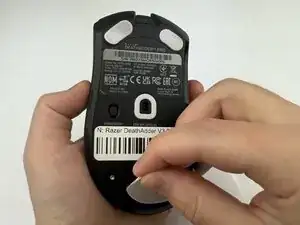
Use a pry tool or fingernail to carefully remove the large foot on the lower end of the mouse.
-
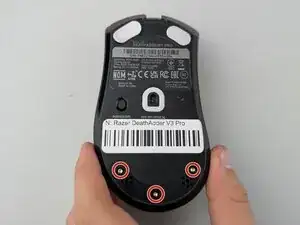
Remove the three 7 mm screws using a Torx T6 screwdriver.
-
-
-
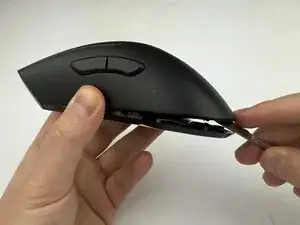
Insert a spudger into the seam between the top and bottom shells.
-
Gently work around the edges unclipping the internal latches.
-
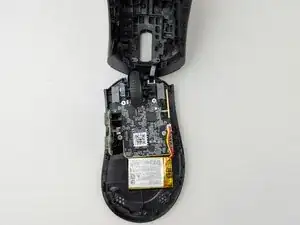
Slowly lift the top shell but do not remove it yet; the cables are still attached to the circuit board.
-
Carefully pull the shells apart to unplug the cable in the front.
-
-
-
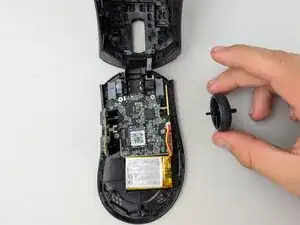
Using a small pry tool or your fingers, gently pop the scroll wheel up and out of its housing
-
-
-
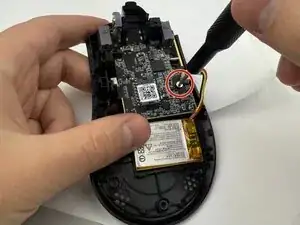
Use a T6 Torx screwdriver to remove the 5mm screws from the circuit board.
-
Unplug the battery from its connection on the right.
-
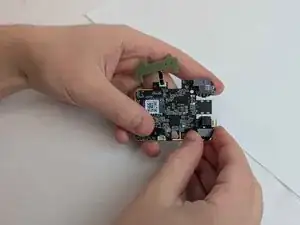
Remove the circuit board from the mouse.
-
-
-
Remove the faulty optical switches on the right and left corners of the PCB using your fingers.
-
Insert a new switch where needed.
-


To reassemble your device, follow these instructions in reverse order.