Introdução
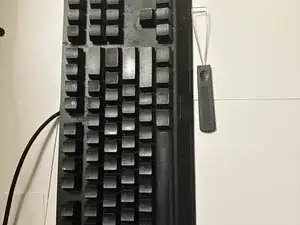
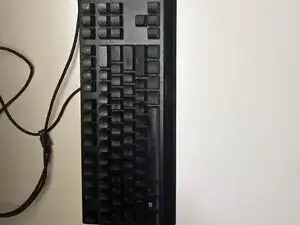
If one of your keys on the Razer BlackWidow V3 stops responding, double-presses, or feels inconsistent, the mechanical switch itself may be faulty. Fortunately, you don’t need to replace the entire keyboard replacing a single switch can fully restore proper function.
This guide will walk you through removing the keycap, opening the keyboard, desoldering the old switch, and installing a new one. The process is straightforward but requires patience and basic soldering skills to avoid damaging the PCB or nearby components.
Before you begin, make sure you have a clean workspace, the proper tools, and enough time to complete the repair. This replacement typically takes 20–30 minutes and can significantly extend the lifespan of your keyboard.
-
-
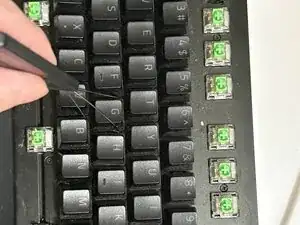
Use the keycap puller to grip the key firmly.
-
Pull straight up to remove the keycap.
-
Place the keycap somewhere you won’t lose it.
-
-
-
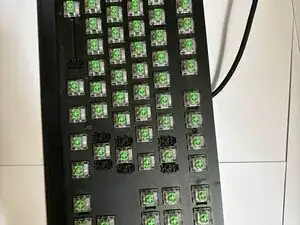
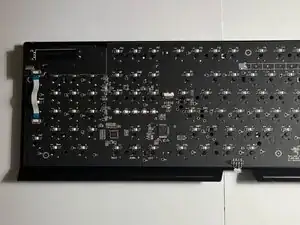
Remove all screws from the keyboard frame.
-
Pry around the edges to release the plastic clips.
-
-
-
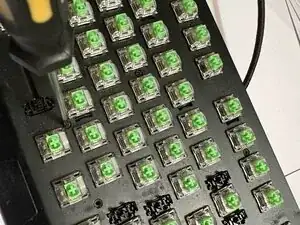
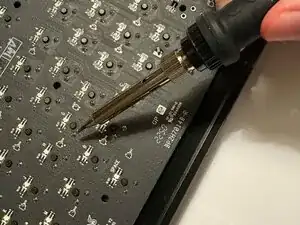
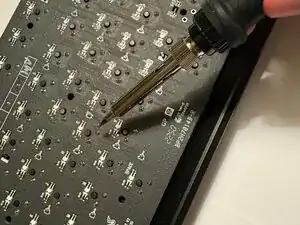
Apply heat for 2–3 seconds before using the solder sucker. Melt one pin at a time and suck up the solder.
-
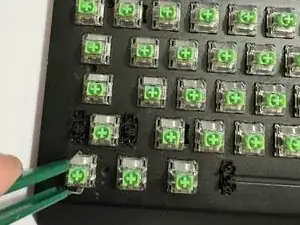
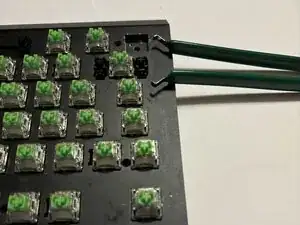
Verify the pins are fully loose before pushing the switch out.
-
Remove the switch using the tool needed
-
Repeat for both pins until the switch lifts out of the board.
-
-
-
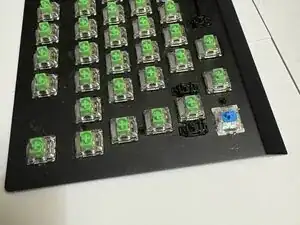
Insert the new switch into the plate so it sits flat and straight.
-
Use a small amount of solder on each pin just enough to form a solid joint.
-
-
-
Close the keyboard case, reinstall all screws, and reattach the keycap. Once assembled, plug in the keyboard and test the switch to confirm it works correctly.
-
Your new switch should now be fully installed and functional. Before reassembling the keyboard, test the switch to ensure it registers correctly. Once confirmed, reassemble the keyboard by following the steps in reverse order.