Introdução

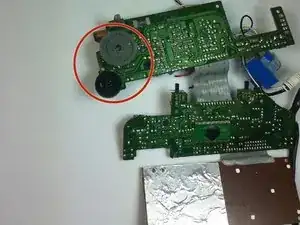
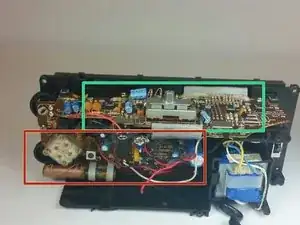
This guide is a walk-through for replacing the tuning wheel on your RCA RP3715A. If the radio station is not changing on your alarm radio, the problem is likely with the motherboard.

  1. UDSNgZSXDcPOkCxS
    UDSNgZSXDcPOkCxS
    DENsulSRatZWXAEL
    • Push down on the clip to release pressure. The pull off the plastic cover.

  2. 4BovUQcJMFlSaWPr
    • Remove the 9-volt battery from the battery terminal.

  3. ZijJUuFhEkvXtNkL
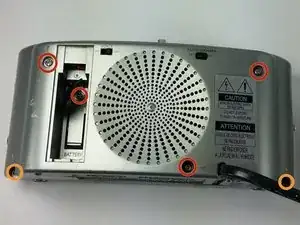
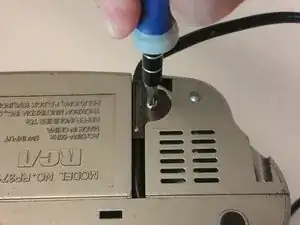
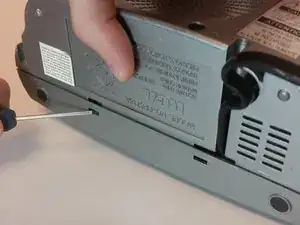
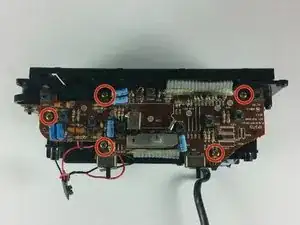
    • Take out the six screws located on the back of the device.

    • The red screws are 10 mm Phillip's #1. The orange screws are 13 mm Phillips #1.

    • Three screws are located on the back panel. One is located inside the battery carriage.

    • Two screws are located on the on the back panel on the bottom left and right side.

  4. hwsQyiOJDT6fM55R
    hwsQyiOJDT6fM55R
    nJsxgDgKGpHQwFZk
    l4Ia1a2hm2Ln32xS
    • Remove the 10 mm Phillip's #1 screw.

    • Then remove the metal reinforcement.

  5. A4DDyIfEACjf4vn6
    A4DDyIfEACjf4vn6
    GRIrKZGNJhSEmdgK
    • Using flathead screwdriver undo the release tabs.

  6. LBGjVybXTyw5wAIk
    LBGjVybXTyw5wAIk
    hEd1qDkF23SIqCYt
    El5xXXtP5XCpCljQ
    • Pry the release tabs with a spudger.

    • Start with back of the device on the topside.

  7. AN2tCmEBrhtSTXJO
    AN2tCmEBrhtSTXJO
    JgwcFb2brX3TiGDf
    • Pry open both tabs to remove the topside of the clock.

  8. cHmSsLGnqljTYLVk
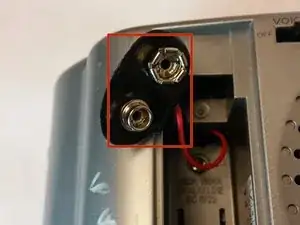
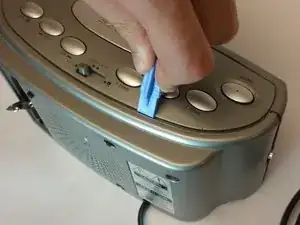
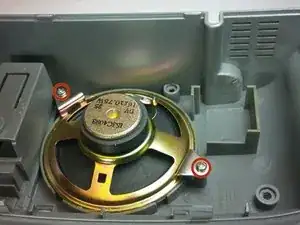
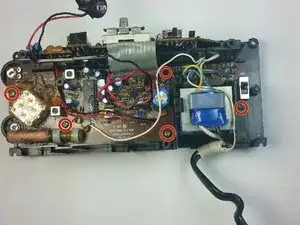
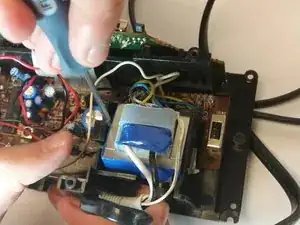
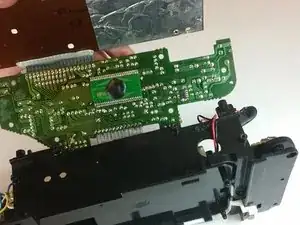
    • Remove the two 10mm Phillip's #1 screws. Also remove the two reinforcements holding the speaker in place.

  9. phegIxDeuhsPhUIX
    phegIxDeuhsPhUIX
    oQaKmarafKQPAGxJ
    • asd

  10. MKLSjHGVSNNWoveH
    • Remove the top 5 10mm Phillips #1 screws holding the top part of the motherboard

  11. jWODvj4pvWICl3gB
    • Remove the 5 10mm Phillip's #1 screws that holding side part of the motherboard

  12. dhrbcCuMwaZN4QPl
    • Remove the transformer by pulling back the release tab shown.

  13. 6ZSIiiwEPEiL4S4T
    • Pull the battery terminal through the whole shown.

  14. MsESKwe3ShsVyeTv
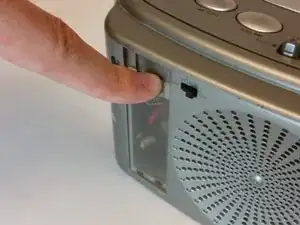
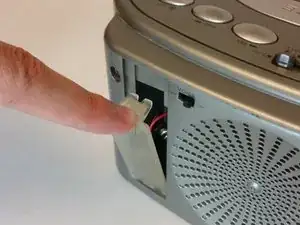
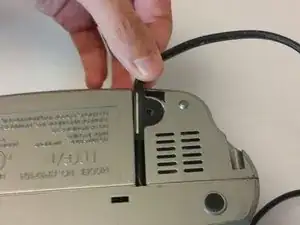
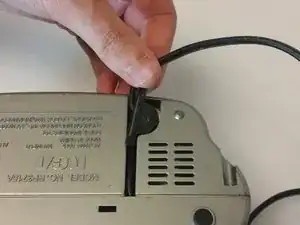
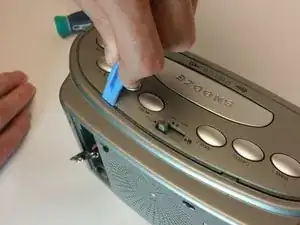
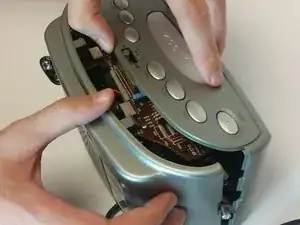
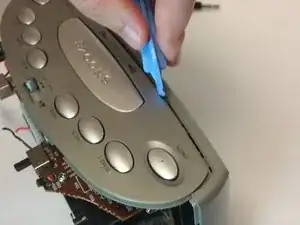
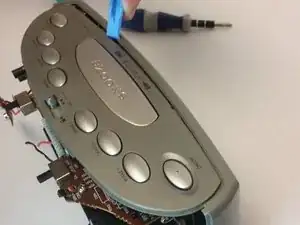
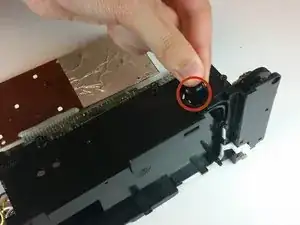
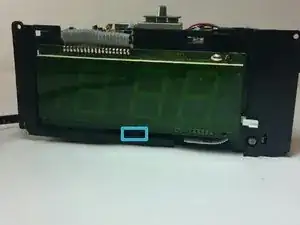
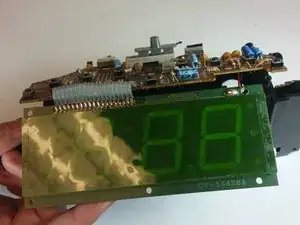
    • First release the latch highlighted in the picture. Then grab the screen by the bottom and lift it up.

  15. JiXK1pycOBRtWyIV
    JiXK1pycOBRtWyIV
    uVsZSKBBepDCKVJr
    koYNBs6rfXBhC2lb
    • Remove the motherboard from the frame using the illustration shown.

  16. l55L5R14EV5joV4S
    • Lift up the gray tuning wheel and replace it with the new one.

Conclusão

To reassemble your device, follow these instructions in reverse order.

Alexander Trowell

Membro desde: 22/09/14

222 Reputação

0 comentários