Introdução
This project was begun to repair the device and with the intention of modifying the pot so that the unreliable membrane switches be replaced with more reliable ones. Unfortunately the cost of a replacement heating element alone was more than the pot can be bought for. A fact I discovered at a local shop after sourcing the heating element. This pot is in common use in Asia and fails relatively quickly so I thought a repair guide would be a good thing. I found that no-one I spoke with about it was interested in doing such a repair even if it were cheaper, so this project died aborning... It's been unpublished and unfinished also because I was quite discouraged by the reaction of those who I thought might use it to save money and perhaps reduce the waste (in multiple ways) involved. Too, my spouse discarded the device as trash sans consultation so further progress would not be possible at this point anyway. However, after revisiting the abandoned effort here I decided someone MIGHT find it useful in some way so here it is.
-
-
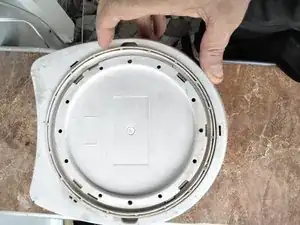
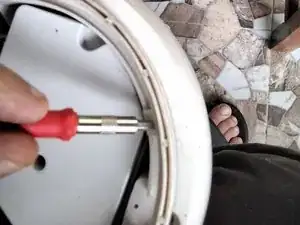
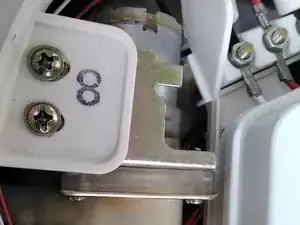
Two small Phillips head screws hold the round base plate
-
The second photo shows the screws partially removed as they are not easily viewed in photo 1
-
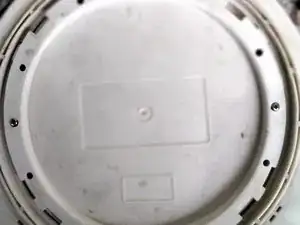
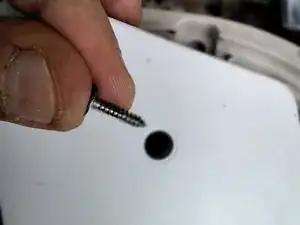
Lift the base plate and set it aside You may wish to tape the screws to the plate so they don't get lost,
-
-
-
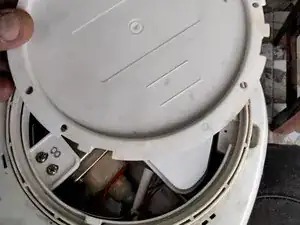
Three plastic 'clips' retain the ring
-
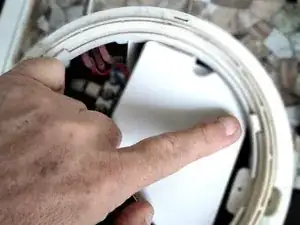
use a flat head screwdriver, spudger or other pry tool to pry the clip off the base of the ring and simultaneously lift the ring above the engagement point,
-
Repeat this for all three clips and set the ring aside
-
-
-
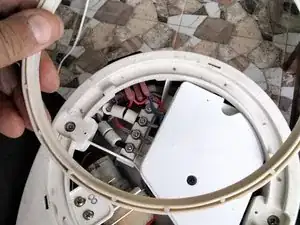
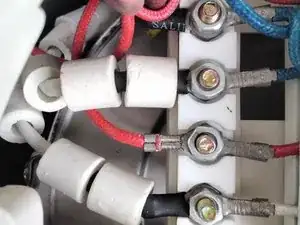
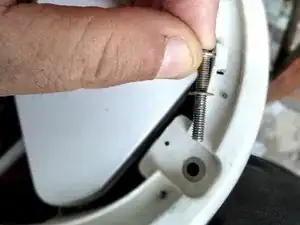
Use an 8 mm nutdriver to remove the nuts and lock washers retaining the various wires, take photos or notes to aid in reassembly
-
-
-
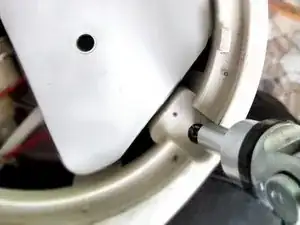
These two Phillips screws retain the water pump mount
-
Remove them and set them aside or tape them to the mount
-
-
-
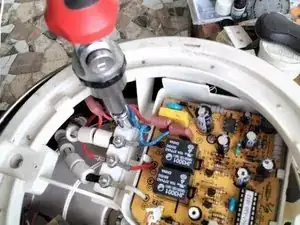
Remove the single Phillips screw holding the main Board housing cover
-
Remove and set aside cover
-
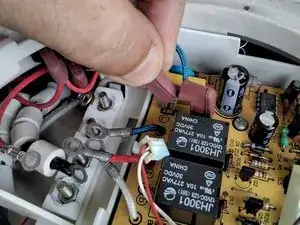
gently pull back the rust-colored rubber insulating boots and unplug the two wires from the main BUSS
-
-
-
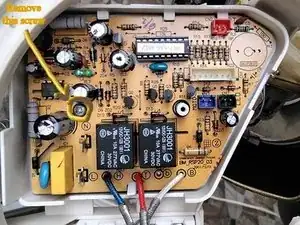
Remove the screw indicated by the GOLD circle
-
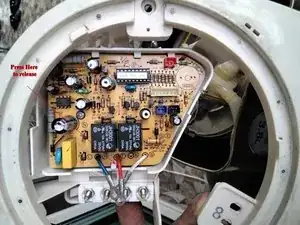
Press the white plastic tab indicated by the red arrow and pry the board upward while pulling forward to clear the two retaining tabs on the opposite side
-
Lift out the board
-
-
-
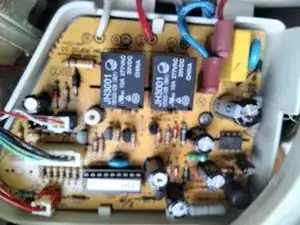
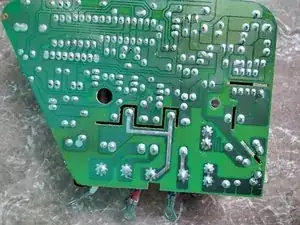
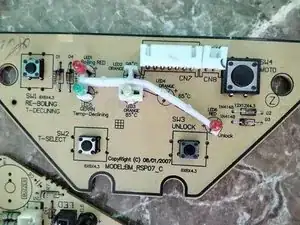
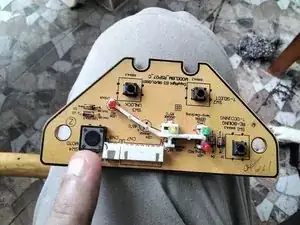
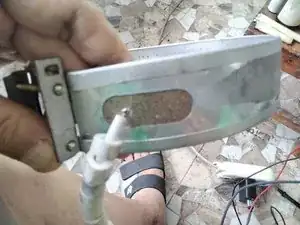
More preview. defective switch on control board everything else on that board tested ok
-
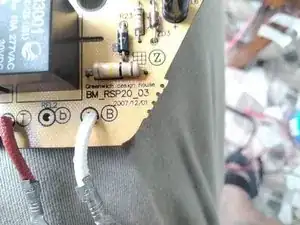
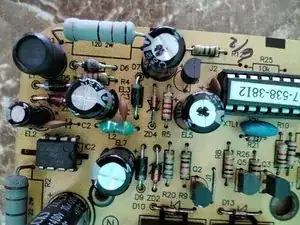
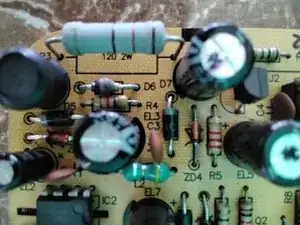
close-up of main board info
-
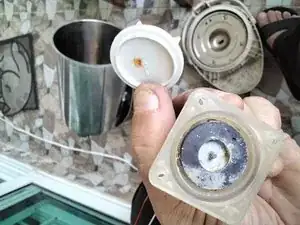
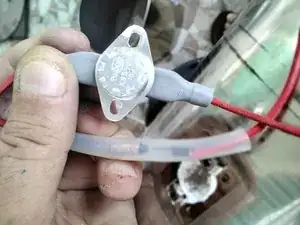
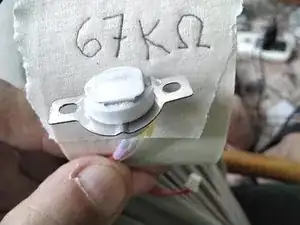
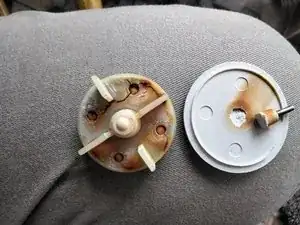
value of unlabelled critter that came from the center bottom of the water pot itself secured with what looks to be a thermal adhesive? white chalky, slightly greasy feeling.
-
-
-
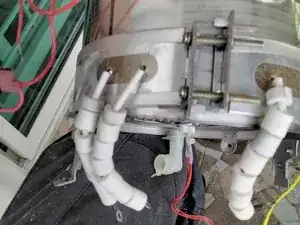
just a closer look at heating element
-
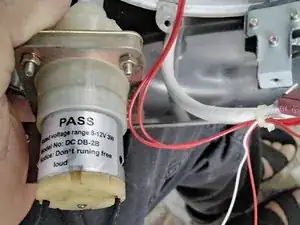
water pump is broken, plastic is also degraded and ready to fail soon that encases the impeller
-
-
-
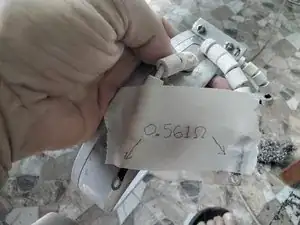
thermo-whatsit value from side about halfway up also applied with thermal adhesise?
-
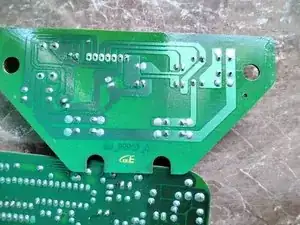
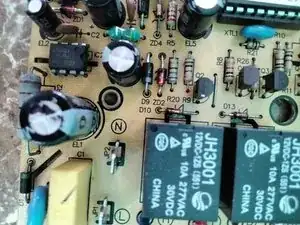
shall I measure the values of the components on the main circuit board?
-
circuit board continued on next step
-
-
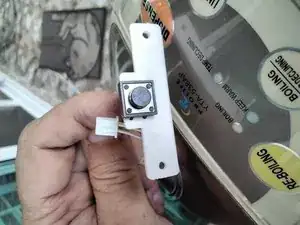
-
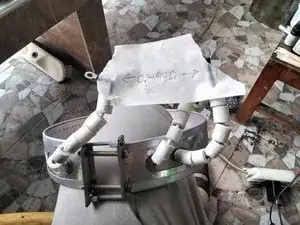
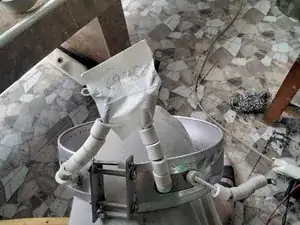
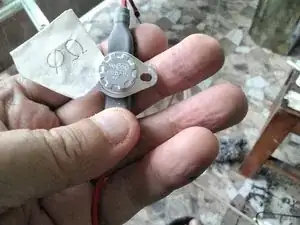
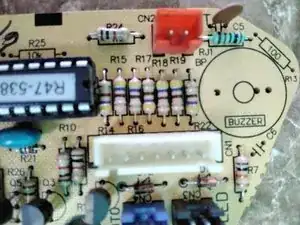
that switches pump on when pressed by cup rim
-
all the major parts are now up, will continue with the disassembly steps.
-


To reassemble your device, follow these instructions in reverse order.