Introdução
Guia tipo pré-requisito exclusivo para abrir o iPhone 11, permitindo acesso a componentes internos para reparo e reposição.
-
-
Desligue o iPhone antes de iniciar a desmontagem.
-
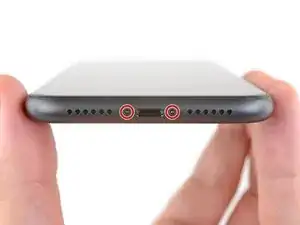
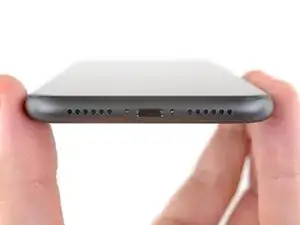
Remova os dois parafusos pentalobe de 6,7 mm na borda inferior do iPhone.
-
-
-
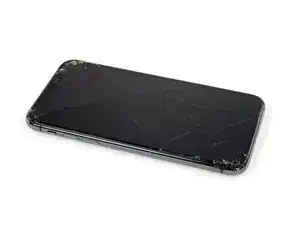
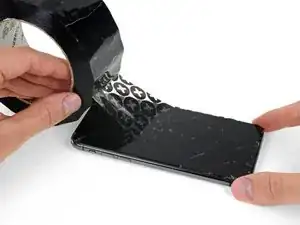
Se o seu iPhone tiver uma tela rachada, mantenha as rachaduras sob controle e evite danos corporais durante o reparo colocando fita adesiva sobre o vidro.
-
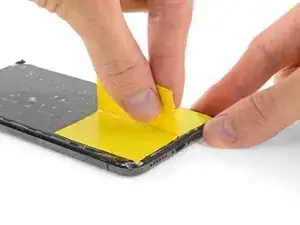
Coloque tiras de fita de embalagem sobrepostas sobre a tela do iPhone até que toda a superfície fique coberta.
-
Se o vidro quebrado dificultar o uso da ventosa de sucção nos próximos passos, tente dobrar um pedaço de fita resistente (como uma fita de vedação para dutos) na forma de uma pega e levante a tela com ela.
-
-
-
Coloque tiras sobrepostas de fita adesiva transparente sobre a tela do iPhone até que toda a superfície fique coberta.
-
Se não conseguir fazer com que a ventosa grude nas próximas etapas, dobre um pedaço de fita adesiva resistente (como fita adesiva vedante) na forma de uma pega e levante a tela com ela.
-
-
-
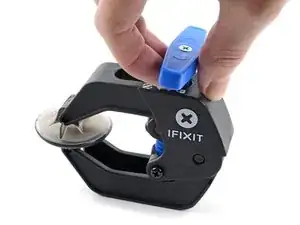
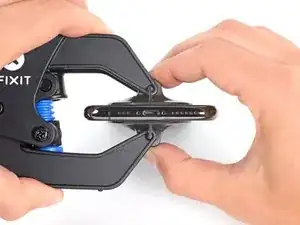
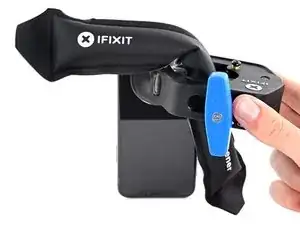
Puxe a pega azul para trás para destravar os braços do Anti-Clamp.
-
Deslize os braços pela borda esquerda ou direita do iPhone.
-
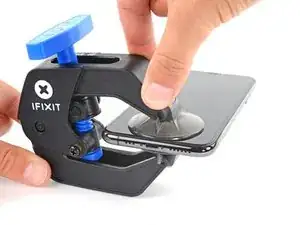
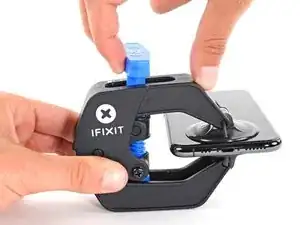
Posicione as ventosas próximo à borda inferior do iPhone - uma pela frente e a outra pela traseira.
-
Aperte as ventosas uma contra a outra para aplicar sucção na área desejada.
-
-
-
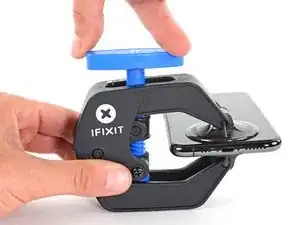
Puxe a pega azul para a frente para travar os braços.
-
Gire a pega 360 graus no sentido horário ou até que as ventosas comecem a se esticar.
-
Certifique-se de que as ventosas permaneçam alinhadas uma com a outra. Se elas começarem a ficar desalinhadas, solte um pouco as ventosas e realinhe os braços.
-
-
-
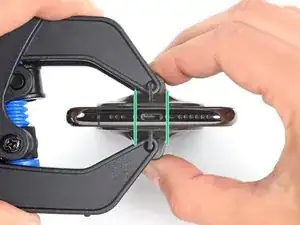
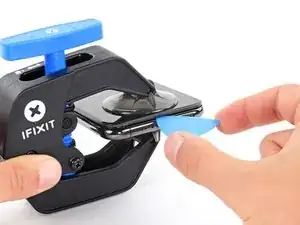
Aqueça uma bolsa térmica iOpener e passe-a pelos braços do Anti-Clamp.
-
Dobre a bolsa térmica iOpener de modo que ela fique sobre a borda inferior do iPhone.
-
Aguarde um minuto para que o adesivo tenha a chance de se soltar e apresentar um vão para a abertura.
-
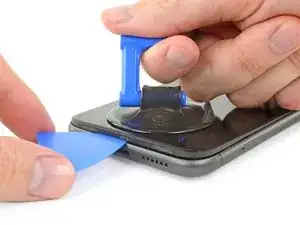
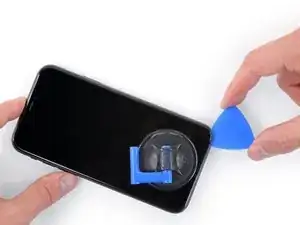
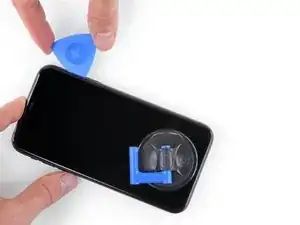
Insira uma palheta de abertura sob a tela e o painel de plástico, mas não abaixo da própria tela.
-
Pule as próximas três etapas.
-
-
-
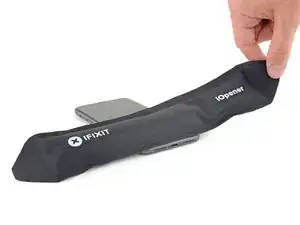
Use um secador de cabelo, uma pistola de ar quente ou prepare uma bolsa térmica iOpener e aplique-o(a) na borda inferior do iPhone por cerca de um minuto para amolecer o adesivo que se encontra por baixo.
-
-
-
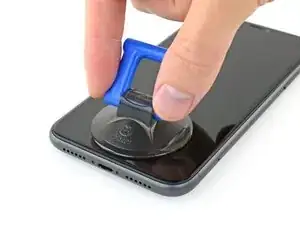
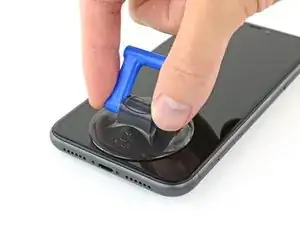
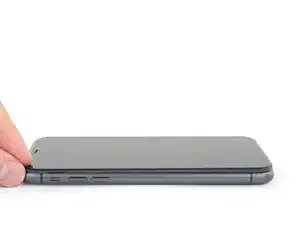
Se estiver usando uma ventosa de sucção simples, aplique-a na borda inferior do telefone, evitando a parte curva do vidro.
-
-
-
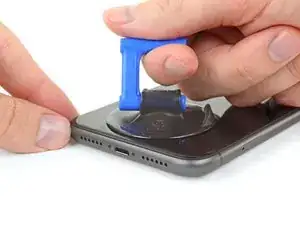
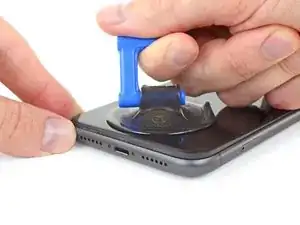
Puxe a ventosa para cima com pressão firme e constante para criar um pequeno vão entre o painel frontal e a estrutura traseira.
-
Insira uma palheta de abertura no espaço abaixo da, tela e da moldura de plástico, mas não debaixo da própria tela.
-
-
-
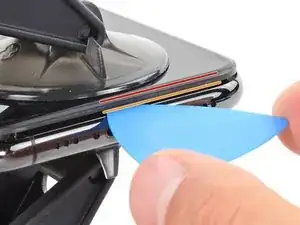
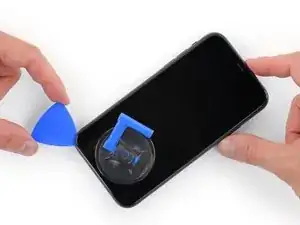
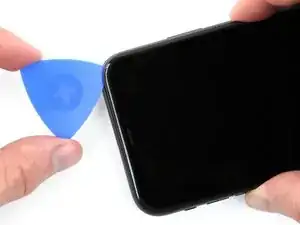
Deslize a palheta de abertura pelo canto inferior esquerdo e pela borda esquerda do iPhone, cortando o adesivo que mantém a tela no lugar.
-
-
-
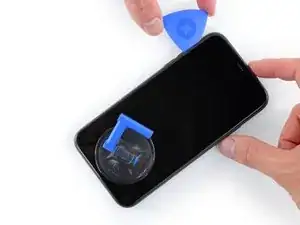
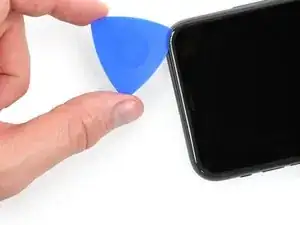
Insira novamente a palheta na borda inferior do iPhone e deslize-a para cima no lado direito para continuar separando o adesivo.
-
-
-
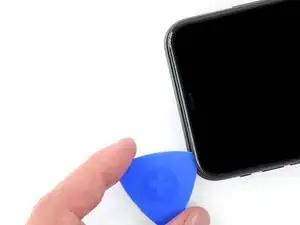
Puxe gentilmente a borda direita da tela para baixo (na direção do conector Lightning).
-
Introduza a palheta no canto superior direito do fone.
-
-
-
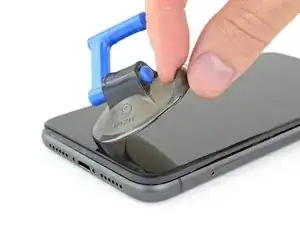
Continue puxando a tela para baixo (em direção ao conector Lightning) conforme necessário para abrir um vão grande o bastante para a palheta.
-
Deslize a palheta para o canto superior esquerdo e corte o adesivo restante que está segurando a tela.
-
-
-
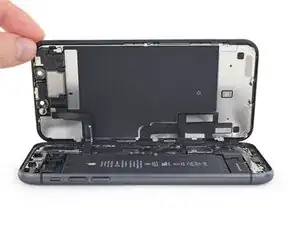
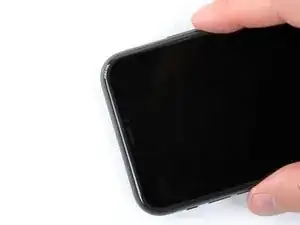
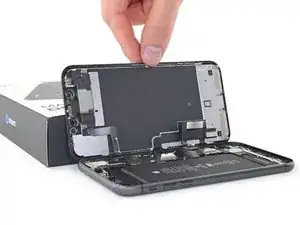
Abra o iPhone virando a tela para cima pelo lado esquerdo, como se estivesse virando a contra-capa de um livro.
-
Apoie a tela em algo para deixá-la de pé enquanto você executa os trabalhos no fone.
-


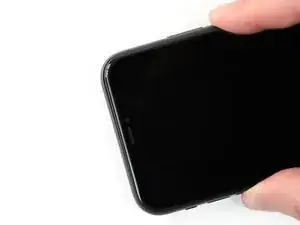

Para montar novamente o dispositivo, siga estas instruções na ordem inversa.

the right screws wouldn’t come off
Yusef San Inocencio -
ok one came of but my right wont come of either!!!!
Aisa Jawara -
and what did yall do about it?????
Ottokar Kruse -
Hello guys, I still haven't found away to power off the iphone without using the screen. Cheers!
danielaguirre93 -
You can try this.
Quickly Press and release the volume up button.
then Quickly Press and release the volume down button.
then press and hold the power button and wait until it turns off.
worked for me :D
Benóný Egilson -
Where does one get replacement seals? Is this the same as the display assembly adhesive?
Brian Baker -
not of the screwdrivers i have seem to be able to turn the screws
Aisa Jawara -
I found out that 0.8, 5 star bit it's a match, meybe this would help somebody
Mateusz Mati -
how do you change battery of an iPhone 11 and still the battery health shows, do you use a software for that?
Great Me -
Battery health won’t show on a non Apple battery.
DON’T forget to discharge old battery before removing it. Very impressive fire (and smoke!) if you puncture it. Ask me how I know
Doug Harrowing -
Does anyone know which size pentalobe screws (step 1) they are ? I have P2 if that’s a size, is that the right one?
Jannn -
Yes, P2 is the correct one!
Russ Torrez -