
Introdução
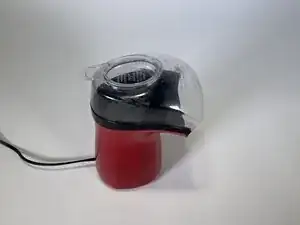
This guide will show you how to disassemble your Presto Hot Air Popper into its individual parts. This allows easy replacement of a faulty wire, a broken motor, or a damaged electrical component.
The disassembly is fairly straightforward and most components are immediately accessible once the casing and inside structural pieces are removed. Remember to unplug the air popper and allow it to cool before beginning, and keep track of all screws removed for later re-assembly.
Ferramentas
-
-
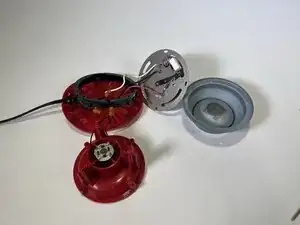
Remove the bottom cover and take out the main assembly.
-
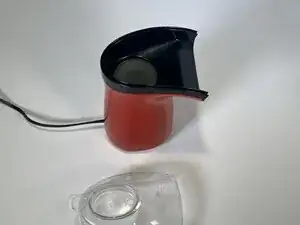
Remove the tapered metal tube, noting that the smaller piece inserts into the larger metal hot plate.
-
-
-
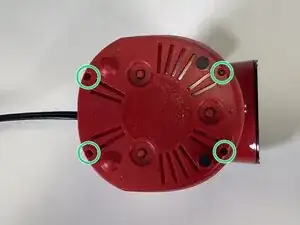
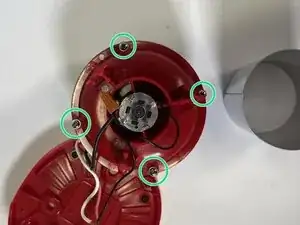
Remove the four 37.8mm screws and washers from the main assembly using a Phillips #1 screwdriver.
-
-
-
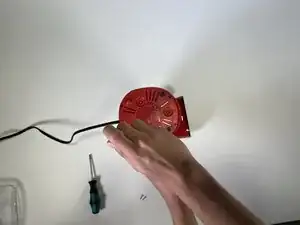
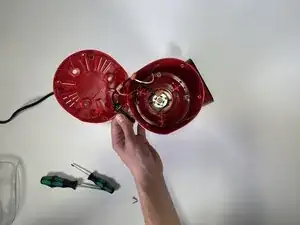
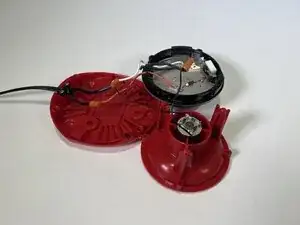
Take the upper red motor portion off the main assembly. There will be wires connecting the two.
-
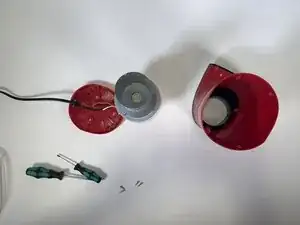
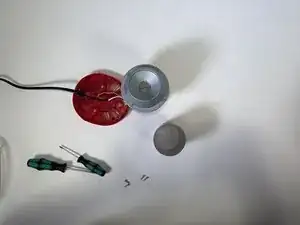
Remove the metallic heater, hot plate, and black spacer. Wires will attach to the metallic heating element.
-
-
-
Remove the main wire retaining bracket and two 14.2mm screws from the bottom cover using a Phillips #1 screwdriver.
-
-
-
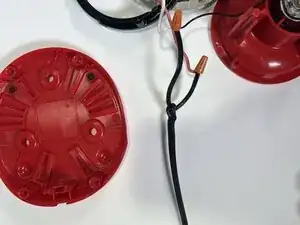
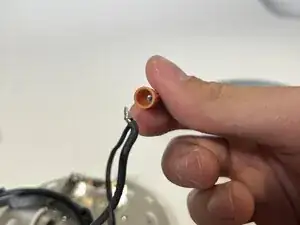
Remove the three orange wire nuts by holding the wires and unscrewing the nuts counterclockwise.
-
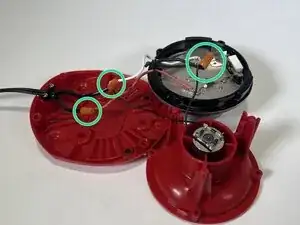
To separate the wires, gently twist in the opposite the direction that the metal strands are entwined, and slowly move the wire back and forth. After a little wiggling the wires should come free.
-


To reassemble your device, follow these instructions in reverse order.