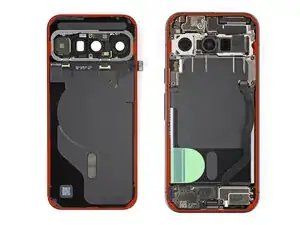
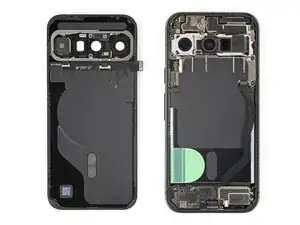
Introdução
-
-
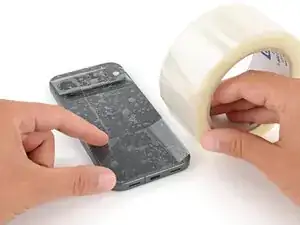
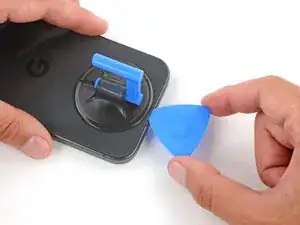
Apply strips of packing tape to the cracked glass until it's completely covered—this will help keep the glass contained and allow the suction cup to stick.
-
Make sure there's a single strip (not overlapping) of tape across the bottom edge, big enough for a suction cup to fit on.
-
-
-
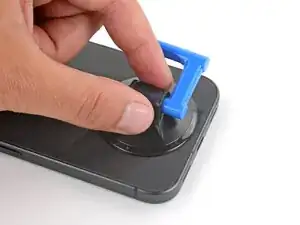
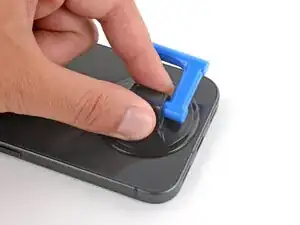
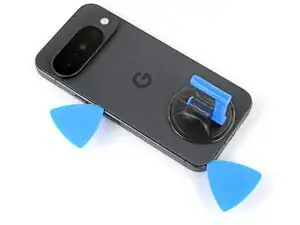
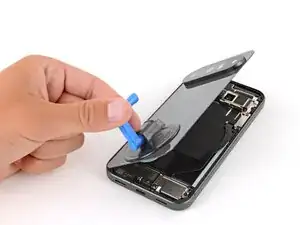
Apply a suction handle to the center of the back glass's bottom edge, as close to the edge as possible.
-
-
-
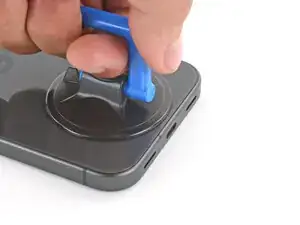
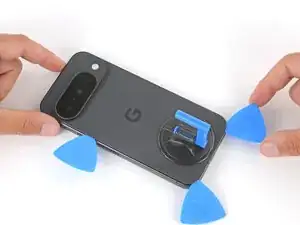
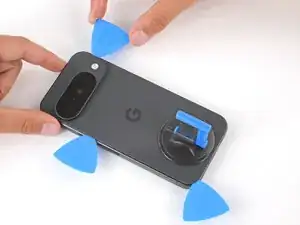
Pull up on the suction handle with strong, steady force until a gap forms between the back glass and frame.
-
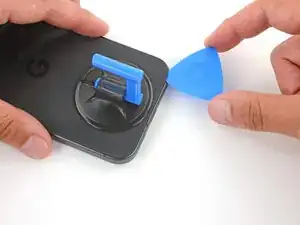
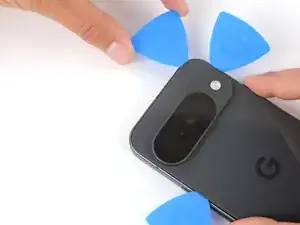
Insert the tip of an opening pick into the gap.
-
-
-
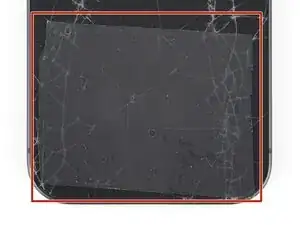
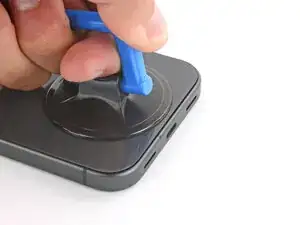
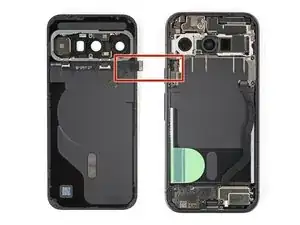
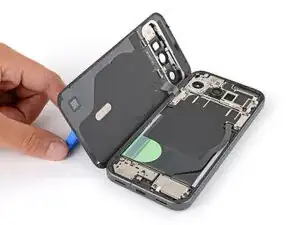
The back glass is secured with adhesive around the perimeter of the frame. Use this picture as a reference while you separate the adhesive.
-
-
-
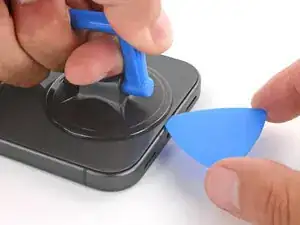
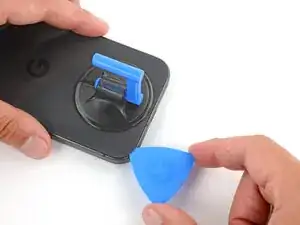
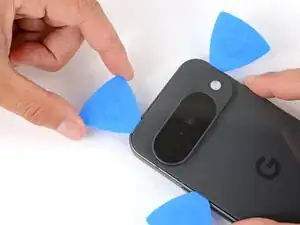
Slide the opening pick along the bottom edge to separate the adhesive.
-
Leave the pick inserted under the bottom left corner to prevent the adhesive from re‑sealing.
-
-
-
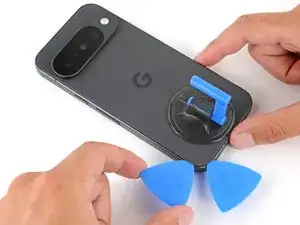
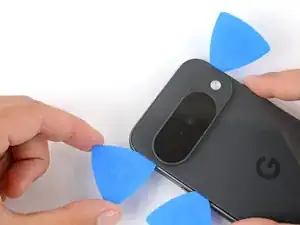
Insert a second pick under the bottom left corner and slide it up the left edge, stopping at the power button.
-
Leave the pick inserted to prevent the adhesive from re‑sealing.
-
-
-
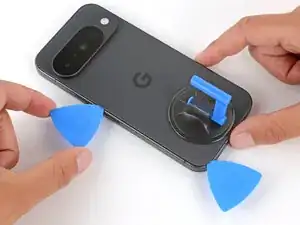
Insert a third pick under the bottom right corner of the back glass and slide it up the right edge.
-
Leave the pick inserted under the top right corner.
-
-
-
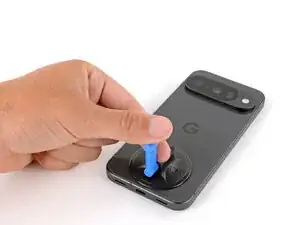
Insert a fourth pick under the top right corner.
-
Slide the pick along the top edge and slightly around the top left corner, stopping at the bottom of the camera bump.
-
-
-
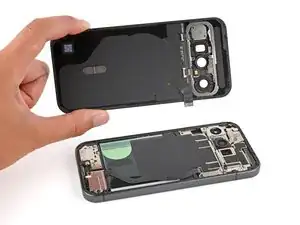
Flip the back glass over the left side of the phone and use the suction handle (or a sturdy object) to prop it up.
-
-
-
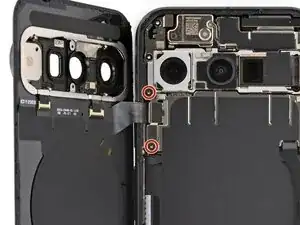
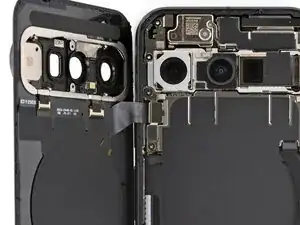
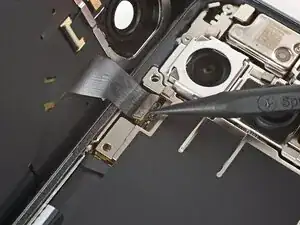
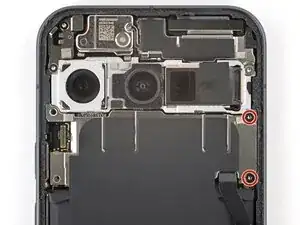
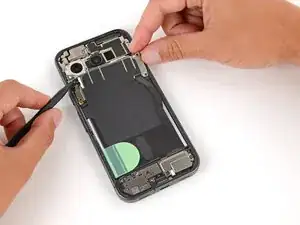
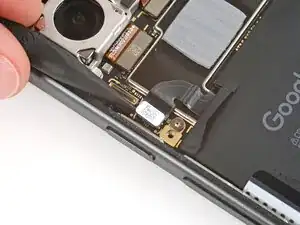
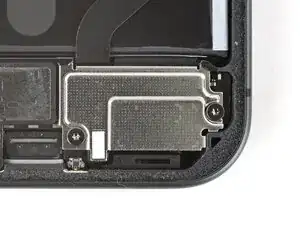
Use a Torx Plus 3IP screwdriver to remove the two 5.0 mm‑long screws securing the back glass connector bracket.
-
-
-
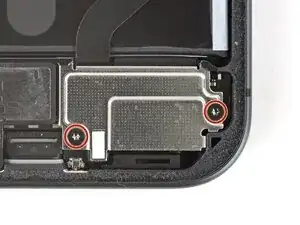
Use a Torx Plus 3IP screwdriver to remove the two 5.0 mm‑long screws securing the motherboard cover.
-
-
-
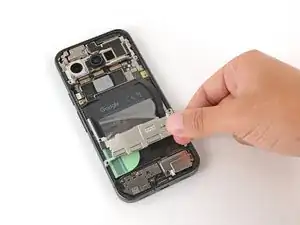
Use a spudger to lift the motherboard cover, then grip the cover and slowly peel the graphite sheet off the battery.
-
-
-
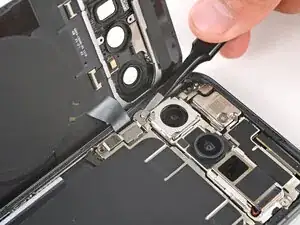
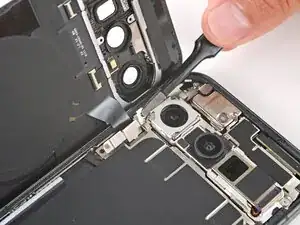
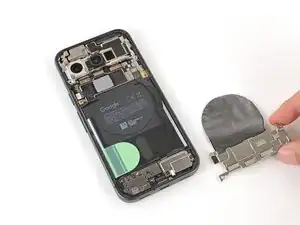
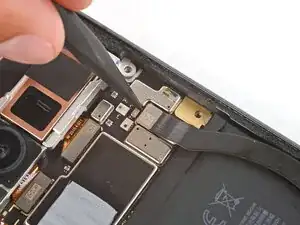
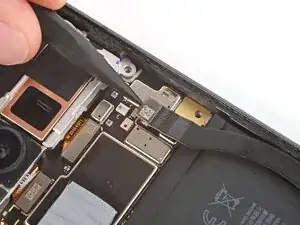
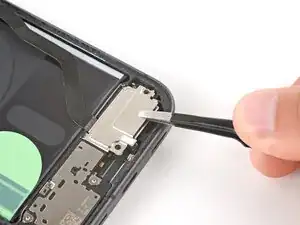
Use the point of a spudger to pry up and disconnect the interconnect cable press connector from the bottom right of the motherboard.
-
-
-
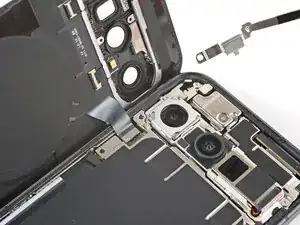
Use a Torx Plus 3IP screwdriver to remove the two 5.0 mm‑long screws securing the USB‑C board cover.
-
-
-
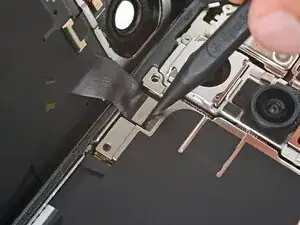
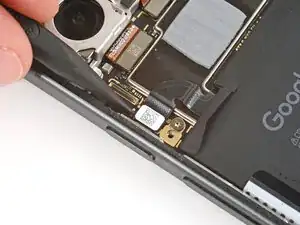
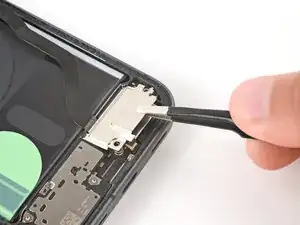
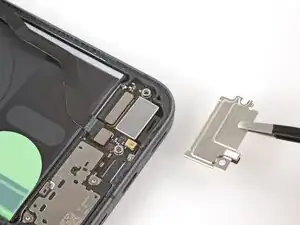
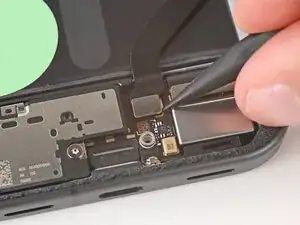
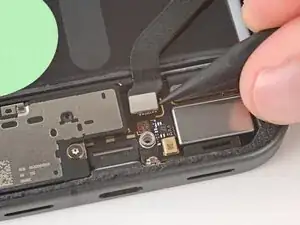
Use the point of a spudger to pry up and disconnect the interconnect cable press connector from the USB‑C board.
-
-
-
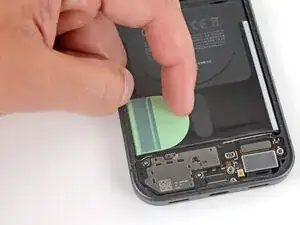
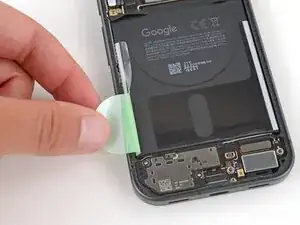
Use your fingers to peel up the entire battery tab on the left side of the battery, including the skinny strip running along the side.
-
-
-
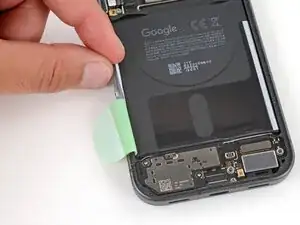
Wear finger stalls to help get a solid grip on the battery pull tabs and frame in the next step.
-
-
-
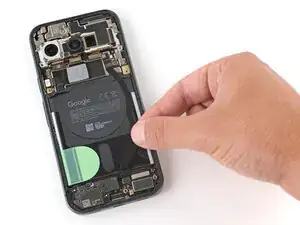
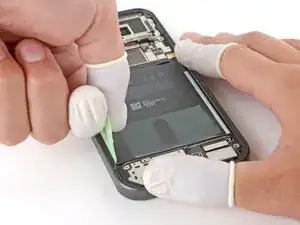
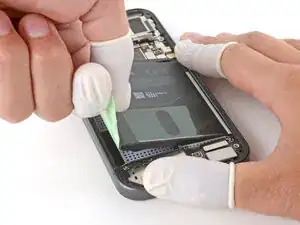
Secure the right side of your phone with one hand, and use your free hand to grip the battery pull tab.
-
Pull straight up on the tab and apply constant, steady force until the adhesive separates.
-
-
-
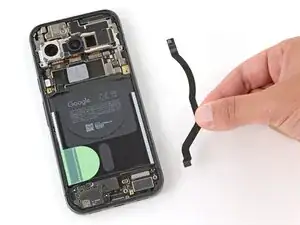
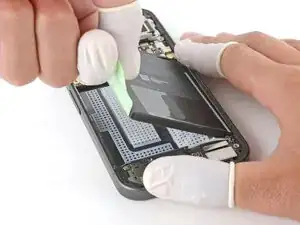
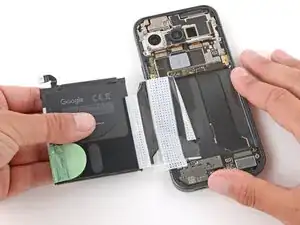
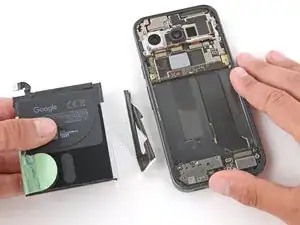
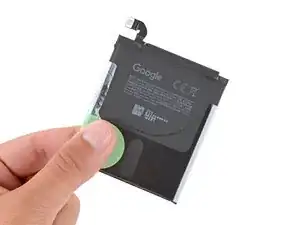
Grip the battery and slowly pull it away from your phone to peel the plastic sleeve out of the recess.
-
Remove the battery.
-