Introdução
This guide walks you through the process of replacing the battery in a Philips Norelco OneBlade shaver made by Philips.
If your device no longer holds a charge, runs for a very short time, the internal battery may need replacement. This manual provides clear, step-by-step instructions to help you safely disassemble the shaver, replace the battery, and reassemble the unit.
Proceed carefully, especially when working with soldered connections and lithium-ion batteries.
Peças
-
-
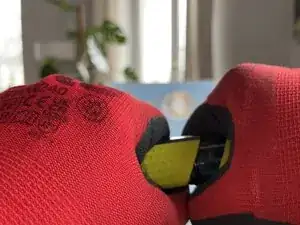
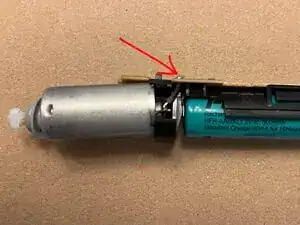
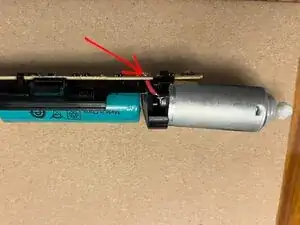
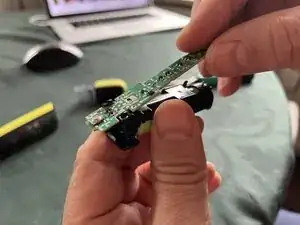
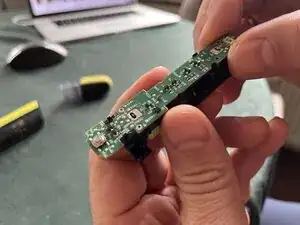
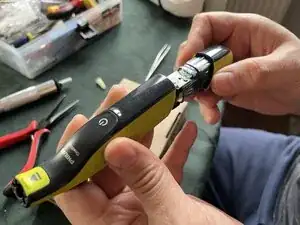
This is the most difficult part of the process. Both parts of the shaver are press-fit together, and separating them requires a fair amount of force and patience. Grip both ends of the device and, while gently twisting them against each other, try to pull them apart. I recommend using gloves with a rubberized grip.
-
-
-
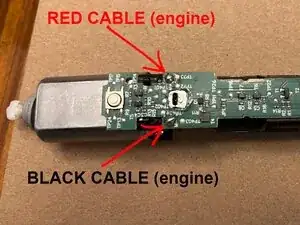
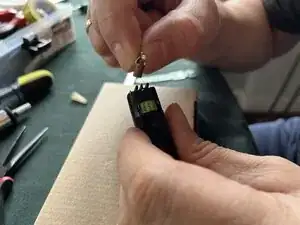
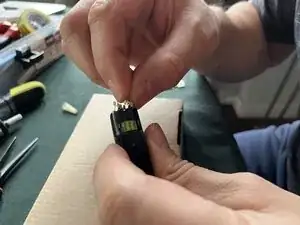
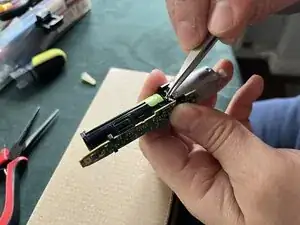
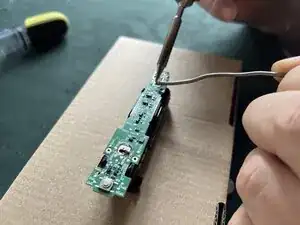
Desolder the wires connecting the main board to the motor. Remember that the red wire is positive and the black wire is negative — you will need this when reassembling.
-
-
-
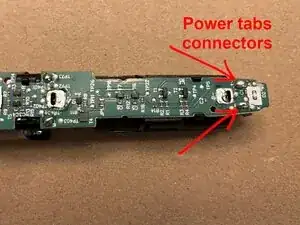
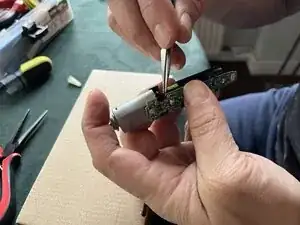
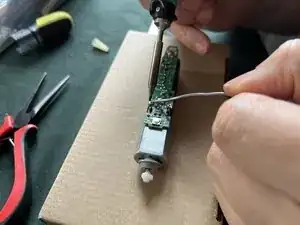
Desolder the connectors joining the power tabs with the motherboard.
-
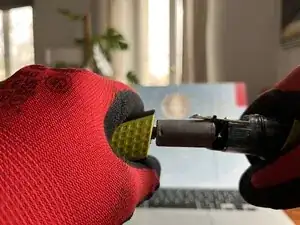
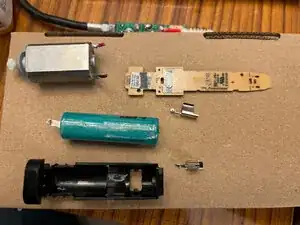
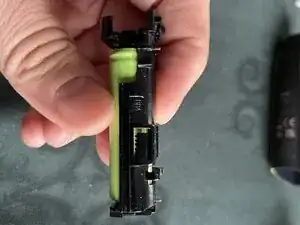
Now remove the battery and the power tabs from the holder. All parts of the shaver should now be separated. New line.
-
-
-
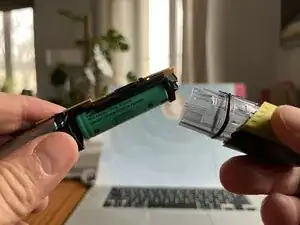
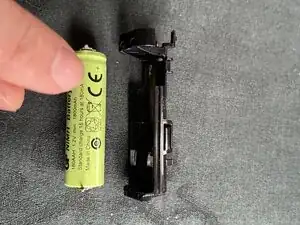
Replace the battery with a single AA-size Ni-MH rechargeable battery with a nominal voltage of 1.2 V and a capacity of 1800 mAh. When replacing it, pay attention to the polarity.
-
The positive terminal is on the motor side!
-
-
-
Connect the battery holder to the main board.
-
First slide in the side closer to the motor, then press down the rest.
-
Make sure the battery terminals and the power tabs fit properly into the holes on the main board.
-
Warning! Before replacing it, check the battery with a multimeter to make sure it is working and charged. If possible, charge it beforehand. This will allow you to verify shortly whether the assembly was done correctly.
-
-
-
Insert the motor wires into the holes in the main board. Red is positive, black is negative.
-
-
-
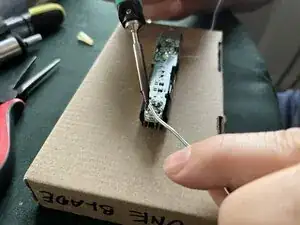
Resolder all connections. The soldering order does not matter.
-
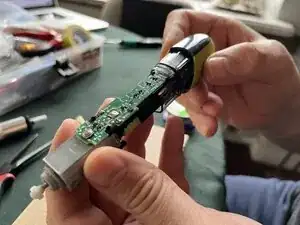
After soldering all the terminals, you can try turning on the shaver to check if it works. The motor shaft should start spinning, provided the battery is sufficiently charged.
-
-
-
Place the soldered assembly into the lower part of the housing, with the battery facing down (see photo).
-
Put the top part of the housing back on and press firmly until you feel the clips snap into place.
-
Connect the shaver to the charger and check whether the LED indicator lights up and the device is charging.
-


The guide shows the complete battery replacement process.