
Introdução
Removing the top cover is often the first step in servicing the camera. It gives access to some of the wired connections and may be useful for troubleshooting electrical issues.
Ferramentas
-
-
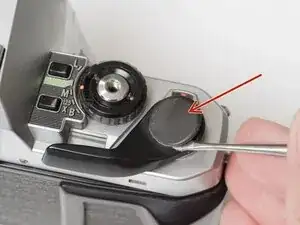
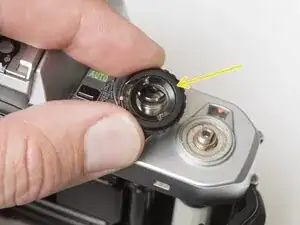
Remove the rubber decorative cap. It is attached with contact cement underneath. Isopropyl Alcohol may be used to soften the adhesive.
-
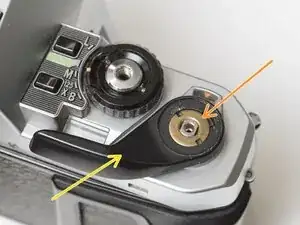
Unscrew the lock nut using a spanner wrench. The lock nut is reverse threaded.
-
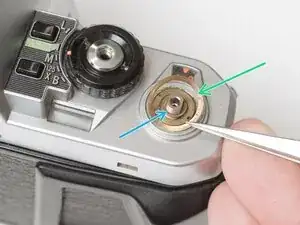
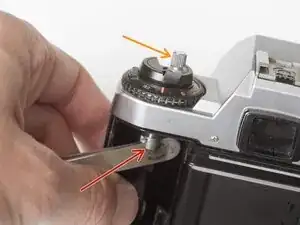
Lift off the advance lever.
-
Remove the spring washer.
-
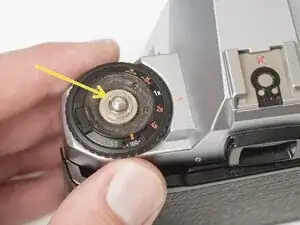
Remove one shim washer.
-
-
-
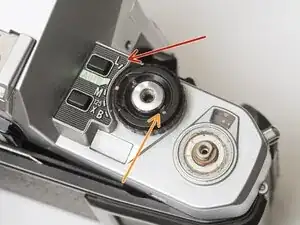
Set the mode dial to the 'L' position.
-
Use a spanner wrench to unscrew the dial lock nut.
-
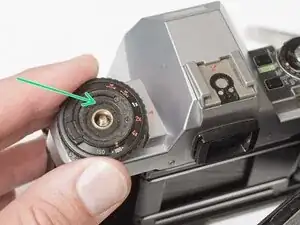
Lift off the mode dial.
-
-
-
Place a rigid object in the fork.
-
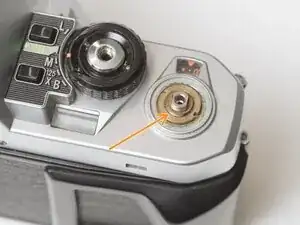
Unscrew the rewind lever.
-
Use a spanner wrench to remove the lock nut.
-
Lift off the exposure compensation dial.
-
-
-
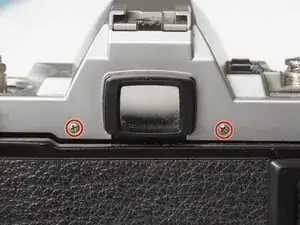
Remove two screws on either side of the eye piece.
-
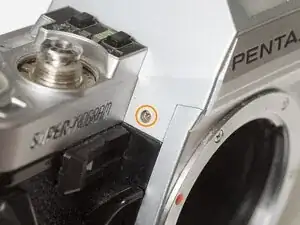
Remove two screws on either side of the lens mount.
-
-
-
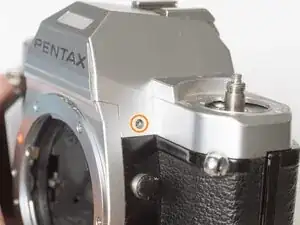
Remove one screw by the exposure compensation dial.
-
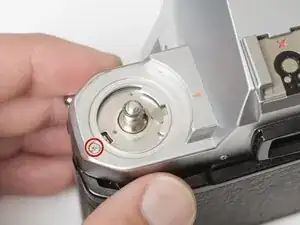
Use a spanner wrench to remove the lock nut under the advance lever.
-
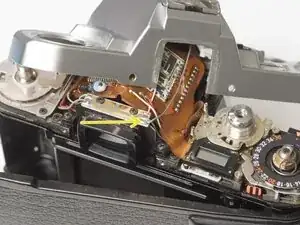
Lift off the top cover slowly. It is still attached by one wire.
-
Unsolder one gray flash sync wire.
-
To reassemble your device, follow these instructions in reverse order.