Introdução

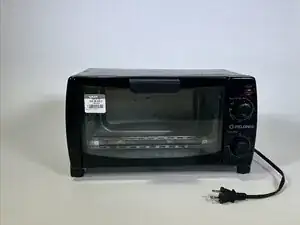
Name: Pelonis four slice toaster oven

Model: MG10BFK

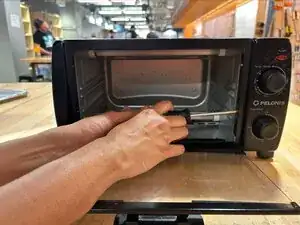
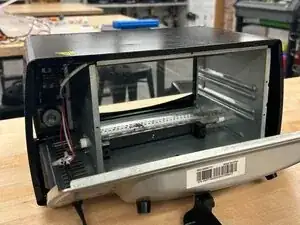
This guide includes pictures and explanations of the inner workings of the device, specifically regarding the heating mechanism, LED light, and timer functions. The toaster oven should be unplugged when disassembling and the glass door should be handled with care.

  1. BdVAMy2vfHkbljYP
    BdVAMy2vfHkbljYP
    LjkdfyvE4JF5tn1C
    • Remove the two 12 mm screws at the bottom of the toaster using a Phillips #1 screwdriver.

  2. LBYHDMhkTIauFAjK
    LBYHDMhkTIauFAjK
    FucXHMwt4CRnDwCR
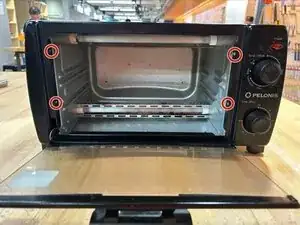
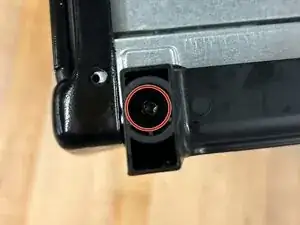
    • Remove the four 8 mm screws from the inside edge of the toaster using a Phillips #0 screwdriver.

  3. Hh6enrroxHfmReCd
    Hh6enrroxHfmReCd
    yqKoFBsHBCr4JDWC
    • Remove the four 12 mm screws at the back of the toaster using a Phillips #1 screwdriver.

  4. kcSGuRlekxaKMSTU
    kcSGuRlekxaKMSTU
    Kg12OClQLYaXhQCl
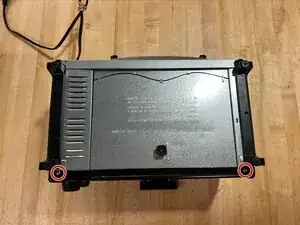
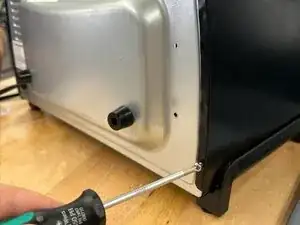
    • Remove the rubber backings from the legs of the toaster by pulling them out with your hands.

  5. MYvX5FEPBdmUPmwE
    MYvX5FEPBdmUPmwE
    WYKp3BGUsRtJwdMI
    • Remove the 12 mm screw from the inside of the leg using a Phillips #0 screwdriver.

    • This allows us to remove the leg stands from the toaster.

  6. JFTulLedtmJdNwXt
    JFTulLedtmJdNwXt
    IvSCMVVyuMLVLUmU
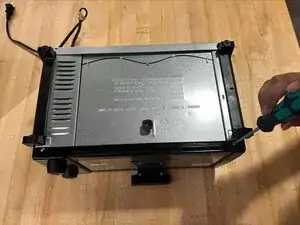
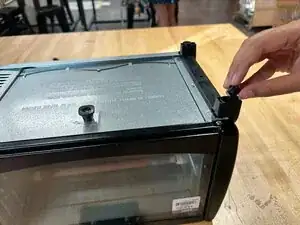
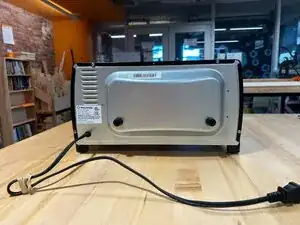
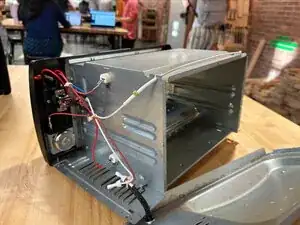
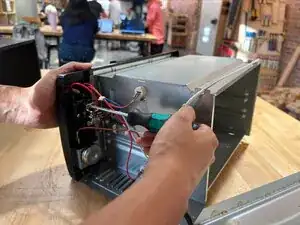
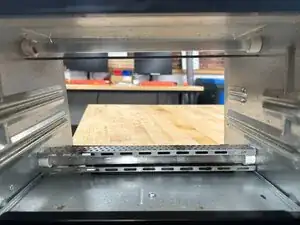
    • Remove the back to access the inner mechanism; you can also remove the black covering at this step.

  7. WAMA6BHcwGBFNDSa
    WAMA6BHcwGBFNDSa
    6n1JhqUFPOCKNnDN
    • The LED light can be removed for replacement.

  8. YcOaKwUDFOUislxW
    YcOaKwUDFOUislxW
    UnDcNUFtNU6DVRxL
    RtfaxnPHaW1EDsGh
    • Remove the 12 mm screws surrounding the temperature switch using a Phillips #1 screwdriver.

  9. OZ2o3BQFrRrDMJvs
    OZ2o3BQFrRrDMJvs
    yOvHSFm6EKPZcl5B
    • The temperature switch is now free for replacement.

  10. jJCiMIt3oj6pn5QA
    jJCiMIt3oj6pn5QA
    5JWTZMHclvP1XNvD
    nLui3ZQiEOxPq6hW
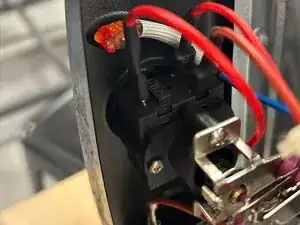
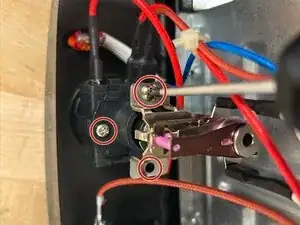
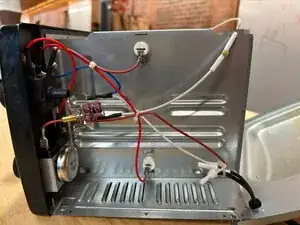
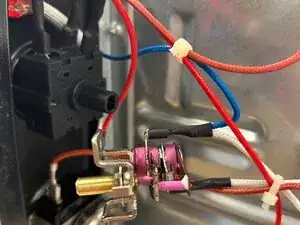
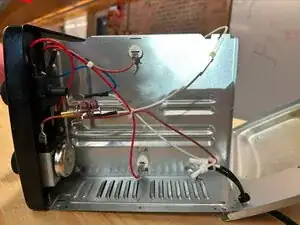
    • With all other components out of the way, you have access to the wires connecting to the heating elements as well as the heating elements themselves, which you can now replace.

Conclusão

To reassemble your device, follow these instructions in reverse order.

Anya Buyea

Membro desde: 14/09/25

231 Reputação

0 comentários