Introdução
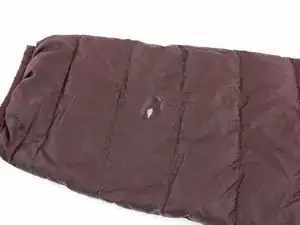
Holes in a down jacket can mean being a walking pillow-fight. Prevent feathers from leaking and ensure that the hole doesn't grow with a temporary patch. While patching your jacket with repair tape will hold for a while, and is a great way to repair on the fly, eventually you will want to put a real patch on the jacket. For details on patching a down jacket, check out our Baffle Repair Guide.
For replacement parts or further assistance, contact Patagonia Customer Service.
Ferramentas
-
-
Clean the fabric area that you are repairing with Isopropyl alcohol prior to applying the patch. This will remove dirt and oil allowing the adhesive to bond well to the fabric. Allow fabric to dry for a short period before adhering the patch
-
-
-
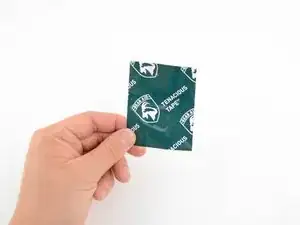
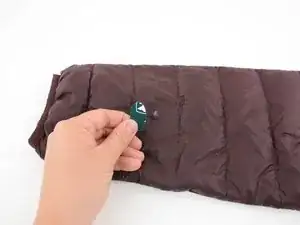
Grab your repair tape.
-
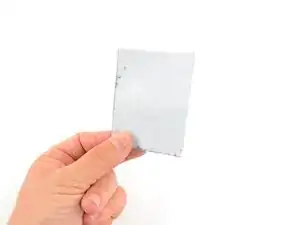
Flip the repair tape to the back side.
-
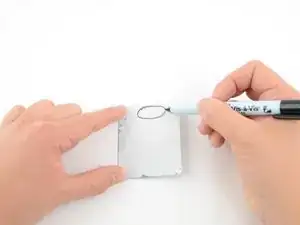
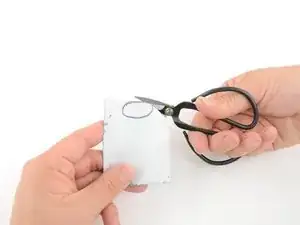
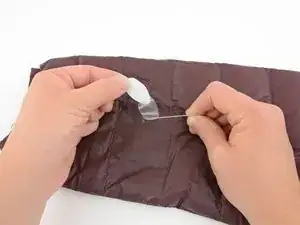
Using a permanent marker, draw an oval slightly larger than the hole.
-
-
-
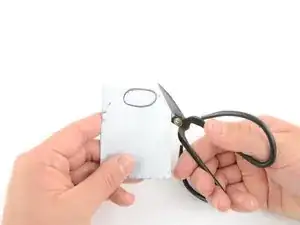
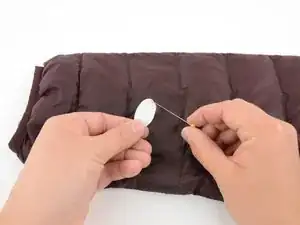
Lay the shape over the hole to ensure that the patch is large enough. You want the patch to cover the hole or tear and extend past damaged area onto the fabric on all sides with at least an 1/4" of overlap.
-
-
-
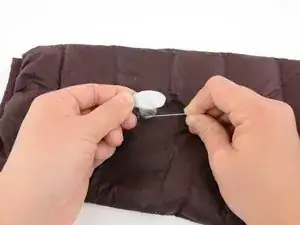
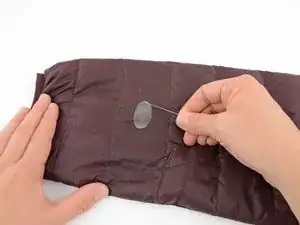
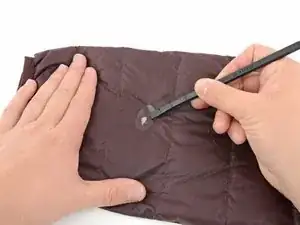
Using your fingernail, or a pin, peel the backing off the repair tape, so that you only have the clear sticky layer.
-
-
-
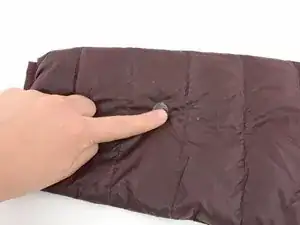
Use a spudger, hard plastic card or the edge of your thumb to smooth out patch and work out any air bubbles underneath. Continue to smooth out patch by applying downward pressure onto patch, pushing out towards the edges in all directions.
-
Using your warm hand continue to apply pressure until properly adhered.
-
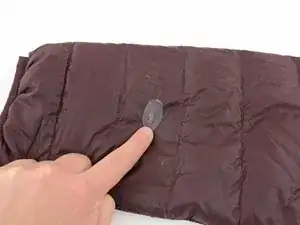
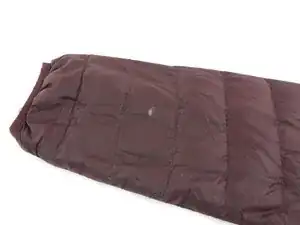
Allow patch to set for at least 24hrs before next wash.
-