Introdução
Ferramentas
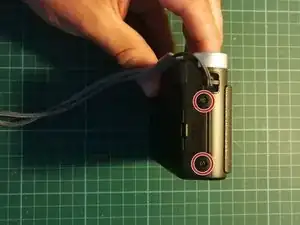
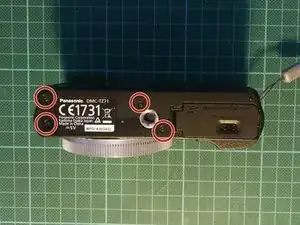
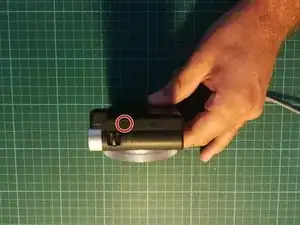
Peças
-
-
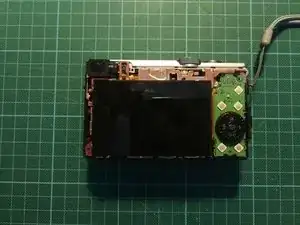
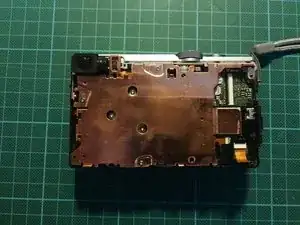
Das hintere Gehäuse ist nun locker und kann entfernt werden. Man sieht das Display und die Steuerung.
-
-
-
Hebel zunächst die grüne Platine mit den Steuerelementen auf der rechten Seite aus der Fassung.
-
KEINE GEWALT ANWENDEN, es sollte sich locker lösen. Achte darauf, dass die Flachbandkabel nicht geknickt oder gebrochen werden!
-
Entferne das Flachbandkabel an der Steuerplatine.
-
Anschließend kannst du das Display aus seiner Verankerung nehmen, achte auch hier auf das Flachbandkabel, damit an der Platine nichts kaputt geht.
-
Öffne die Buchse des Flachbandkabels mit einem spitzen Plastikgegenstand. Der Spudger des iFixit-Kit eignet sich hier sehr gut!
-
Das Display wurde entfernt! Jetzt musst du nur das Ersatzteil wieder einbauen und die Schritte rückwärts gehen.
-
Arbeite die Schritte in umgekehrter Reihenfolge ab, um dein Gerät wieder zusammenzubauen.
4 comentários
Great summary - clear and easy to follow. Display replaced in less than 30 minutes. Thanks.
Hi Tony,
I'm looking for a replacement screen for a Lumix DMC-TZ70 (there are none available from the link provided in the repair instructions), and wondered where you got yours?
Unfortunately, the display is no longer available from the linked site.
That depends a lot on your location. Mine was from Germany, but if you want to buy from e.g. the UK, you can type the model number and "screen" or "display" on a popular marketplace like ebay: https://www.ebay.co.uk/sch/i.html?_nkw=L...
I'll try to remove the link from the description, so there is no confusion.
Johannes -