Introdução
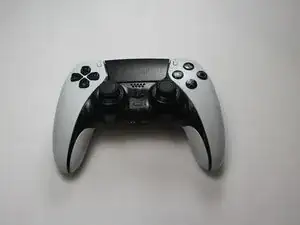
The PS5 DualSense Edge (Pro) Controller is packed with cutting-edge features like adaptive triggers and advanced haptic feedback, delivering an immersive gaming experience. Though, even the most high-tech gear isn't immune to wear and tear. One of the most common issues gamers face is stick drift, when the analog stick starts moving on its own or responds inaccurately, throwing off your aim or camera during gameplay.
Stick drift can result from everyday use, dust buildup, or natural wear of the stick module. Unfortunately, many users assume the only solution is to replace the entire controller, an expensive and wasteful choice.
The good news? You don't need to be a pro to fix stick drift. Replacing the stick module is easier than you might think, and doing it yourself can save money, extend the life of your controller, and reduce e-waste.
This step-by-step guide will walk you through the repair process so you can get back to gaming with precision, without breaking the bank or adding to the landfill. Let’s get started!
Peças
-
-
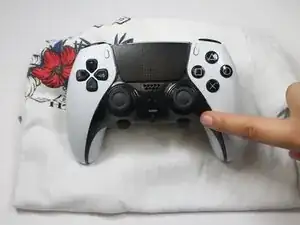
Make sure your controller is turned off and unplugged from any cables or devices.
-
Have your supplies ready: your controller, stick module unit, and a soft surface to prevent any damage while following these steps.
-
-
-
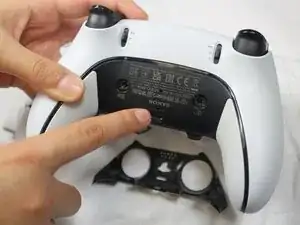
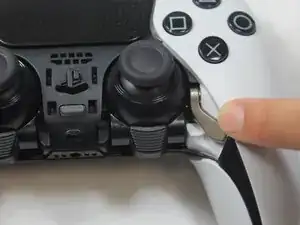
Turn the controller over so the back is facing you.
-
Near the bottom, find the small switch labeled "Release" and slide it.
-
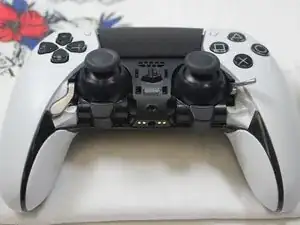
The front plate should come off.
-
-
-
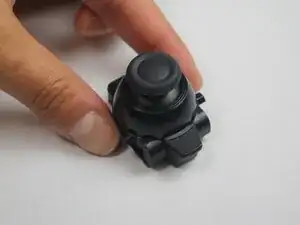
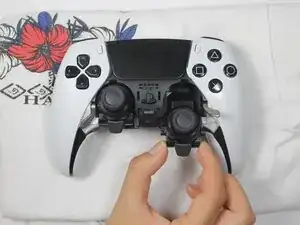
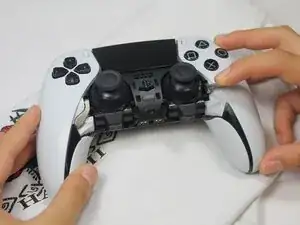
Identify the analog stick module you'll want to replace.
-
Gently pull up on the wide part of the latch tab until you hear two clicks.
-
-
-
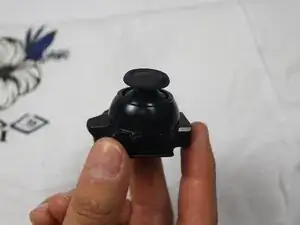
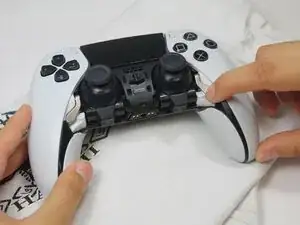
Now, align the new module with the same port.
-
Slide it in until it clicks into place.
-
Press the sliver latch tab back down to lock it in securely.
-
-
-
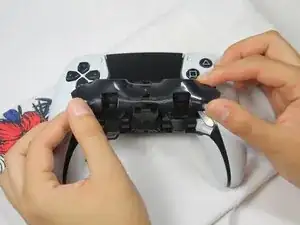
Line up the faceplate with the front of the controller.
-
Press it back on until it snaps firmly into place.
-
-
-
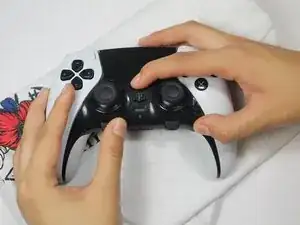
Power your controller back on.
-
Connect it to your PS5 or PC.
-
Test the new analog stick in a game or through the system settings menu.
-


That is it! By replacing your stick module yourself, you have saved money, cut down on repair wait times, and kept a perfectly good controller out of the trash. At first, it might seem intimidating but taking the time to learn and fix something on your own is seriously rewarding. Plus, the more we repair instead of replace, the closer we are to having less e-waste.
Thanks for following along with our guide, we hope we were able to make this process clear and doable.