Introdução
Ferramentas
Peças
-
-
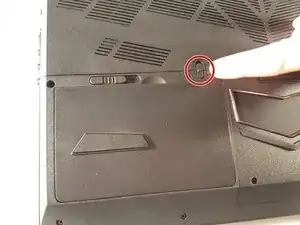
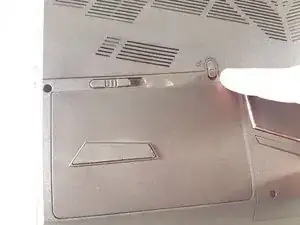
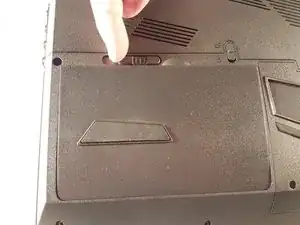
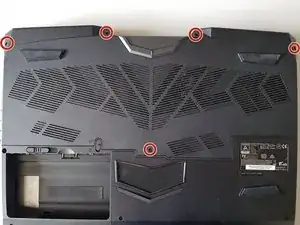
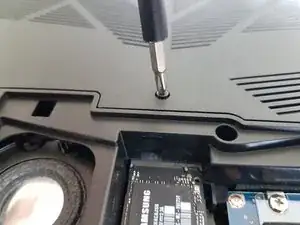
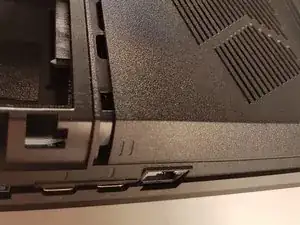
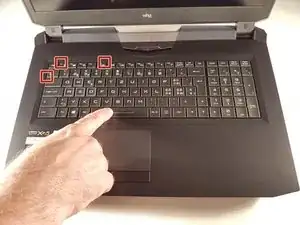
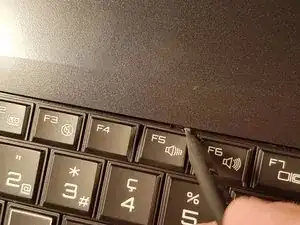
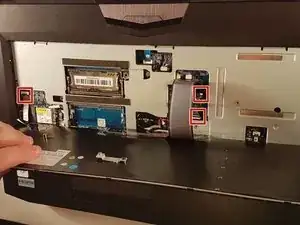
Enfoncez un trombone dans les trois endroits indiqués en rouge
-
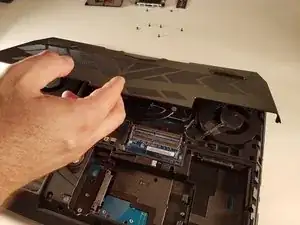
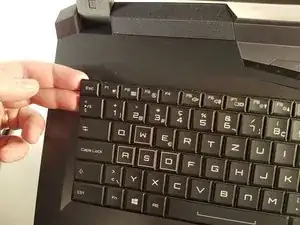
Soulevez le clavier et n'hésitez pas à mettre un peu de force
-
-
-
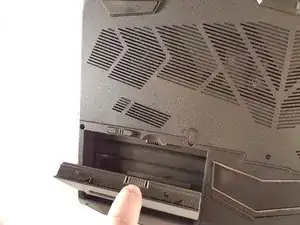
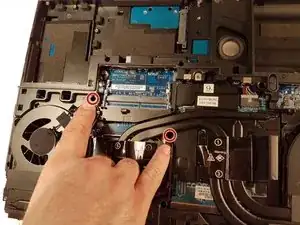
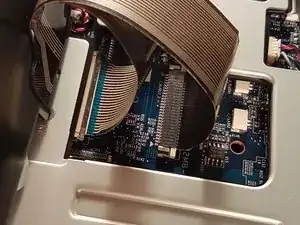
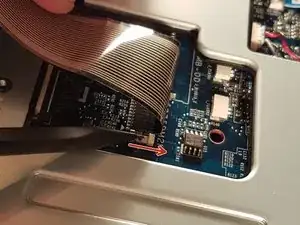
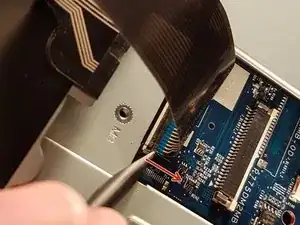
Tirez le tiroir blanc dans la direction de la flèche pour déverrouiller le connecteur
-
Déconnectez le connecteur entouré en rouge
-
-
-
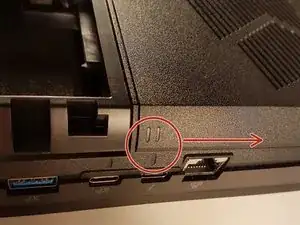
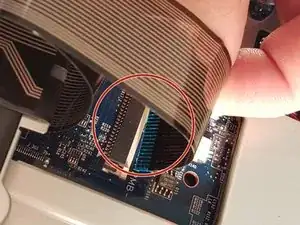
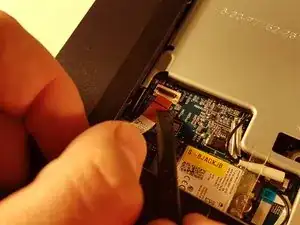
Tirez le tiroir noir dans la direction de la flèche pour déverrouiller le connecteur
-
Déconnectez le connecteur entouré en rouge
-
-
-
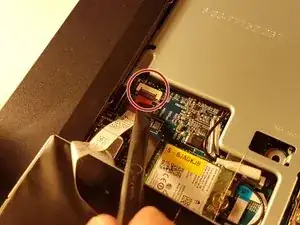
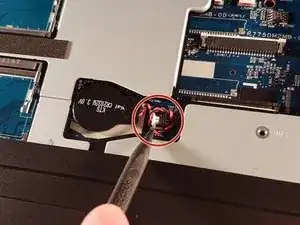
Soulevez le clapet qui retient le connecteur entouré en rouge
-
Déconnectez le connecteur entouré en rouge
-
Enlevez le clavier
-


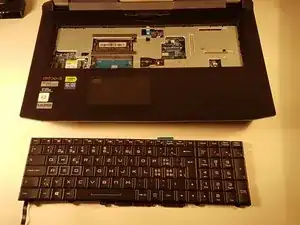

Pour réassembler votre appareil, suivez les instructions dans l'ordre inverse.
Um comentário
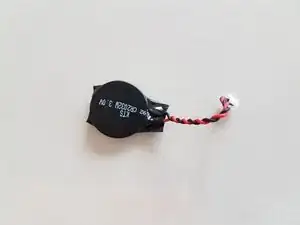
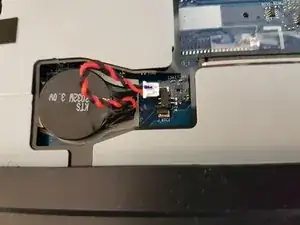
When sourcing a replacement battery note which connector pin has the red wire. This is shown most clearly in the middle photo for step 12. Be careful, as similar batteries have the reverse polarity.
I bought a ten-pack of batteries for less than some suppliers were selling a single battery. EEMB CR2032-Molex51021-RP (CR2032-MX51021-RP). The connecting wires were longer than the original, but were easy to fit into the battery space.
Very many thanks for this great guide - it saved me a lot of unnecessary work.