Introdução
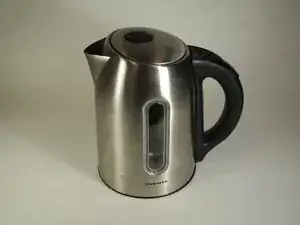
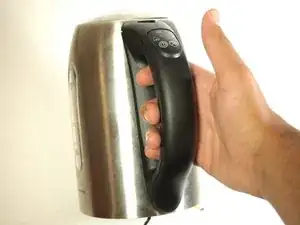
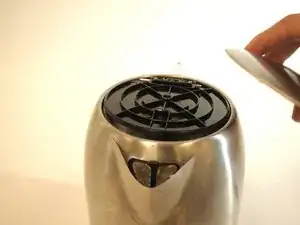
We will be taking apart and looking at the components of the cordless Ovente Electric Kettle.
-
-
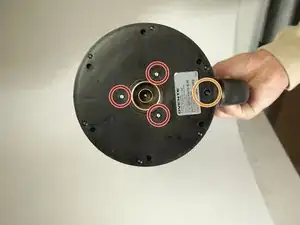
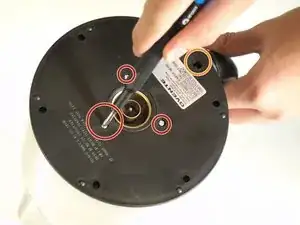
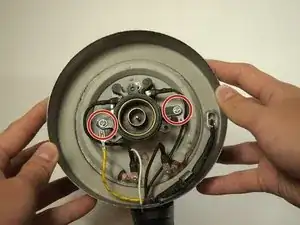
Remove the three 11 mm screws from the center of the kettle's base using a Phillips #2 screwdriver.
-
Remove the one 15mm screw by the handle using a Phillips #2 screwdriver.
-
-
-
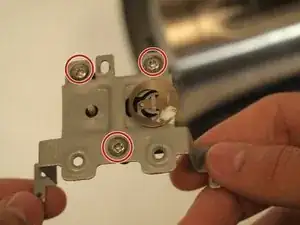
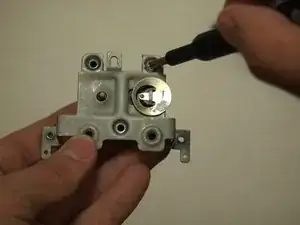
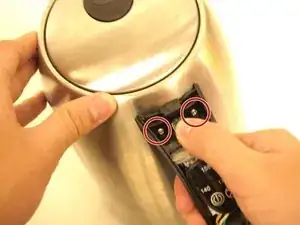
Remove the two 9 mm screws from either side of the round power receptacle using a Phillips #2 screwdriver.
-
Remove the washer beneath the screw on the left.
-
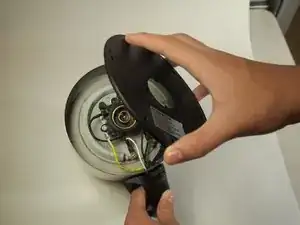
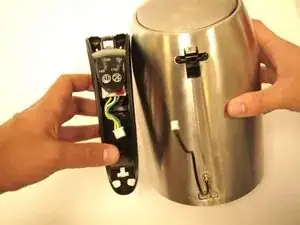
Remove the power receptacle from the device.
-
-
-
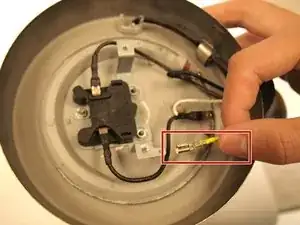
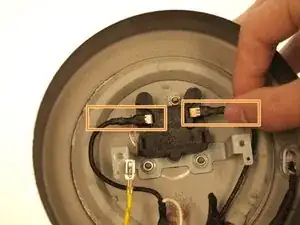
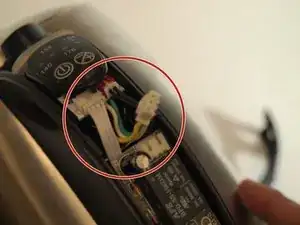
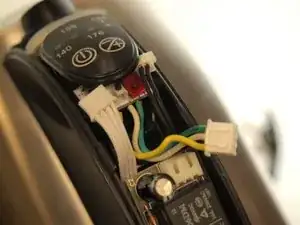
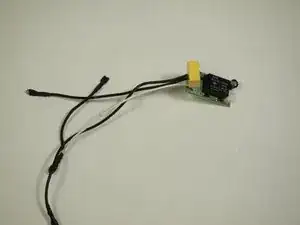
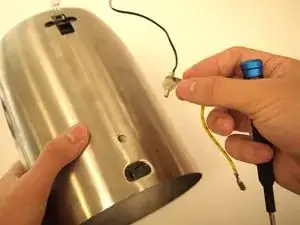
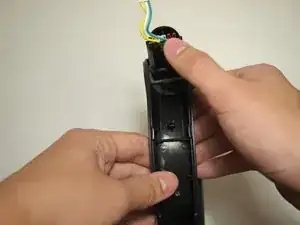
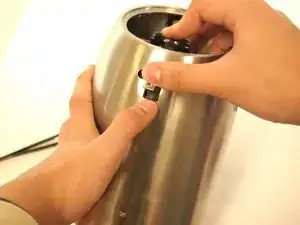
Remove the yellow ground wire by pushing down on the small tab with your thumb and pulling.
-
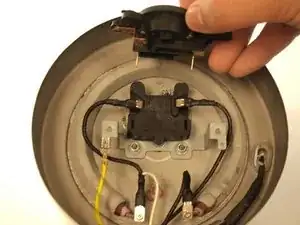
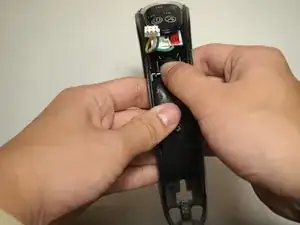
Disconnect the black wires from the thermal cutoff assembly (the black box in the center) by jiggling and pulling outwards.
-
-
-
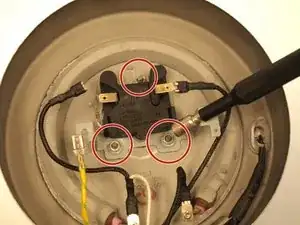
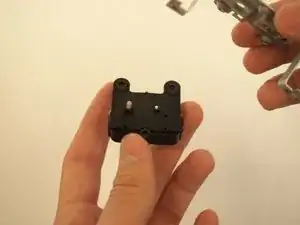
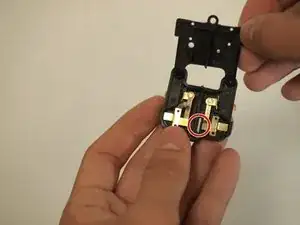
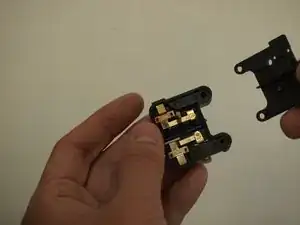
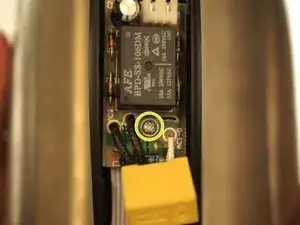
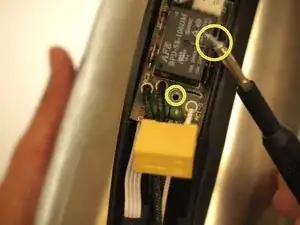
Unscrew the three 8.0 mm Phillips #2 screws, and separate the metal and plastic pieces from the thermal cutoff.
-
-
-
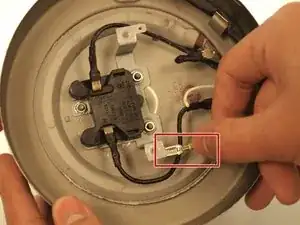
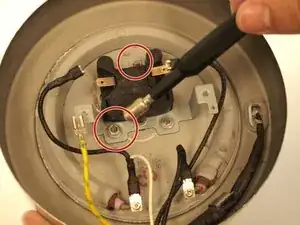
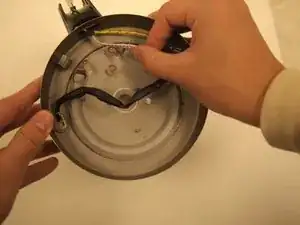
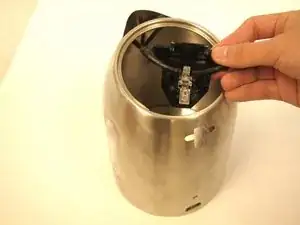
Remove the two remaining connected black wires from the heating element by jiggling and pulling outwards.
-
-
-
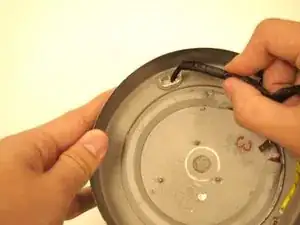
Take off the handle.
-
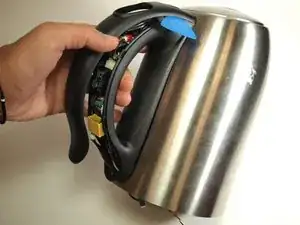
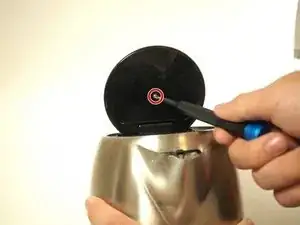
Use a spudger and an opening pick in the seams to loosen the sides and bottom of the handle cover.
-
To remove the top, push the handle cover into the kettle and slide up to remove.
-
-
-
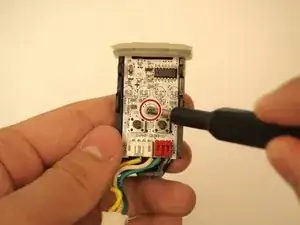
Disconnect the wires from the micro-chips by gently pulling using your thumb and forefinger.
-
-
-
Unscrew the bottom chip and take it out of the handle. Use a #1 Phillips screwdriver to take out the 8.2 mm screw.
-
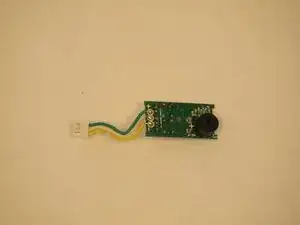
Then, weave it out the wires that were connected to the heating element and the thermal cutoff assembly through the handle base.
-
Remove the chip and it's soldered wires from the handle completely.
-
-
-
Weave out the black coated white wire through the base of the handle.
-
Carefully unhook the LED attached to the base of the kettle.
-
-
-
Remove the two 19 mm screws from the top of the handle using a Phillips #2 screwdriver.
-
Take off the handle by pushing down on the button and pulling the handle towards you.
-
-
-
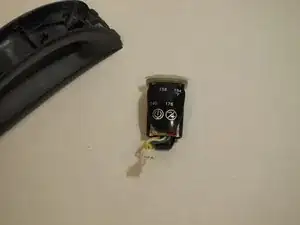
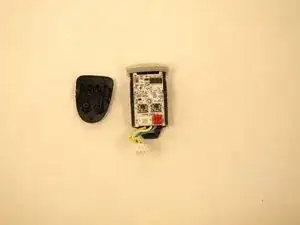
Using your thumb, push up on the bottom of the microprocessor to remove it from the handle.
-
-
-
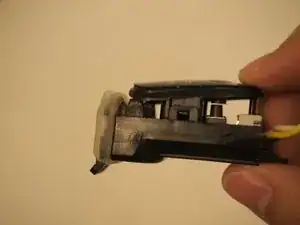
By using your fingers or a spudger, disconnect the button interface (cover) from the processor.
-
-
-
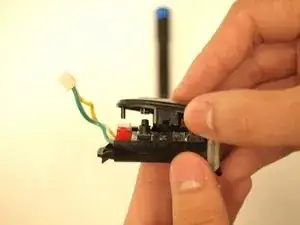
Using a #1 Phillips screw driver, loosen the 8.5mm screw on the processor chip and separate it from the plastic base.
-
-
-
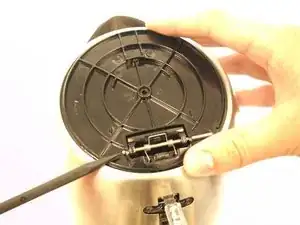
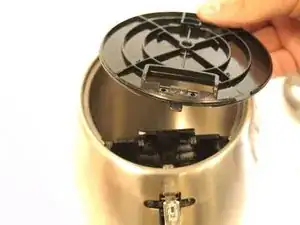
Remove the screw from the inside of the lid.
-
Remove the metal cover from the plastic part of the lid.
-
-
-
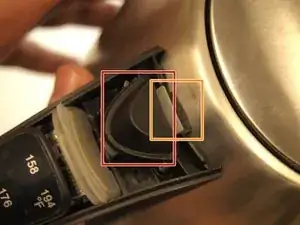
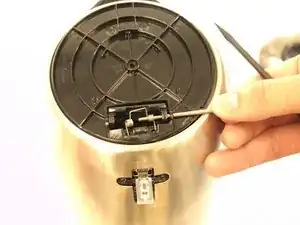
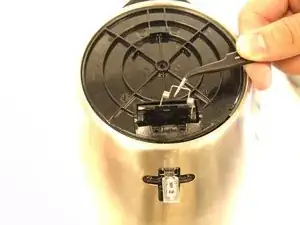
Use the pointy side of the spudger to push the metal rod through the spring and out of the cover.
-
Remove the lid from the kettle.
-
-
-
After removing the lid, push down on the inside plastic piece and push up on the outside of the remaining plastic part to remove it from the kettle.
-
-
-
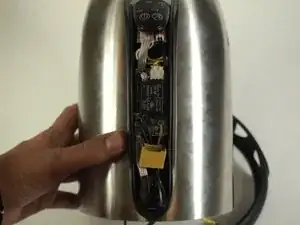
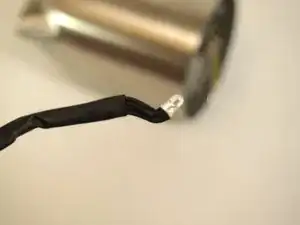
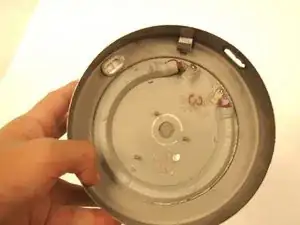
Here is a picture of the heating element which cannot be removed from the kettle.
-
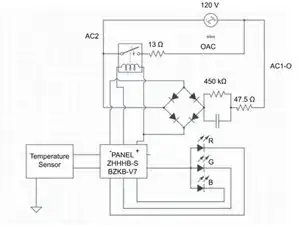
The circuit schematic for the kettle is shown here as well.
-


To reassemble your device, follow these instructions in reverse order.
Um comentário
Ugh, my Ovente KP72W (Intertek 4005297) kettle does not have any external screws on the bottom side or anywhere on the kettle. I was able to take apart the base that has 2 security screws but no issues there. The kettle does not turn on unless I smack it few times. I just smacked it against the counter with the handle side, and it came apart. The handle is just clipped on so I'm assuming that this is the same with the bottom, I'll try to take it apart when the kinetic method fails.
We really need to get back to fixable technology... at least for the sake of the environment. Hack the planet!
The kettle is no more heating
Tettey samuel -