Introdução
Ferramentas
-
-
Use a Phillips screwdriver to remove the four screws (two on each end).
-
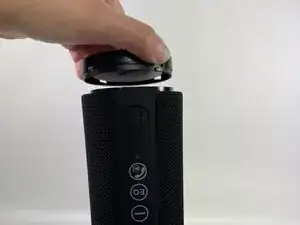
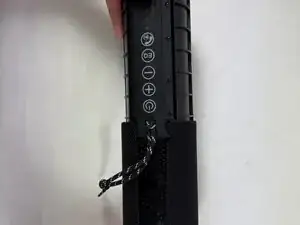
Firmly grip the top of the speaker, stabilize the base, and twist the cap counterclockwise to loosen and remove. Repeat this step for the bottom cap.
-
-
-
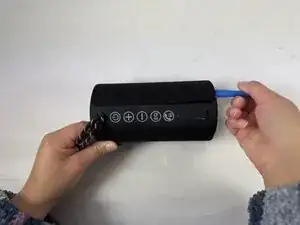
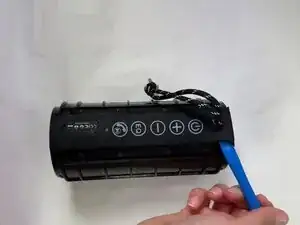
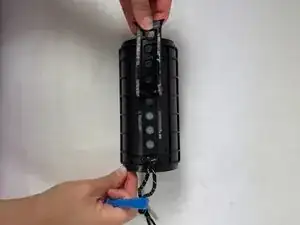
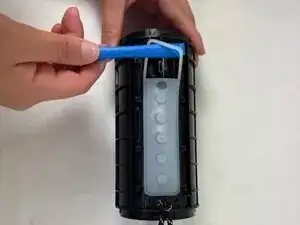
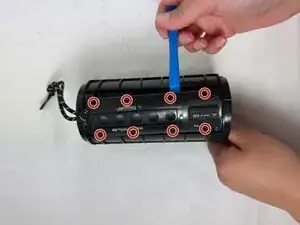
Insert an opening tool into the seam between the grille and body. Lift and crack it open just a little.
-
-
-
Using your hands, pull the speaker out of the casing by holding the speaker in one hand and the shell in the other.
-
-
-
Lift one end of the rubber button strip with an opening tool, then peel it away from the speaker housing with your hands.
-
-
-
Use a Phillips #00 screwdriver to remove the eight screws securing the plastic button interface.
-
Remove the button interface.
-
-
-
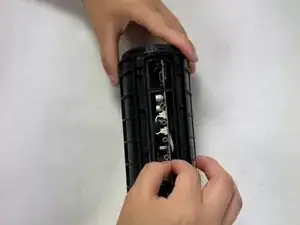
Carefully shift the motherboard side to side to disengage it from the casing. JST connectors are attached—do not pull abruptly to avoid damaging the cables and connectors.
-
-
-
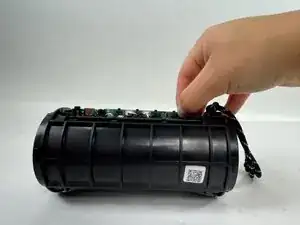
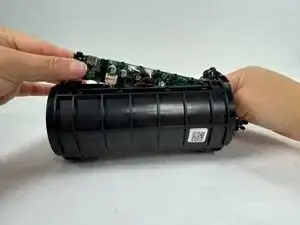
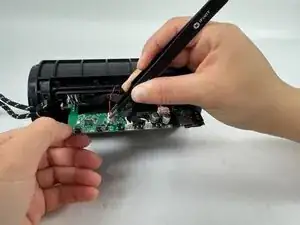
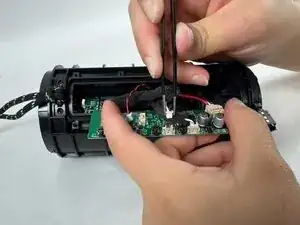
Use tweezers to gently grip each JST connector and pull it upward to disconnect them.
-
Remove the motherboard.
-


To reassemble your device, follow the above steps in reverse order.
Take your e-waste to an R2 or e-Stewards certified recycler.
Repair didn’t go as planned? Try some basic troubleshooting or ask our Answers community for help.