Introdução
This guide will show you how to replace the shutter and ON/OFF buttons on the Olympus Tough TG-3 digital camera. You’ll be removing the front casing and internal button housing, so handle all tools and parts with care.
Caution:
- This procedure involves handling small screws and sharp metal components. Work slowly and carefully.
- To avoid losing screws, secure them to masking tape in order as you remove them.
- Make sure your hands are clean and dry before touching any internal components.
-
-
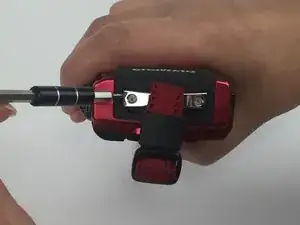
Locate the strap eyelet side of the camera and use the PH000 screwdriver to remove the two 5.3mm screws that hold the strap.
-
-
-
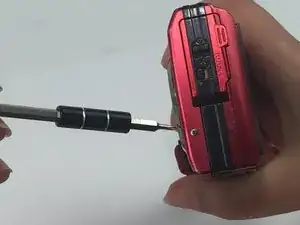
Locate the side of the camera containing the HDMI port. Use the PH000 screwdriver to remove the 5.4mm screw located on the lower left side below the port.
-
-
-
Locate the bottom section of the camera. Using the PH000 screwdriver, remove the two 4mm screws located towards the middle (near the battery compartment).
-
-
-
Locate the strap eyelet side of the camera.
-
Use a PH000 screwdriver to remove the two 5.3 mm screws that secure the strap mount to the front case.
-
Set the screws aside safely, they’ll be needed for reassembly.
-
-
-
Turn the camera to the side containing the HDMI port.
-
Using the PH000 screwdriver, remove the 5.4 mm screw located on the lower left below the HDMI port.
-
-
-
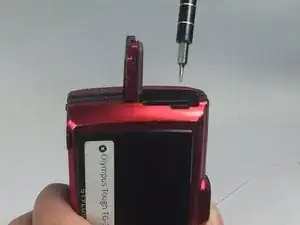
Open the HDMI port cover. Inside, you’ll find a 3.8 mm screw securing the front case.
-
Use the PH000 screwdriver to remove it carefully.
-
-
-
Flip the camera over.
-
On the bottom side, remove the two 4 mm screws near the battery compartment using the PH000 screwdriver.
-
-
-
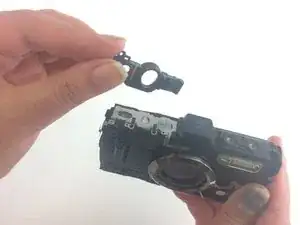
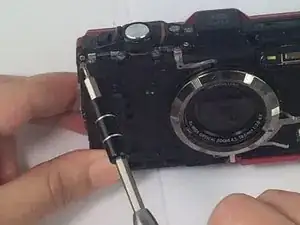
Once all screws are removed, gently lift off the front case by hand.
-
If it feels stuck, double check for any missed screws before applying more pressure.
-
-
-
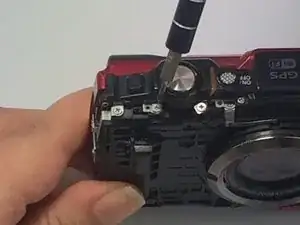
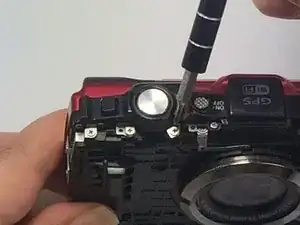
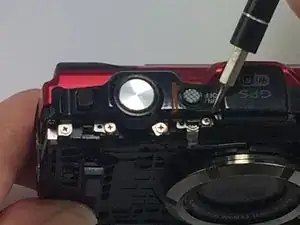
Locate and remove the 7 mm screw in the upper-right corner of the internal frame using the PH000 screwdriver.
-


To reassemble your device, follow these instructions in reverse order.
Um comentário
Thanks for the post. Do you know where to buy new switches?