Introdução

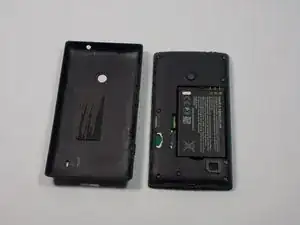
After many attempts of pushing the buttons, and failing to get a response. It may be time to replace your malfunctioning volume and power buttons. This repair guide has qualities required for your particular repair needs for the Nokia 520.

  1. sd6e5XPxHV6a4YAu
    sd6e5XPxHV6a4YAu
    LULXaxWEATm1wl3N
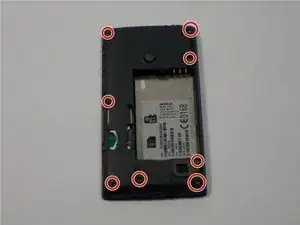
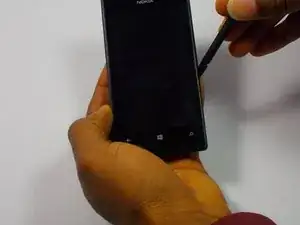
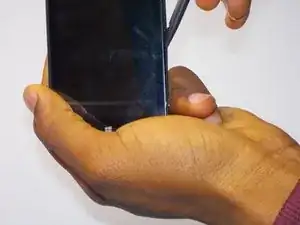
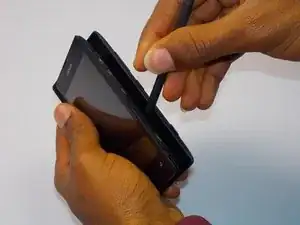
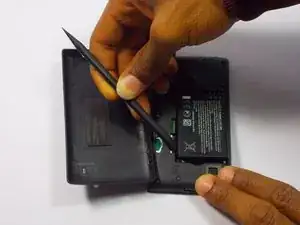
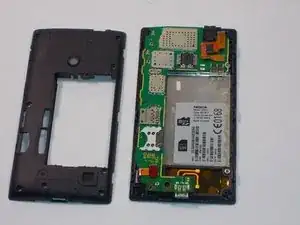
    • Insert the spudger (non damaging nylon stick tool) into the crevice located between the back cover of the phone and the body of the phone.

  2. AHDTqAEAMDnYnXEL
    AHDTqAEAMDnYnXEL
    JfnNKE5rf2VYgMCd
    • Lift the spudger gently to separate the back cover of the phone and the body of the phone.

    Plastic guitar pick worked really well for me. Easy to insert and slide around to unlatch case.

    anluan -

  3. bDlAA33KFgMTIyIa
    bDlAA33KFgMTIyIa
    5oSl2A4hTlFVsrXk
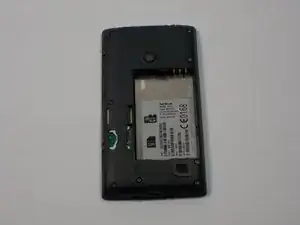
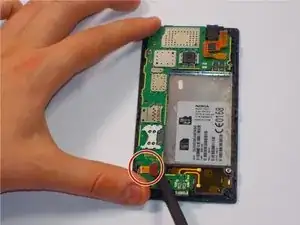
    • Insert the spudger into the space between the battery and the battery holder, then lift gently to remove the battery.

  4. bB6ibcDKaF2XcYfx
    bB6ibcDKaF2XcYfx
    tM5WrAEkHkRsLtYI
    AYPppMwQ2rDgpDB4
    • Remove the eight screws in the body of the phone using the T4 Torx screwdriver.

    If the screw heads are stripped place a rubber band on the head, press down firmly with screwdriver tip and turn counter-clockwise to remove. Factory puts a drop of threadlock on some of the screws so a little extra force might be required to break screw free.

    anluan -

  5. 2gVpq63m1pdhkA4S
    2gVpq63m1pdhkA4S
    eNn1aPmS1AobGlHF
    • Slowly and carefully use your spudger to remove the plastic casing over the motherboard.

  6. d5uARSCR2Tjfe1ZB
    d5uARSCR2Tjfe1ZB
    ZbifwWThjHFbyNHt
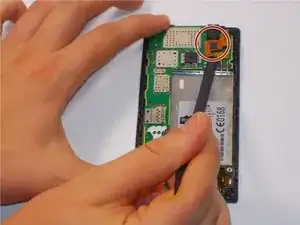
    • Using your spudger, carefully unclip the digitizer touch screen cable. Next unclip the display screen cable.

  7. uPynDVlWAp2nEJhN
    uPynDVlWAp2nEJhN
    KaAsiEnLNndDKNEw
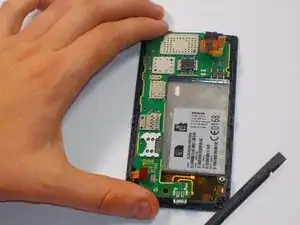
    • Gently remove the motherboard with your hands.

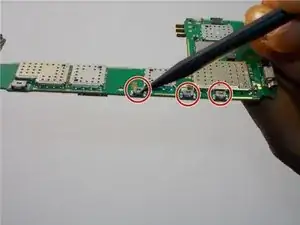
    • Flip it over. Then turn it 90 degrees counterclockwise. Ensure the switches (pictured) are facing you.

    • You will see four small switches close to the side of the circuit board.

  8. Tjw1MoQtAlMBjOAC
    • Gently take the power/volume switches off using a pair of needle nose pliers. Once removed, gently clean the solder that was there. Replace the solder with a new coat of solder.

    • Check out iFixit's soldering guides, here.

    With my phone the switches themselves don't fail. It's the solder connection that breaks. Once re-soldered I put a drop of UV-activated glue behind the switch to prevent it from moving too far when pressed.

    anluan -

Conclusão

To reassemble your device, follow these instructions in reverse order.

Eduardo Perez

Membro desde: 03/11/15

189 Reputação

0 comentários