Introdução
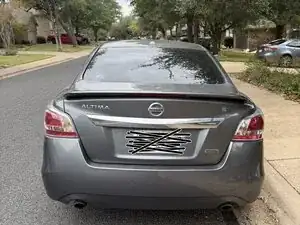
This guide shows how to replace the brake light bulb on a 2015 Nissan Altima and should also apply to fifth-generation Altimas.
A functioning brake light helps ensure other drivers can see when you brake and is an important safety maintenance task. If one brake light has burned out, consider replacing the other as well, since bulbs of the same age often fail around the same time.
Before you begin, make sure the car is off and the lights are cool to the touch.
This quick fix is beginner-friendly, affordable, and a great way to build confidence with basic car maintenance. Let’s get started and make car care feel a little less intimidating!
Ferramentas
Peças
-
-
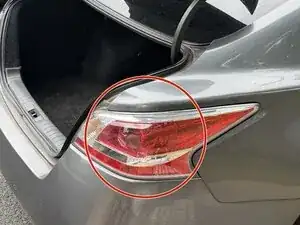
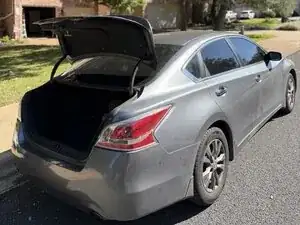
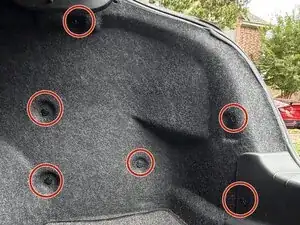
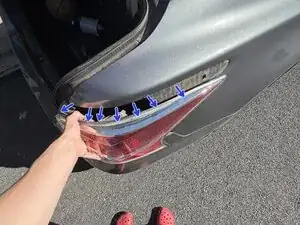
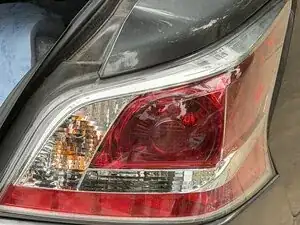
Open the trunk and locate the rear brake light housing on the side where the bulb is burnt out.
-
-
-
Use a trim remover tool to remove the interior trunk panel clips that cover the back of the taillight assembly.
-
Set the clips aside to use for reassembly.
-
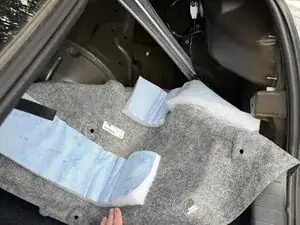
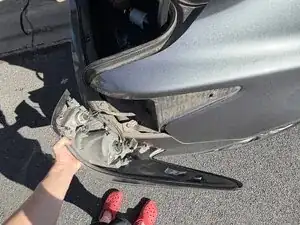
Carefully peel back the trunk lining from the area you will be working.
-
-
-
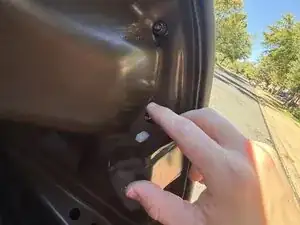
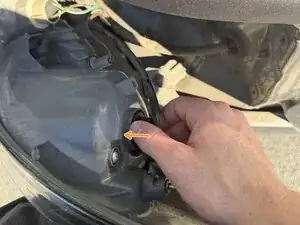
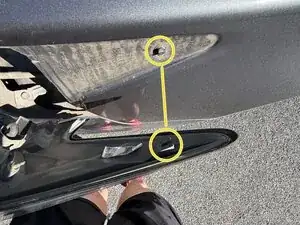
Use an 8 mm wrench to remove the screws (or unclip the fasteners) securing the brake light housing.
-
Keep the screws or clips in a small container so they don’t get lost.
-
-
-
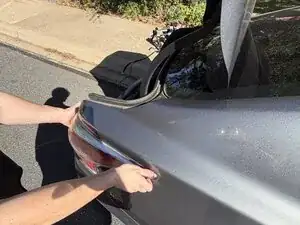
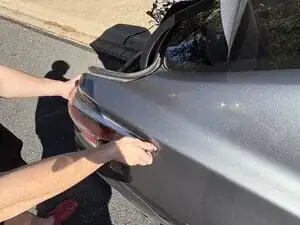
Carefully pull the entire tail light housing straight back from the car.
-
Wiggle it slightly if it feels stuck.
-
-
-
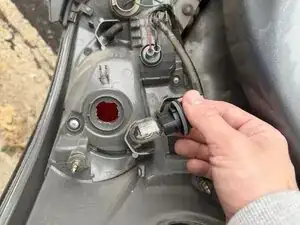
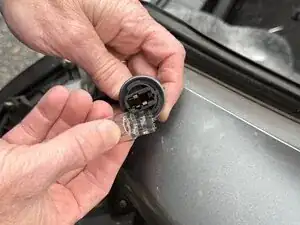
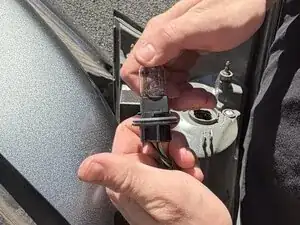
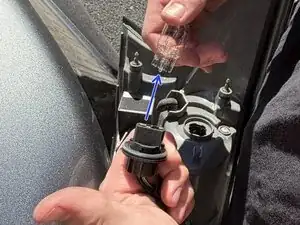
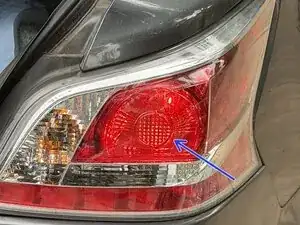
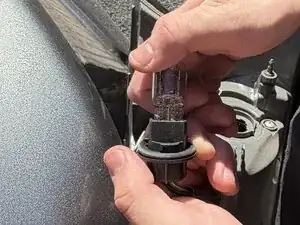
Pull the old bulb straight out of the socket.
-
Insert a new 7443 dual-filament bulb firmly into the socket until it clicks into place.
-
-
-
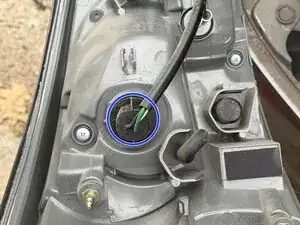
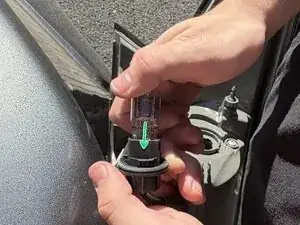
Reinsert the bulb socket into the housing and twist clockwise to lock it.
-
Align the tail light housing with the car body and push it back into place.
-
Secure it with the screws or clips you removed earlier.
-
-
-
Start the car or turn the ignition key to “On.”
-
Press the brake pedal (or ask someone to help) and check that the new light illuminates properly.
-


To reassemble your car, simply follow the previous steps in reverse order, ensuring each component is securely reattached. Before finishing up, take a moment to test your brake lights to confirm everything is working properly.